2: Schema internals
So far we have seen how to use DEFINE statements to make your schema more or less flexible. In this chapter we will take a closer look at how to inspect a schema, namely the part that comes after a DEFINE statement is completed.
One of the most important things to be aware of when using a DEFINE statement is this:
The input of a DEFINE statement is not always the final statement
Database resources have a lot of default parameters that you don't necessarily need to pass in. For example, all tables are TYPE ANY and SCHEMALESS and have PERMISSIONS NONE by default, while all fields are PERMISSIONS FULL by default. We can see this by defining a table and one of its fields with the absolute minimum amount of syntax needed.
DEFINE TABLE p;
DEFINE FIELD p ON p;

-- Use `INFO` statements to see
-- the actual definitions
{
    table: (INFO FOR DATABASE).tables.p,
    field: (INFO FOR TABLE p).fields.p
}{
field: 'DEFINE FIELD p ON p PERMISSIONS FULL',
table: 'DEFINE TABLE p TYPE ANY SCHEMALESS PERMISSIONS NONE'
}By the way, the reason for PERMISSIONS NONE in one and PERMISSIONS FULL in the other is that PERMISSIONS NONE on a table means that record users (and guests, when guest access is enabled) cannot select, create, update, or delete records in that table until you grant access. System users are not affected. Fields default to PERMISSIONS FULL instead, in which the table is the main gate, and a field only adds its own rules when you need to (for example hiding a password).
The largest discrepancy between the statement you send in and the one received by the database is probably DEFINE INDEX for HNSW or DISKANN, which adds a large number of defaults that most users don't (and shouldn't) modify themselves.
DEFINE INDEX hnsw_index ON some_table FIELDS some_field HNSW DIMENSION 4;
(INFO FOR TABLE some_table).indexes.hnsw_index;

-- Output:
'DEFINE INDEX hnsw_index ON some_table FIELDS some_field HNSW DIMENSION 4 DIST EUCLIDEAN TYPE F32 EFC 150 M 12 M0 24 LM 0.40242960438184466f'
Working with INFO statements
There are two types of INFO statements: regular INFO statements, and those with the STRUCTURE clause at the end.
Regular INFO statements show the exact statements received to define resources, as we just saw in the previous section.
DEFINE FIELD name ON person TYPE string;
DEFINE FIELD role ON person TYPE "user" | "poweruser" | "admin";
DEFINE INDEX role_index ON person FIELDS role;

(INFO FOR TABLE person).{ fields, indexes };
(INFO FOR TABLE person STRUCTURE).{ fields, indexes };
The output of the first INFO statement shows the following:
{
	fields: {
		name: 'DEFINE FIELD name ON person TYPE string PERMISSIONS FULL',
		role: "DEFINE FIELD role ON person TYPE 'user' | 'poweruser' | 'admin' PERMISSIONS FULL"
	},
	indexes: {
		role_index: 'DEFINE INDEX role_index ON person FIELDS role'
	}
}
You can turn this into a single array by merging fields and indexes into one field, accessing that field, and calling the object::values() method on it.
(INFO FOR TABLE person).{ statements: fields + indexes }.statements.values();The result is a single array with all of the statements used, ready to be passed into a new database instance.
[
	'DEFINE FIELD name ON person TYPE string PERMISSIONS FULL',
	"DEFINE FIELD role ON person TYPE 'user' | 'poweruser' | 'admin' PERMISSIONS FULL",
	'DEFINE INDEX role_index ON person FIELDS role'
]
But one thing this output can't help with is building new DEFINE statements out of pieces of the old ones. You can't use it, for example, to generate DEFINE FIELD name ON person and DEFINE FIELD role ON person without the rest of the statement.
This is where STRUCTURE comes in handy. Here is the output of the (INFO FOR TABLE person STRUCTURE).{ fields, indexes }; statement:
{
	fields: [
		{
			kind: 'string',
			name: 'name',
			permissions: {
				create: true,
				select: true,
				update: true
			},
			readonly: false,
			table: 'person'
		},
		{
			kind: "'user' | 'poweruser' | 'admin'",
			name: 'role',
			permissions: {
				create: true,
				select: true,
				update: true
			},
			readonly: false,
			table: 'person'
		}
	],
	indexes: [
		{
			cols: [
				'role'
			],
			index: '',
			name: 'role_index',
			table: 'person'
		}
	]
}
As the output contains each of the clauses inside their own fields, we can use them to manually construct a new statement that differs from the previous one. Here for example we can use table definitions to define a new table with a similar name, without the clauses.
DEFINE FIELD name ON person TYPE string;
DEFINE FIELD role ON person TYPE "user" | "poweruser" | "admin";
DEFINE INDEX role_index ON person FIELDS role;


FOR $field IN (INFO FOR TABLE person STRUCTURE).fields {
    LET $table = "new_" + $field.table;
      DEFINE FIELD $field.name ON TABLE $table;
};
An (INFO FOR DB).tables statement confirms that we've dynamically created a new table using the fields of the old one:
{
	new_person: 'DEFINE TABLE new_person TYPE ANY SCHEMALESS PERMISSIONS NONE',
	person: 'DEFINE TABLE person TYPE ANY SCHEMALESS PERMISSIONS NONE'
}
Except this time the new table has nothing but bare field names, which makes it ideal for testing new schemas against the existing person data without touching any of it.
(INFO FOR TABLE person).fields;
(INFO FOR TABLE new_person).fields;{
name: 'DEFINE FIELD name ON person TYPE string PERMISSIONS FULL',
role: "DEFINE FIELD role ON person TYPE 'user' | 'poweruser' | 'admin' PERMISSIONS FULL"
}
-------- Query 2 (71us916ns) --------
{
name: 'DEFINE FIELD name ON new_person PERMISSIONS FULL',
role: 'DEFINE FIELD role ON new_person PERMISSIONS FULL'
}The existing data from the person table can then be copied into the new one in a single statement:
INSERT INTO new_person SELECT * FROM person;After which we can experiment with the data and use that to safely decide what changes could be made to the original person table.
Schema definitions and SurrealDB Studio
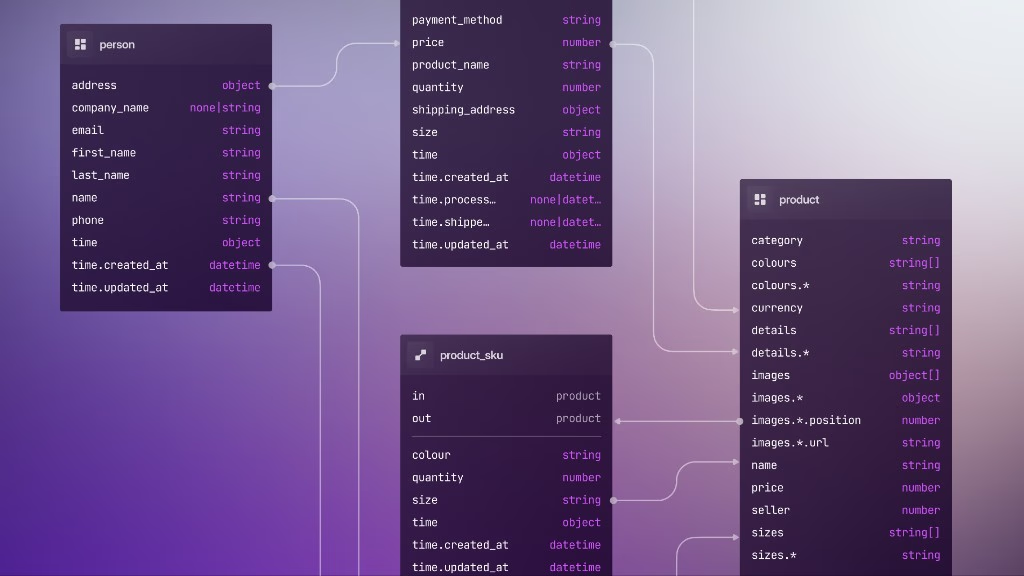
One other benefit of defining a schema is that SurrealDB Studio can then display it visually.
Take the following statements, for example:
CREATE person:one, cat:one, book:one, toy:one;

RELATE person:one->lives_with->cat:one;
RELATE person:one->owns->book:one;
RELATE cat:one->owns->toy:one;
Even though we have a person who lives_with a cat and owns a book, and a cat that owns a toy, we know that they are all TYPE ANY by default. As such, nothing stops any of these tables from being used in any way at all.
In fact, even a nonsensical query like this one, where cat:one is related to itself via a cat edge, will work just fine.
// A cat 'cats' itself
RELATE cat:one->cat->cat:one;
With only a TYPE ANY for each table, SurrealDB Studio is unable to conclude anything about this schema except that there are six tables.
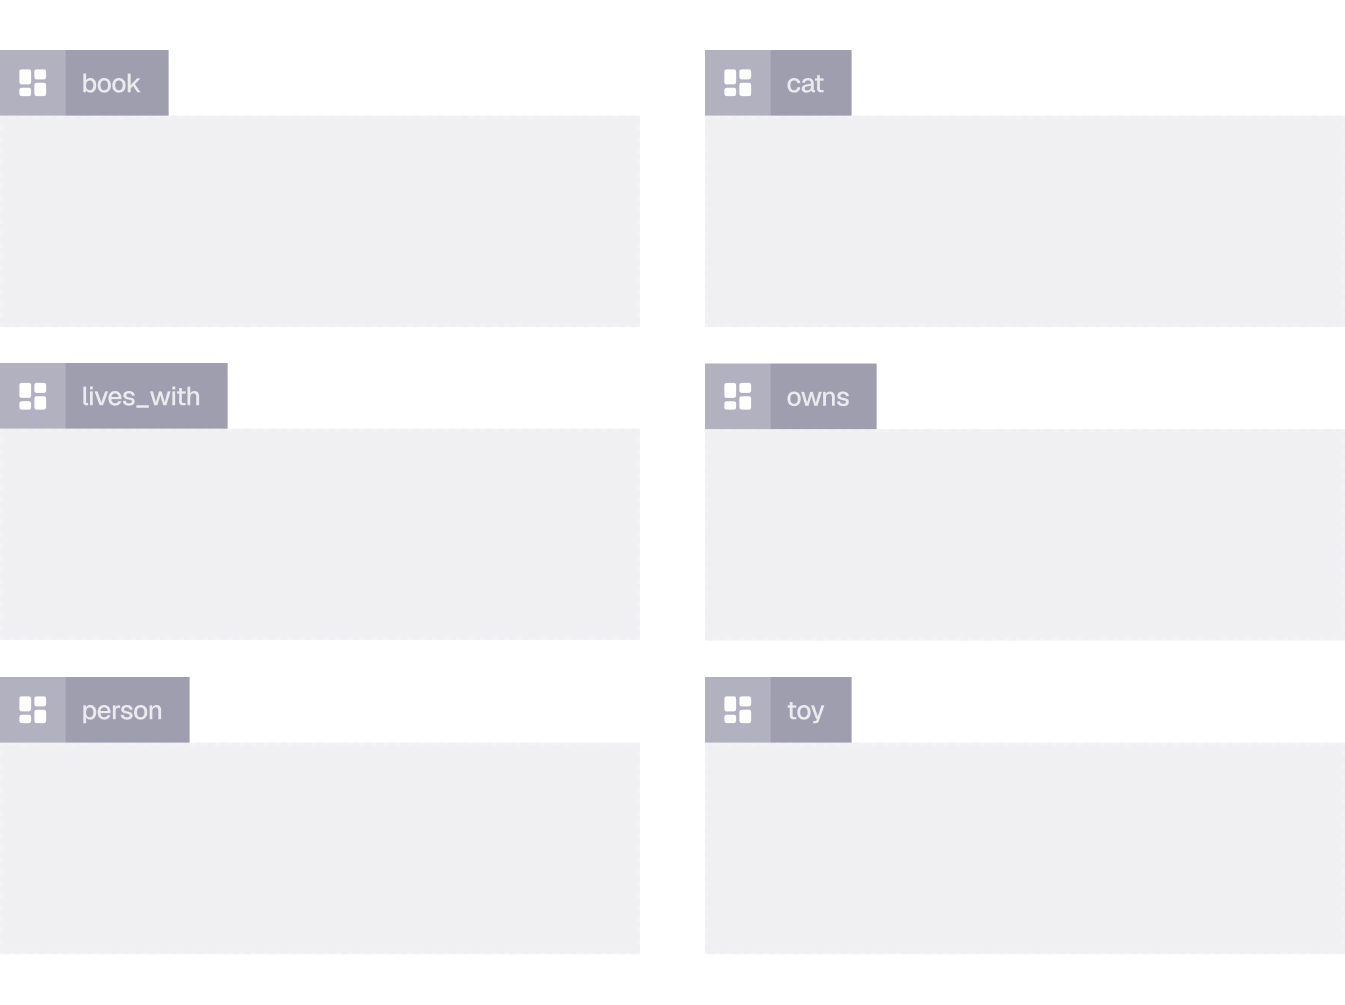
But with a few table definitions in place...
DEFINE TABLE person TYPE NORMAL;
DEFINE TABLE cat TYPE NORMAL;
DEFINE TABLE book TYPE NORMAL;

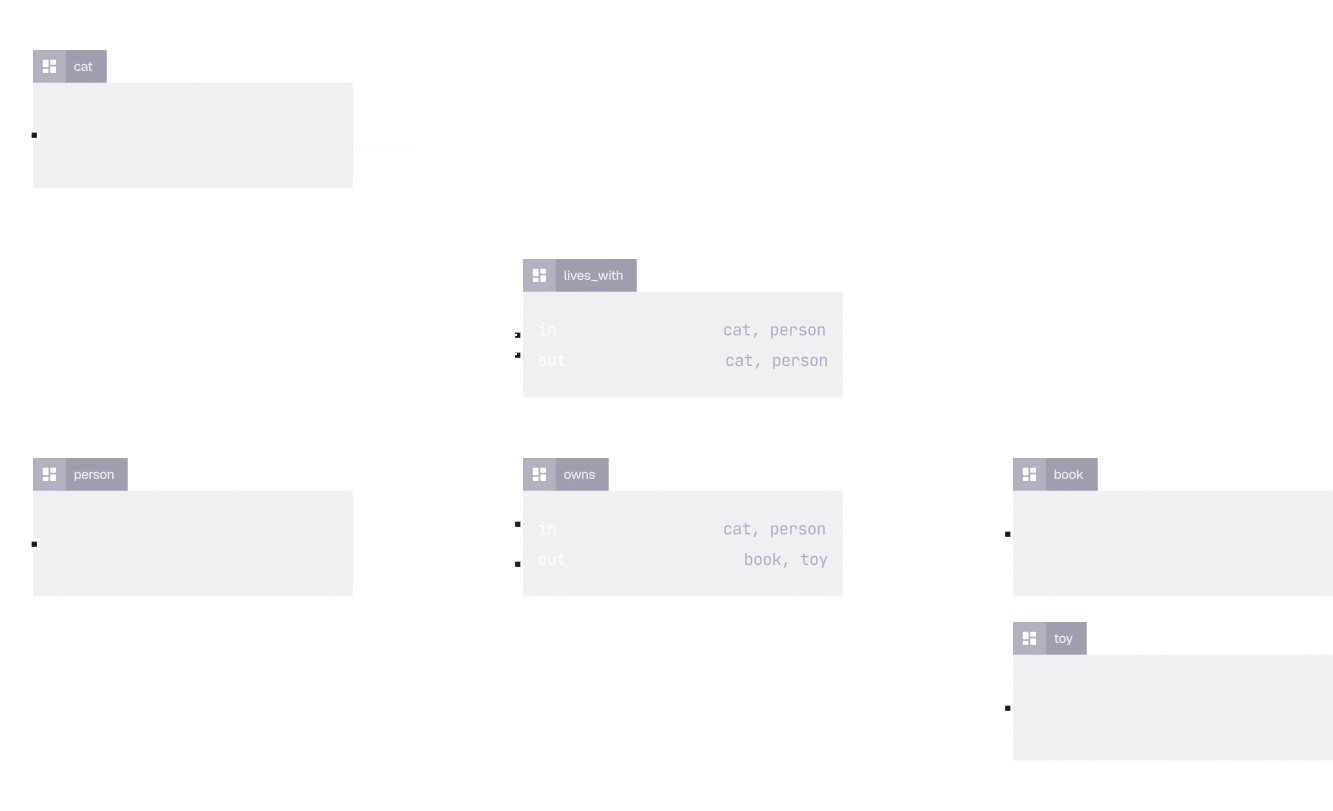
DEFINE TABLE lives_with TYPE RELATION IN person|cat OUT person|cat;
DEFINE TABLE owns TYPE RELATION IN person|cat OUT book|toy;
...SurrealDB Studio can now show exactly how these tables are meant to be used.
Defining with SurrealDB Studio
SurrealDB Studio has another advantage: team members who shape a product but aren't experienced with databases can still build and modify a schema by pointing, clicking, and visually checking the results.
For example, two of the DEFINE statements above can be created in the following way through SurrealDB Studio's Designer screen.
-- Click Create table,
-- type 'person',
-- click Create
DEFINE TABLE person TYPE NORMAL;

-- Click Create table,
-- select Relation,
-- type 'lives_with',
-- select 'person' and 'cat' for incoming tables,
-- select 'person' and 'cat' for outgoing tables
DEFINE TABLE lives_with TYPE RELATION IN person|cat OUT person|cat;
Not every statement and clause is available through point-and-click in SurrealDB Studio, though. When you're working with a team member on a joint schema this way, use INFO FOR DB to read what they've put together, then reach for ALTER statements to make any further changes. Under the hood, SurrealDB Studio's Designer just issues regular SurrealQL statements, so from the database's point of view the process is identical either way.
Here is a rundown of the available clauses through the Designer view compared to issuing hand-written DEFINE statements yourself:
Namespace & database
These definitions are handled mainly in the Connection → Settings → Databases and the Create new database modal. Inside SurrealDB Studio you can do the following:
Database: create, delete,
COMMENT, set as default.Namespace: create only when creating a new database together, delete and description edit are supported, but you cannot create a namespace on its own or rename one.
Namespace/database management also needs root (namespaces) or namespace-level (databases) auth.
Table
These can be defined in the Designer + Create table modal.
Point-and-click support includes:
SCHEMAFULL / SCHEMALESS
NORMAL / RELATION / VIEW (at creation)
Relation
IN/OUTtables (auto-definesin/outfields)Permissions, changefeeds, DROP behaviour, events
Some notable gaps are:
View query can be set at creation, but not edited in Designer afterwards
TYPE ANYis not offered in the create modal
Field
These can be defined in the Designer → Fields modal.
Supported includes name, type (FieldKindInput), FLEXIBLE, READONLY, VALUE, ASSERT, DEFAULT, permissions.
Two notable gaps:
COMPUTEDREFERENCE
Field-level ASSERT can express uniqueness-like rules, but that is not the same as a UNIQUE index.
Index (including UNIQUE)
Indexes can be defined to a certain extent in the Designer → Indexes modal, though given the complexity of the DEFINE INDEX syntax it is recommended that you stick to manual definitions most of the time.
Once you can inspect the live catalog (and see it in SurrealDB Studio), the next question is how to change it safely when data already exists. The next chapter covers migrations: backfills, gradual tightenings, and when to opt for SurrealKit instead.
THE PLATFORM
Everything an application and its agents know. Five surfaces, one engine.
Database
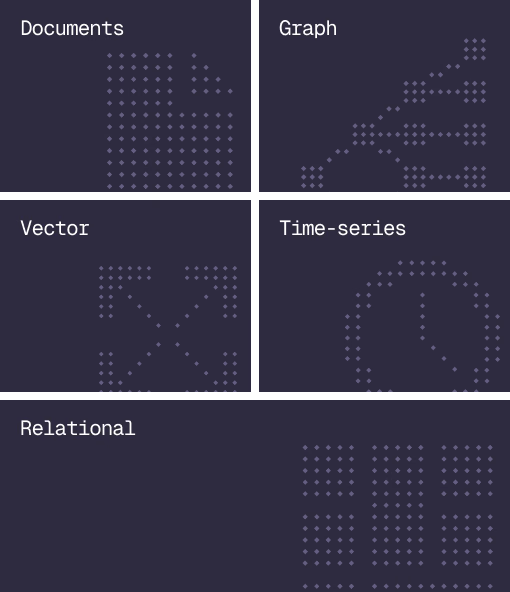
Document, graph, vector, time-series and relational in one engine.
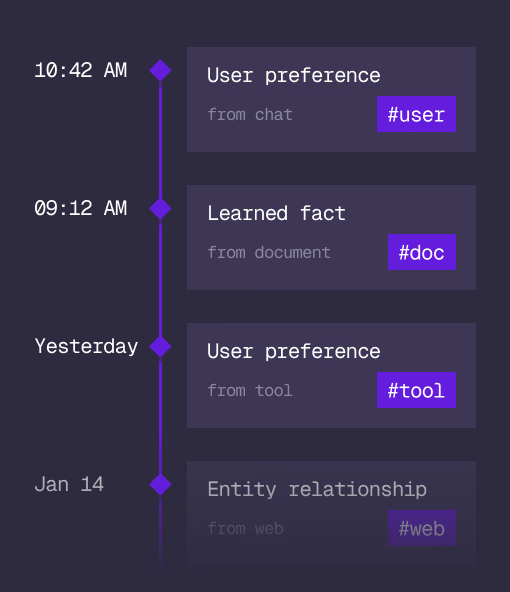
Agent Memory
What an agent learns, with its source and its time, in the same engine.
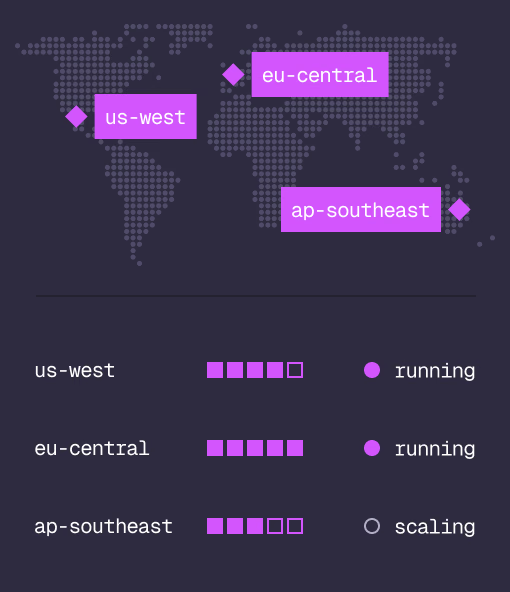
Cloud
Managed clusters in the regions you choose, scaled on demand.
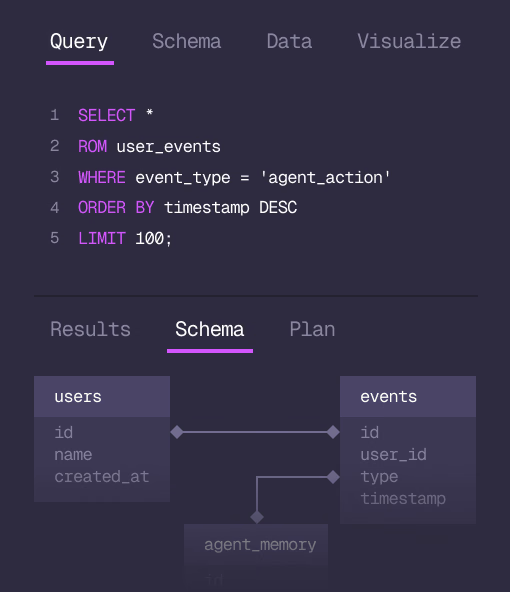
Studio
Query, explore and design the schema from the browser.
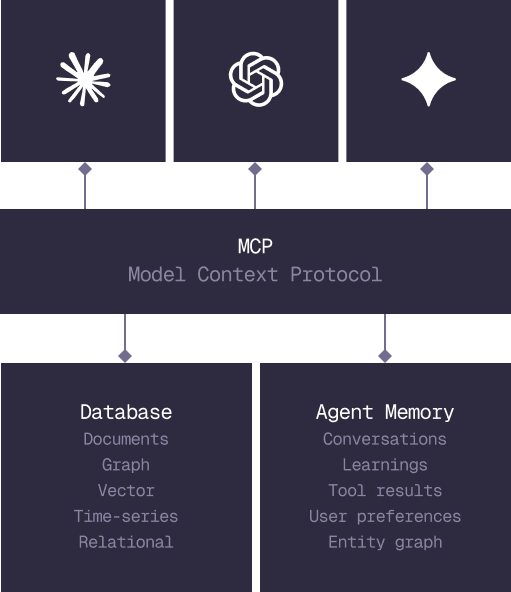
MCP
Every model that speaks MCP reaches the database and the memory directly.
IN PRODUCTION
Trusted at scale. Samsung, Nvidia, Verizon, Tencent, and Walmart run on SurrealDB.
14,000+
Developers building on SurrealDB Cloud
4M+
Developers building on SurrealDB worldwide
FROM THE TEAMS
SurrealDB gives us a foundation where we can unify semantic search, knowledge graphs, and AI-driven decision making without stitching together multiple systems. Collapsing responsibility into SurrealDB has become our default engineering posture.
VP of Engineering, Later