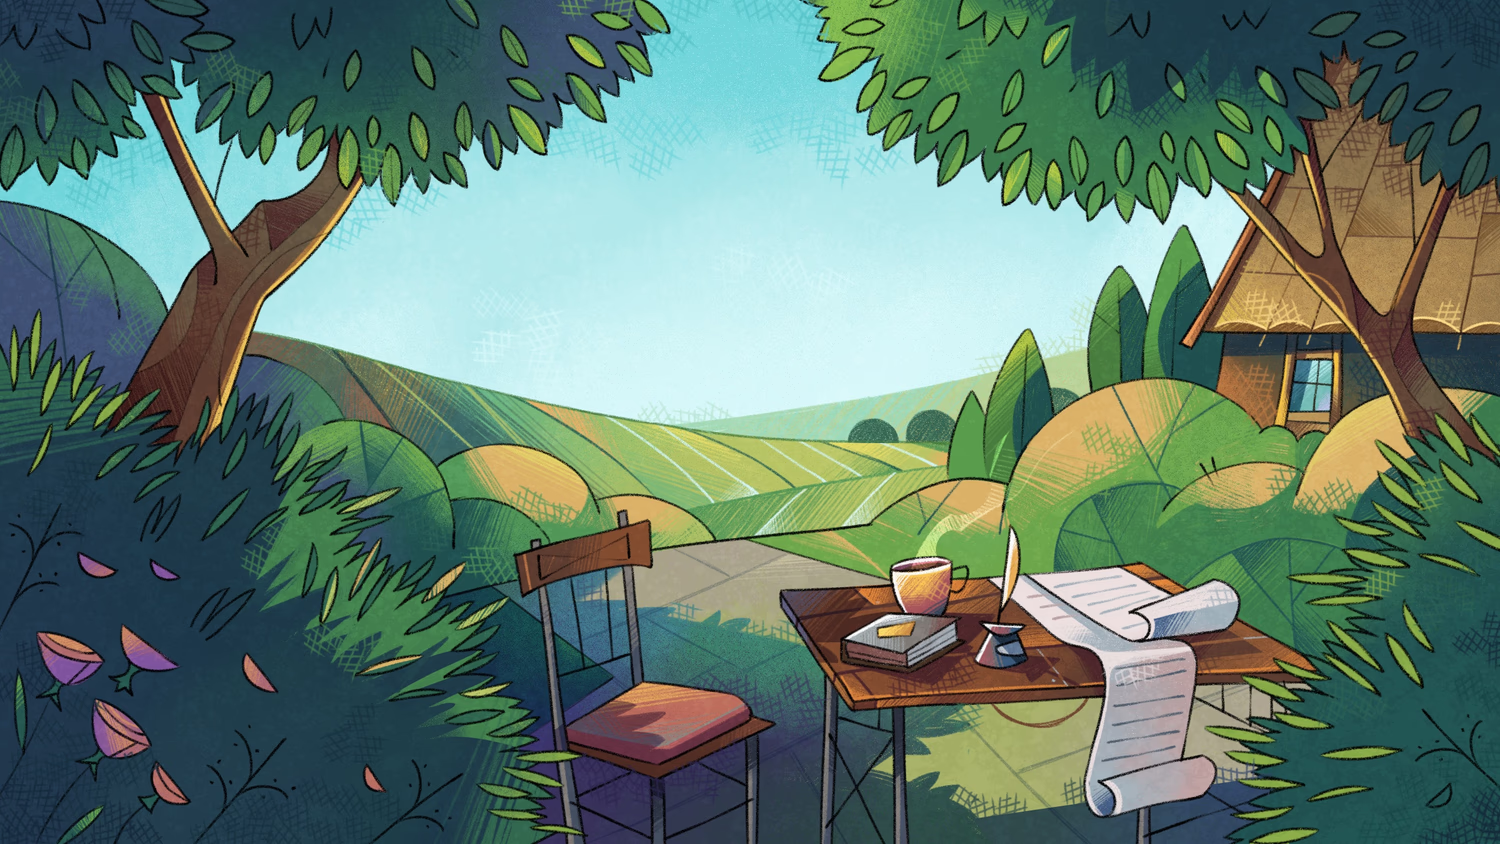
Chapter 6: Inspiration from the past
Time elapsed: 2w1d
Your frustration from yesterday is gone, and now you are feeling inspired. And it's not just because you are starting to understand how databases work. It's because you are starting to understand why data is so important.
As always, you spent your morning with a book in one hand and a cup of tea in the other. Today's book was about the invention of writing in two very old countries called Egypt and Sumer.
You were surprised to find out that inspiration had nothing to do with the invention of writing! Instead, writing was invented for some pretty boring reasons.
Long ago, people had stopped hunting for a living and now lived on farms and in villages. Sometimes they produced extra food and could trade it, or wanted to settle an argument on who owned what. Governments settled these arguments between people, demanding the payment of taxes in exchange. The governments then needed to plan how to use these taxes for projects like roads and bridges.
Very boring stuff! But to do all that, humans needed writing, and so they invented it! That's all there was to it.
So maybe it is the simple act of writing down and tracking information that matters most? Maybe data is what drives society! And if that is the case, then perhaps you don't have to worry about exactly how to restore civilisation. All the inspiring philosophy and literature will just...take care of itself. Maybe just making the information available will do the job!
With renewed enthusiasm, you close the book and get back to your database studies.
RELATE
It's now time to learn how to create bi-directional graph relations in SurrealDB by using the RELATE keyword. Understanding this keyword is so important that the whole chapter is dedicated to it!
Before we do, here is a quick summary of where we were at the end of the last chapter. At this point, we have a simple schema and two records. You should see them in the output of the following query:
[
  {
    class: 'Count',
    id: person:the_nobleman,
    money: 50,
    name: 'The Nobleman',
    properties: [
      {
        id: building:old_castle,
        kind: 'castle',
        name: 'Old castle'
      }
    ]
  }
]
While the embedded code samples in this and the next few chapters automatically include the dataset from the previous chapter, you might also want to take a look at it yourself. You can find it here, and then copy and paste the statements inside to bring yourself up to date and ready for the queries to follow.
So let's get back to the last sentence that we saw in the book. The Nobleman had just lost all of his money...
All he had left was an old castle, his wife, and three daughters: Wulfield, Adelaide, and Bertha.
That means that we still have to create person records for his wife and daughters. The Tale of the Enchanted Knights never indicates the name of either the nobleman or his wife, so we'll choose The Noblewoman for her name in the same way that we chose the Nobleman's name. We know the names of the others. Note that women could inherit property in the Middle Ages too, so the Nobleman's wife will also be linked to the old castle via the properties field.
It's now time to join them with the RELATE keyword. We could join them together through record links like we did last chapter, but this time we are going to use a link that can hold metadata about the relationship: what kind of relationship, how long since it began, and anything else you might want to add.
Let's give the RELATE statement a try and see what happens. The syntax for RELATE looks like this:
/**
[test]

[[test.results]]
value = "[{ id: relation_name:hvvihchpa2m98yq3jqp1, in: some:record, out: some:other_record }]"
skip-record-id-key=true

*/

RELATE some:record->relation_name->some:other_record;
Here are some interesting things to note about the syntax.
It doesn't use
CREATEanywhere. Instead, it usesRELATEto create a record of this table name, in this case arelation_namerecord.It uses another kind of arrow syntax, this time with a
-straight line instead of a~wavy one. You can imaginerelation_nameas a table in space that joinssome:recordtosome:other_recordvia the->paths.The
relation_nameis usually a verb or a similar word that makes queries readable. Some good examples are "wrote", or "created", or "likes", or "parent_of" in our case.
That means that our RELATE statement should look like this.
And now let's see what the Nobleman's record looks like once the relation is added.
[
  {
    class: 'Count',
    id: person:the_nobleman,
    money: 50,
    name: 'The Nobleman',
    properties: [
      building:old_castle
    ]
  }
]
It looks exactly the same! But our RELATE statement actually did work, because a RELATE statement doesn't modify either of the endpoint records. Instead, it created its own record from the parent_of table that links the two, often called a "graph table" or a "graph edge". We can prove that it exists by typing INFO FOR DB, which contains a statement showing that there is indeed a separate table with this name.
parent_of: 'DEFINE TABLE parent_of TYPE ANY SCHEMALESS PERMISSIONS NONE',Let's see what's inside!
[
  {
    id: parent_of:wzcwzj1f64clq5hgkctp,
    in: person:the_nobleman,
    out: person:wulfield
  }
]
As the output shows, a graph table even has its own ID.
You can even specify the ID for a graph table too if you want:
/**
[test]

[[test.results]]
value = "[{ id: parent_of:first_relation, in: person:the_nobleman, out: person:wulfield }]"

*/

RELATE person:the_nobleman->parent_of:first_relation->person:wulfield;
The most interesting part about these tables, however, is that they all have an in and an out field. An in is the record that is doing the linking, while out is the record that is being linked to. This is why the syntax uses arrows. In our query, one arrow shows the_nobleman going in (->) to parent_of, and then the relation moves out of parent_of into person:wulfield.
person:the_nobleman->parent_of->person:wulfieldThinking in terms of active tense (created, saw) and passive tense (created_by, seen) is a good way to visualise the difference between in and out. So if you were to relate two records using a table called "wrote", in would be the "writer" and out would be the "thing written".
Relational queries get more interesting when you have more relations to work with. We can make ours more interesting by adding the relations between the Noblewoman and remaining daughters.
Let's also add some metadata about the relationship by defining a new field on the parent_of table. This field will be called between and will have a fairly interesting type. It's sort of like a string, but a bit different.
/**
[test]

[[test.results]]
value = "NONE"

*/

DEFINE FIELD between ON parent_of
  TYPE "mother-son" | "mother-daughter" | "father-son" | "father-daughter";
This is what is known as a literal type, and is just a set of possible types and/or values. Literal types can get more complex than this, and we will experiment with them a bit more in Chapter 11. In our case we are adding this between field because parent_of on its own doesn't tell you anything about the parent or child. But with this field we will have this information.
We will do a quick DELETE parent_of to remove the existing graph relation so that we can try again with this new field defined. Trying the same RELATE statement we did before will no longer work, because the between field must be one of the four values that we declared in the DEFINE FIELD statement.
/**
[test]

[[test.results]]
value = "[{ id: parent_of:en53pqptvavmmv068vnu, in: person:the_nobleman, out: person:wulfield }]"
skip-record-id-key=true

*/

RELATE person:the_nobleman->parent_of->person:wulfield;"Found NONE for field `between`, with record `parent_of:onceng8aq0xty1wryi2s`,
but expected a 'mother-son' | 'mother-daughter' | 'father-son' | 'father-daughter'"But if we specify one of these values for between, the RELATE statement will work. Let's now use these statements inside a FOR loop to set up the relations between each parent and daughter.
With these relations established, let's use a quick query to confirm that they are what we expect them to be. We'll combine some skills we learned in previous chapters to make the output readable:
VALUEto return the value of thenameproperties,<string>to cast them into a string,+to concatenate them so the output is readable.
The output is indeed quite readable!
[
    "Parent: The Nobleman. Daughter: Adelaide",
    "Parent: The Nobleman. Daughter: Bertha",
    "Parent: The Nobleman. Daughter: Wulfield",
    "Parent: The Noblewoman. Daughter: Adelaide",
    "Parent: The Noblewoman. Daughter: Bertha",
    "Parent: The Noblewoman. Daughter: Wulfield"
]
It looks like querying directly on a graph table is the same as for any other table.
But what if we want to query on a person and see what they are a parent_of? This parent_of is an entirely separate table, so the query below won't give us the results we want:
SELECT parent_of FROM person;[
{
parent_of: NONE
},
{
parent_of: NONE
}
-- ...and so on for the other three person records
]This is where we see the arrow syntax again, which is used not just to create relations but also to query them.
Using -> and <- to traverse graph edges
As we saw just now, SELECT parent_of FROM person won't return any results. But let's see what happens when we add a -> or a <- to the front of the name of the graph edge. Let's first try adding -> to the query.
[
  {
    "->parent_of": []
  },
  {
    "->parent_of": []
  },
  {
    "->parent_of": [
      parent_of:jgbpq67artlnrfnbbyd0,
      parent_of:m2ral1i75bhukmctfgfi,
      parent_of:wzcwzj1f64clq5hgkctp
    ]
  },
  {
    "->parent_of": [
      parent_of:hw8g585r7ord9unfehfp,
      parent_of:rfgj2tw2c0w6gsogecda,
      parent_of:se05znnppigsztobyrjy
    ]
  },
  {
    "->parent_of": []
  }
]
Ah ha! We have five results, of which two have a value for the "->parent_of" field. We know that there are two parents, each of which is linked to three daughters, so the records with data must be the parents. Note that the results contain parent_of records, not person records. That's because we've only gone one step at this point, from a person to parent_of.
Changing -> to <- should give us the opposite result.
[
  {
    "<-parent_of": [
      parent_of:m2ral1i75bhukmctfgfi,
      parent_of:rfgj2tw2c0w6gsogecda
    ]
  },
  {
    "<-parent_of": [
      parent_of:hw8g585r7ord9unfehfp,
      parent_of:jgbpq67artlnrfnbbyd0
    ]
  },
  {
    "<-parent_of": []
  },
  {
    "<-parent_of": []
  },
  {
    "<-parent_of": [
      parent_of:se05znnppigsztobyrjy,
      parent_of:wzcwzj1f64clq5hgkctp
    ]
  }
]
Indeed it does! Switching -> to <- now gives us the out edges to the daughters, namely the graph tables of those who are "parented by" someone.
So what if we want to reach the actual person records that are linked in this way? Here we can add the table name we want to look for, which in this case is person - because our RELATE statement joins a person to a person. Now our query will travel two steps: from person to parent_of and then to the next person.
We know that the person type has a name field, so we can also add .name to return their names.
[
  {
    "->parent_of": {
      "->person": {
        name: []
      }
    }
  },
  {
    "->parent_of": {
      "->person": {
        name: []
      }
    }
  },
  {
    "->parent_of": {
      "->person": {
        name: [
          'Bertha',
          'Adelaide',
          'Wulfield'
        ]
      }
    }
  },
  {
    "->parent_of": {
      "->person": {
        name: [
          'Bertha',
          'Adelaide',
          'Wulfield'
        ]
      }
    }
  },
  {
    "->parent_of": {
      "->person": {
        name: []
      }
    }
  }
]
That output was good, but a little verbose. Let's use the VALUE keyword to only return the values (the names).
[
    [],
    [],
    [],
    [
        "Wulfield",
        "Bertha",
        "Adelaide"
    ],
    [
        "Adelaide",
        "Wulfield",
        "Bertha"
    ]
]
This cleaner output will help us concentrate on the difference between -> and <-.
Because with two places to use these arrows, and two arrows to choose from, that gives us four total ways we could pick a direction to see different results. Let's give each of them a try!
Here are two important tips before we start practicing:
Remember that
->isn't shorthand forin, and<-isn't shorthand forout. In fact, it's easier than that: the direction of the arrow alone in relation to the record or graph edge determines this. An arrow pointing towards something isin, and an arrow pointing out isout.FROM personat the end actually means that this is the starting point of the query. This is actually the case for allSELECTqueries.
Take this query for example:
SELECT name, age FROM person;As humans, we tend to think of the query in this way:
"Give me the
nameandageof allpersonrecords".
But from the point of view of the database it is the other way around. The database actually treats a SELECT query like this.
"From all
personrecords, returnnameandage".
So reading the FROM part of a query first can help understand this behaviour when a query gets complicated.
Since our arrows can face either -> or <-, that gives us four possible directions when querying on parent_of:
->parent_of-><-parent_of<-<-parent_of->->parent_of<-
Let's take a look at each of these directions one step at a time to make sure that we understand them.
SELECT VALUE ->parent_of->person.name FROM person;
FROM person: start fromperson. Where are we going?->parent_of: The arrow points toparent_of, to the records connected viain: the parents.parent_of->person: Goes fromparent_oftopersonvia theoutfield,.name: and accesses their names.
Who is located at out? The daughters. Result: the names of the daughters through the parents.
[
    [],
    [],
    [],
    [
        "Wulfield",
        "Bertha",
        "Adelaide"
    ],
    [
        "Adelaide",
        "Wulfield",
        "Bertha"
    ]
]
SELECT VALUE <-parent_of<-person.name FROM person;
FROM person: start fromperson. Where are we going?<-parent_of: The arrow points away fromparent_of. That's the records connected viaout: the daughters.parent_of<-person: Goes fromparent_oftopersonvia theinfield,.name: and accesses their names.
Who is located at in? The parents. Result: the names of the parents through the daughters.
[
    [
        "The Noblewoman",
        "The Nobleman"
    ],
    [
        "The Noblewoman",
        "The Nobleman"
    ],
    [
        "The Nobleman",
        "The Noblewoman"
    ],
    [],
    []
]
The next two possibilities are very rarely used. But let's go through them to ensure that we understand what the database will do when it sees the arrow syntax.
SELECT VALUE ->parent_of<-person.name FROM person;
FROM person: start fromperson. Where are we going?->parent_of: The arrow points toparent_of. That's the records connected viain: the parents.parent_of<-person: Goes fromparent_oftopersonvia theinfield,.name: and accesses their names.
Who is located at in? The parents. Result: the names of the parents through the parents via the parent_of table.
[
    [],
    [],
    [],
    [
        "The Noblewoman",
        "The Noblewoman",
        "The Noblewoman"
    ],
    [
        "The Nobleman",
        "The Nobleman",
        "The Nobleman"
    ]
]
SELECT VALUE <-parent_of->person.name FROM person;
FROM person: start fromperson. Where are we going?<-parent_of: The arrow points away fromparent_of. That's the records connected viaout: the daughters.parent_of->person: Goes fromparent_oftopersonvia theoutfield,.name: and accesses their names.
Who is located at out? The daughters. Result: the names of the daughters through the daughters via the parent_of field.
[
    [
        "Bertha",
        "Bertha"
    ],
    [
        "Wulfield",
        "Wulfield"
    ],
    [
        "Adelaide",
        "Adelaide"
    ],
    [],
    []
]
As the four examples demonstrate, these queries are generally used when you have arrows moving in the same direction (->parent_of->, or <-parent_of<-) because the arrow will represent an in on one side and an out on the other, or vice versa.
A long example is always best followed with a second example to let the concept sink in, so let's look at one more to make sure that we understand.
More traversing graph edges
Our first example involved the graph edges between two person records. This next example is simpler, but uses different record types instead of just one.
We will create a user named Aeon who has two cats that must be fed. We will relate them via a graph edge called feeds. Using RELATE is starting to get easier for us by now:
Interestingly, having two record types (user related to cat) instead of one (person related to person) will make the queries a bit easier to understand. That's because the end will either have a FROM user or a FROM cat, which will make it clearer where we are starting from compared to before where everything was FROM person.
As you can see, the feeds graph edge always has user records for in and always cat records for out.
[
    {
        in: user:aeon,
        out: cat:two
    },
    {
        in: user:aeon,
        out: cat:one
    }
]
We'll start from a simple SELECT and build up from there.
Who are the users?
[
    {
        name: 'Aeon'
    }
]
Looks like it's just Aeon. Now what are the names of the cats that Aeon is feeding?
[
    {
        "->feeds": {
            "->cat": {
                name: [
                    "Mrs. Meow",
                    "Mr. Meow"
                ]
            }
        },
        name: "Aeon"
    }
]
Now let's look at it from the other angle.
Who are the cats?
[
    {
        name: "Mr. Meow"
    },
    {
        name: "Mrs. Meow"
    }
]
Okay, their names are Mr. and Mrs. Meow. What are the names of the users that they are being fed by?
[
  {
    "<-feeds": {
      "<-user": {
        name: [
          'Aeon'
        ]
      }
    },
    name: 'Mr. Meow'
  },
  {
    "<-feeds": {
      "<-user": {
        name: [
          'Aeon'
        ]
      }
    },
    name: 'Mrs. Meow'
  }
]
This shows again that queries with arrows moving in the same direction next to a graph name are generally the ones you want. In our case, ->feeds-> and <-feeds<- are most useful.
It is much rarer that you will want to use the directions <-graph_name-> or ->graph_name<-, because the first accesses both out fields and the second accesses both in fields. But there is still some use to these two possible directions. Let's give them a try as we think about what exactly a query of that form would mean.
This first query starts at the out field of feeds and moves on to the same out field, both of which are cats.
[
  {
    "<-feeds": {
      "->cat": [
        cat:one
      ]
    }
  },
  {
    "<-feeds": {
      "->cat": [
        cat:two
      ]
    }
  }
]
So that gave us the names of cats that are each fed by...something (not sure what).
This next query starts at the in field of feeds and moves on to the same in field, both of which are users.
[
  {
    "->feeds": {
      "<-user": [
        user:aeon,
        user:aeon
      ]
    }
  }
]
That gave us the name of a user that has fed something twice.
In other words, a <-relation_name-> can show how passively involved a record is in some relation, while ->relation_name<- can show how actively involved a record is in some relation.
Destructuring inside relation queries
The destructuring syntax that we first saw way back in Chapter 1 is particularly helpful when making a graph query, since there can be a lot of typing involved before you reach the end of a query. In older versions of SurrealDB, you used to have to use the arrow syntax each time you wanted to access a field at the end of a graph query:
SELECT
    name,
    ->feeds->cat.name,
    ->feeds->cat.id
FROM user;
But now this only takes a single line!
[
  {
    "->feeds": {
      "->cat": [
        {
          id: cat:two,
          name: 'Mrs. Meow'
        },
        {
          id: cat:one,
          name: 'Mr. Meow'
        }
      ]
    },
    name: 'Aeon'
  }
]
There is a lot more you can do in SurrealDB with graph edges, because graph queries can continue as far as your imagination takes you. For example, what if you wanted to see the cats fed by a person...who is the parent of another person? Or in more human language: "Who are the cats fed by so-and-so's parents?"
A graph traversal can do all of that too! But we have learned enough for this chapter and will save those fancy queries for the next one. See you in the next chapter!
Next: Chapter 7...
Hold on a second, can you hear that sound?
Aeon's day isn't over yet. Let's tune in to see what's going on.
Later that day
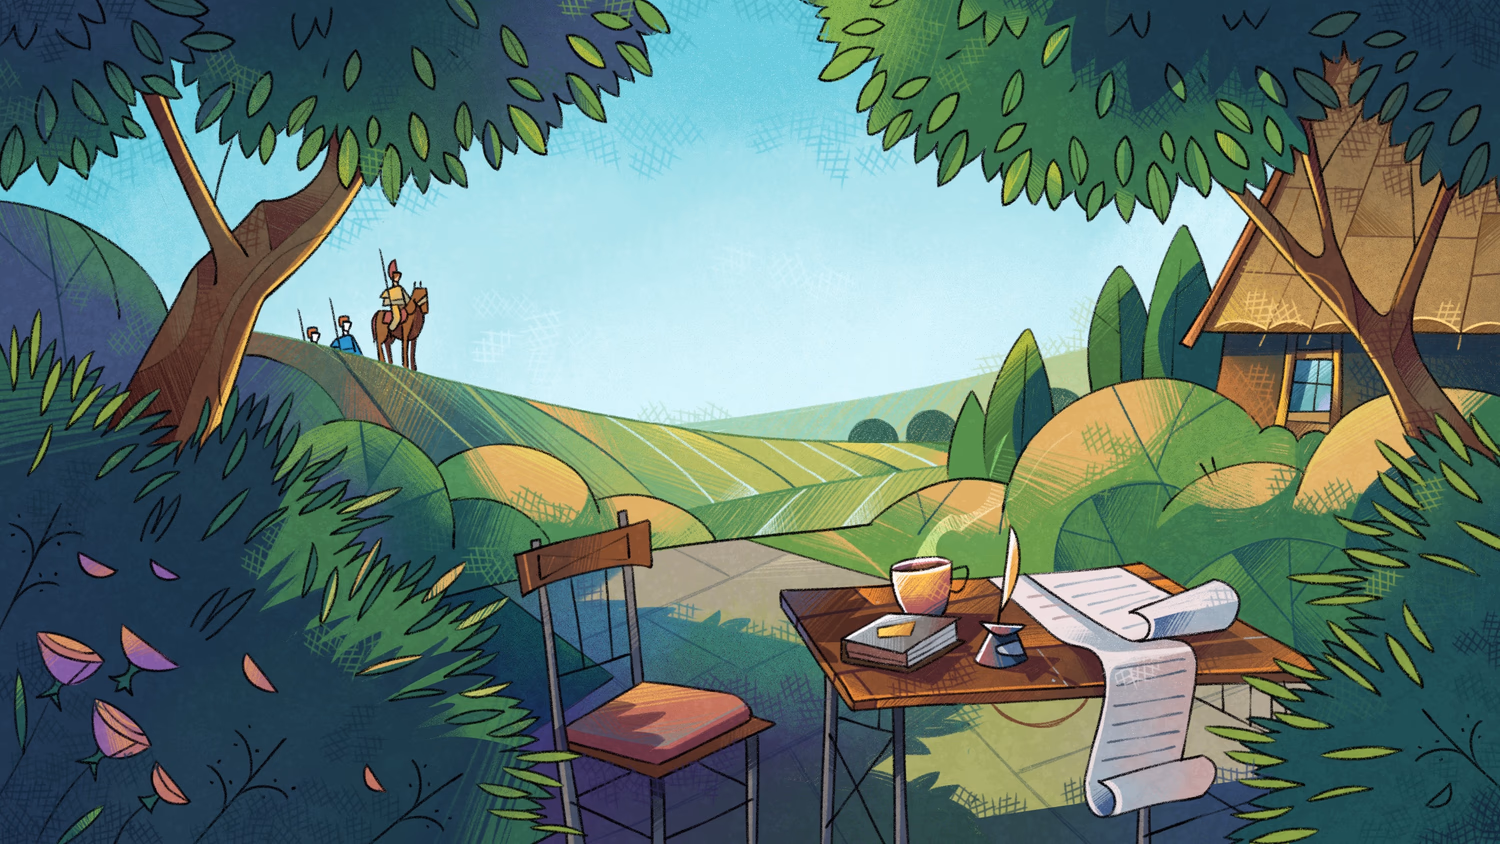
You hear the sound of horses' hooves in the distance, and make your way to the tunnel entrance. It sounds like a dozen or more of them. Why so many?
All you can see at first is a cloud of dust, but soon the riders reach the top of the nearest hill and are close enough to see. At their head is Landevin, one of the young members of the town council, famous for being a brilliant speaker...and for his fancy name. Who gives their kid a name like Landevin, anyway?
Landevin stops his horse and looks down towards you.
"Aeon, we've come from the town to have a serious talk with you about your project."
Practice time
1. How would you create a relation called defeated that keeps track of historical battles?
Answer
The data below showing a few Roman victories and losses shows how you can do it. Since we are using the RELATE statement to create relations, we can also keep track of these battles such as the date when they happened.
/**
[test]

[[test.results]]
value = "[{ id: country:rome, name: 'Rome' }]"

[[test.results]]
value = "[{ id: country:etruria, name: 'Etruria' }]"

[[test.results]]
value = "[{ id: country:senones, name: 'Senones' }]"

[[test.results]]
value = "[{ defeated_at: d'-0264-01-01T00:00:00Z', id: defeated:1k8yjbto5ux9odiqd9bz, in: country:rome, out: country:etruria }]"
skip-record-id-key=true

[[test.results]]
value = "[{ defeated_at: d'-0387-07-18T00:00:00Z', id: defeated:3vya5kqp5z9fi3tnrbhg, in: country:senones, out: country:rome }]"
skip-record-id-key=true

[[test.results]]
value = "[{ defeated_at: d'-0146-01-01T00:00:00Z', id: defeated:bwlt1s1t7jfd495siigl, in: country:rome, out: country:carthage }]"
skip-record-id-key=true

*/

CREATE country:rome SET name = "Rome";
CREATE country:etruria SET name = "Etruria";
CREATE country:senones SET name = "Senones";
CREATE country:carthage SET name = "Carthage";

RELATE country:rome->defeated->country:etruria SET defeated_at = <datetime>"-0264-01-01";
RELATE country:senones->defeated->country:rome SET defeated_at = <datetime>"-0387-07-18";
RELATE country:rome->defeated->country:carthage SET defeated_at = <datetime>"-0146-01-01";
2. How would you query that data on historical battles?
Answer
The sky is the limit when it comes to these types of queries, but here are two to get you started. You can query starting from country or from the defeated table itself.
SELECT
  name,
  ->defeated->country AS won_against,
  <-defeated<-country AS lost_to
FROM country;[
{
lost_to: [
country:rome
],
name: 'Carthage',
won_against: []
},
{
lost_to: [
country:rome
],
name: 'Etruria',
won_against: []
},
{
lost_to: [
country:senones
],
name: 'Rome',
won_against: [
country:etruria,
country:carthage
]
},
{
lost_to: [],
name: 'Senones',
won_against: [
country:rome
]
}
]SELECT
defeated_at,
in.name AS winner,
out.name AS loser
FROM defeated;[
{
defeated_at: '-0264-01-01T00:00:00Z',
loser: 'Etruria',
winner: 'Rome'
},
{
defeated_at: '-0146-01-01T00:00:00Z',
loser: 'Carthage',
winner: 'Rome'
},
{
defeated_at: '-0387-07-18T00:00:00Z',
loser: 'Rome',
winner: 'Senones'
}
]3. How could you find all the countries that have won at least 50% of their battles?
Answer
One way to do this is to use the count() function to compare the number of a country's victories versus the number of its defeats. As ->defeated will return an array of the victories and <-defeated will return the opposite, these can be fed into the count() function.
SELECT * FROM country WHERE count(->defeated) >= count(<-defeated);[
{
id: country:rome,
name: 'Rome'
},
{
id: country:senones,
name: 'Senones'
}
]4. How would you list every battle Rome was involved in, sorted from oldest to newest?
Answer
One way this could be done is through a regular query on the defeated table itself, followed by an ORDER BY on defeated_at.
SELECT
  defeated_at,
  in.name AS winner,
  out.name AS loser
FROM defeated
WHERE country:rome IN [in, out]
ORDER BY defeated_at;
5. A defeated relation was entered by mistake. How would you remove it without deleting the country records?
Answer
Delete the edge record itself. You can target it by id or by its in / out pair.
Don't forget to add RETURN BEFORE if you want to confirm that it was deleted, because by default a DELETE statement returns an empty array.
DELETE defeated WHERE in = country:senones AND out = country:rome RETURN BEFORE;The output will look something like this.
[
	{
		defeated_at: d'-0387-07-18T00:00:00Z',
		id: defeated:1yh7t534fqmkxpcdcn2h,
		in: country:senones,
		out: country:rome
	}
]