Query an instance from SurrealDB Studio without setting up a client.
Studio is already connected to your instances, so signing in is the whole authentication step. Use it to explore data, write a query, and check the effect of a schema change.
Select a namespace and database
Queries run against a specific database inside a specific namespace, so select both before you run anything.
Open the instance and go to the query view.
Select the Namespace control and choose a namespace. If the instance has none, the same control offers to create one.
Select the Database control and choose a database, or create one.
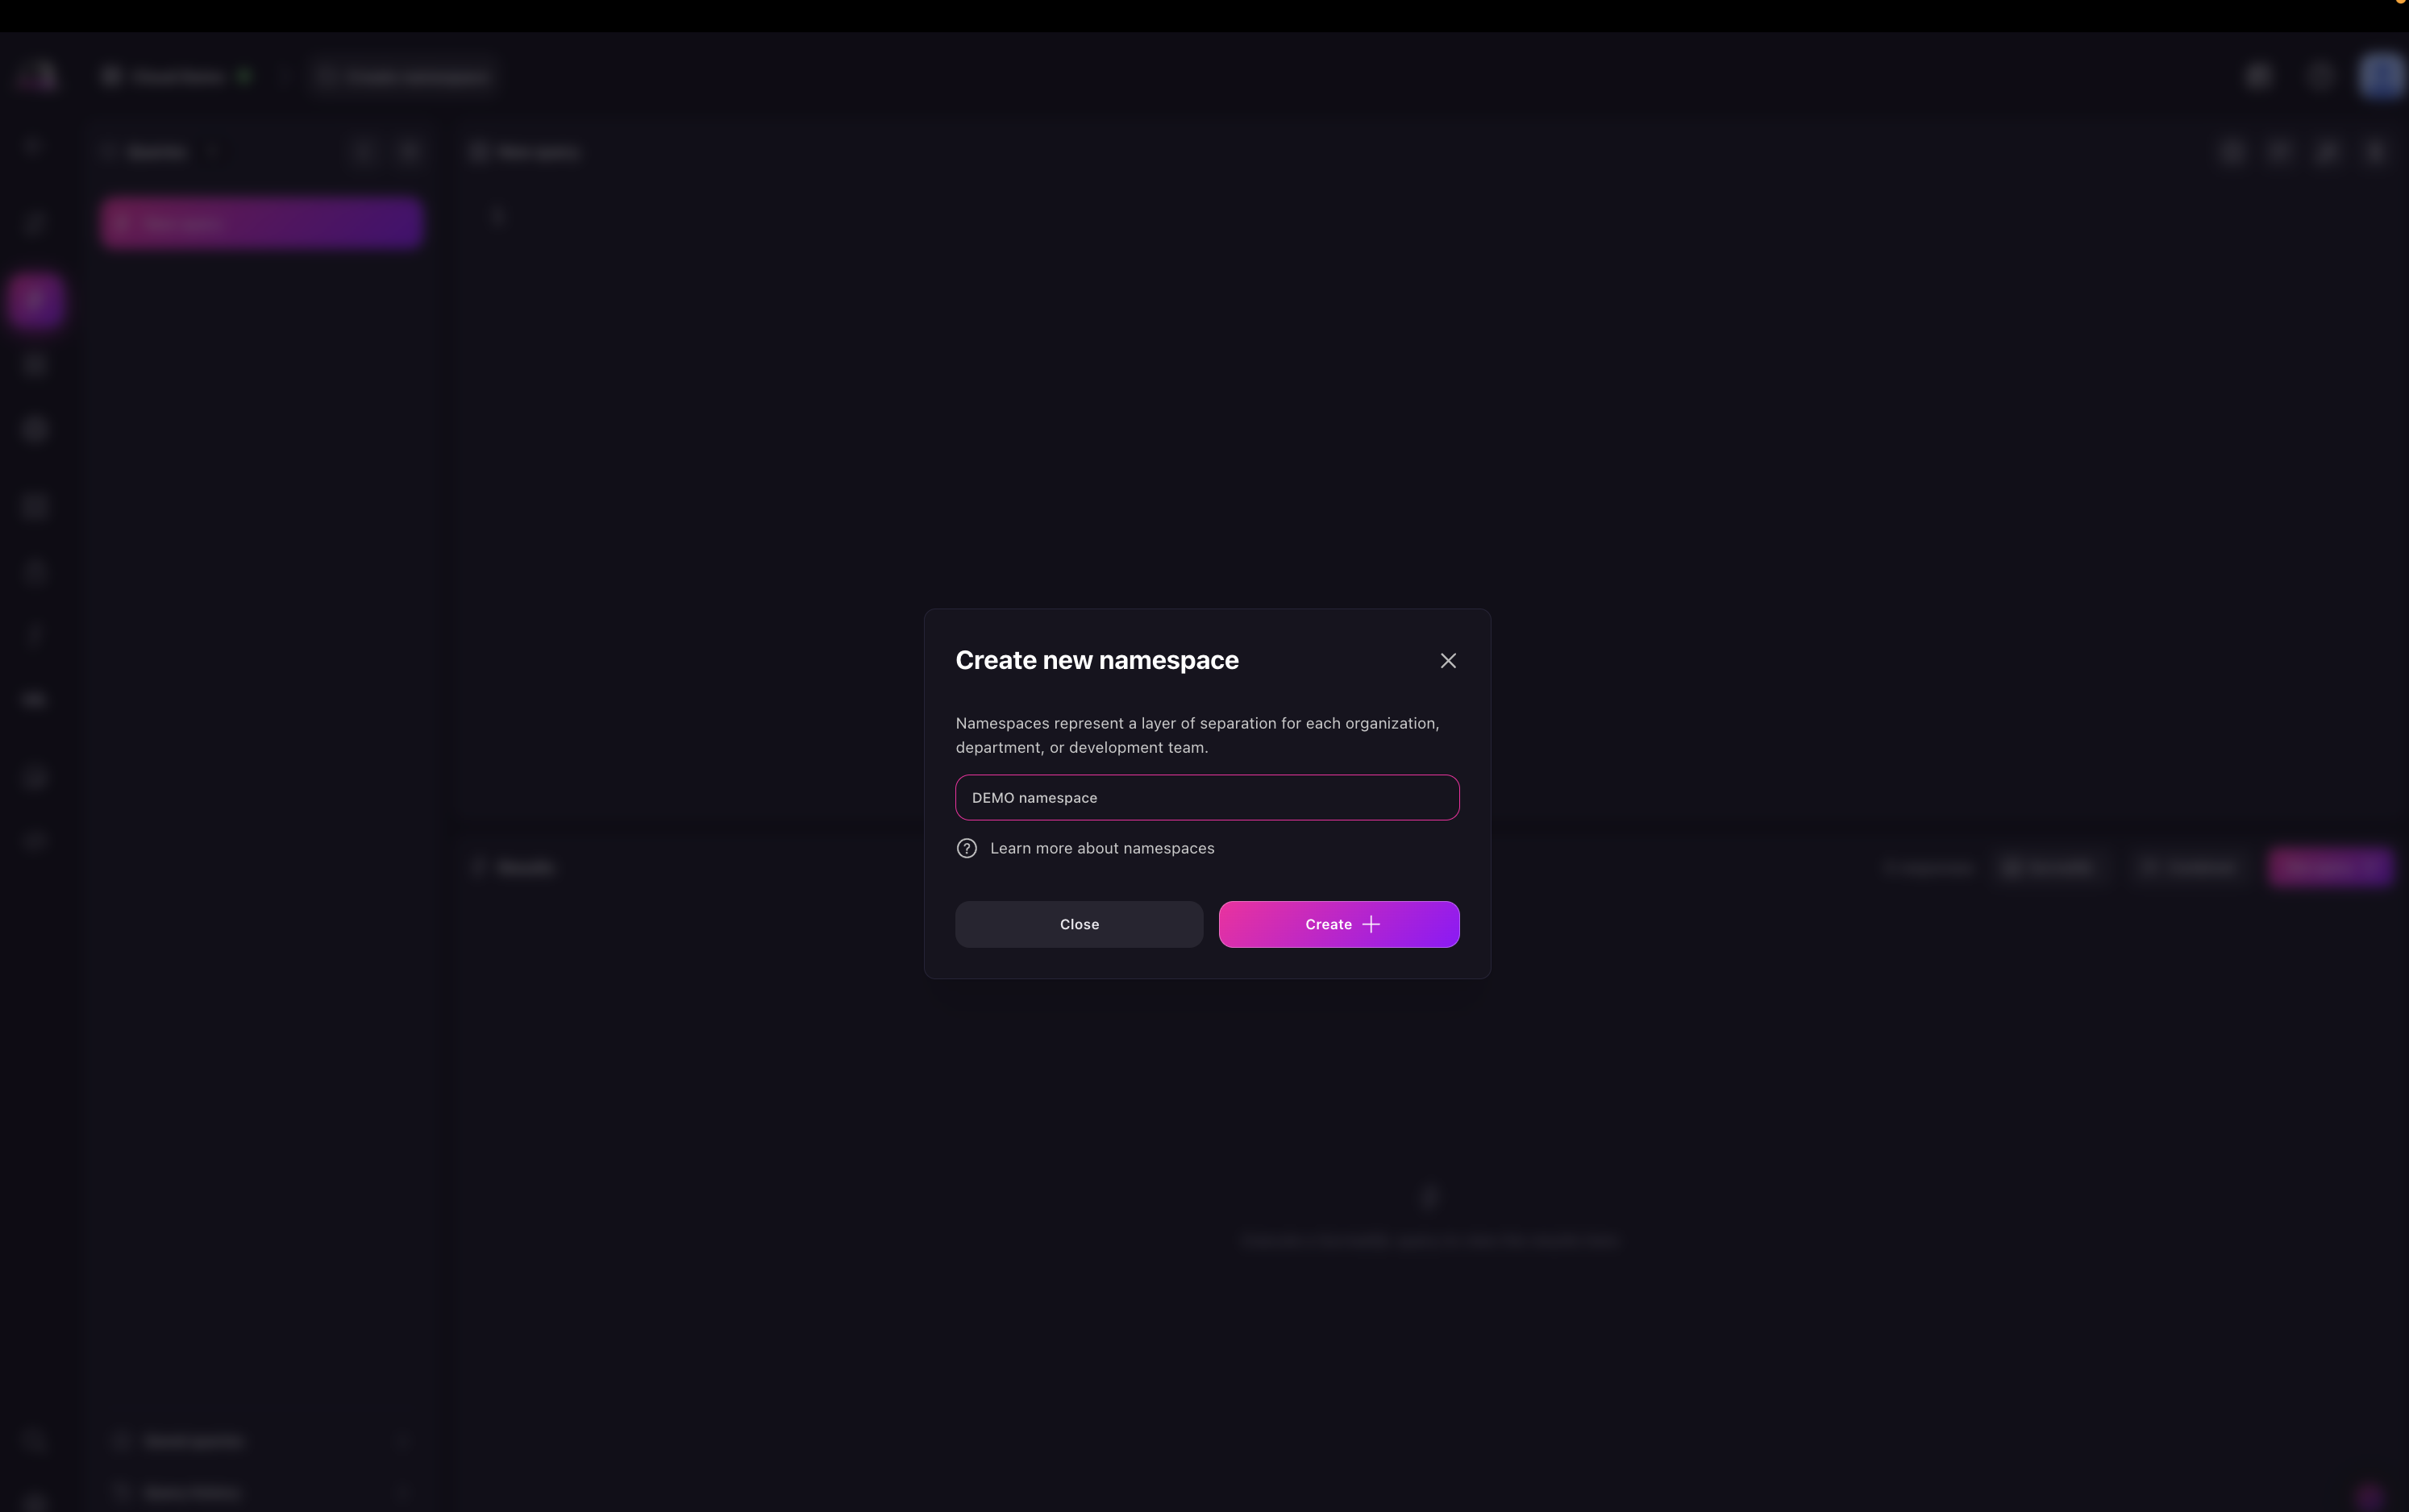
An instance created with the Empty starting-data option has neither, so this is the first thing to do after you deploy one.
Run a query
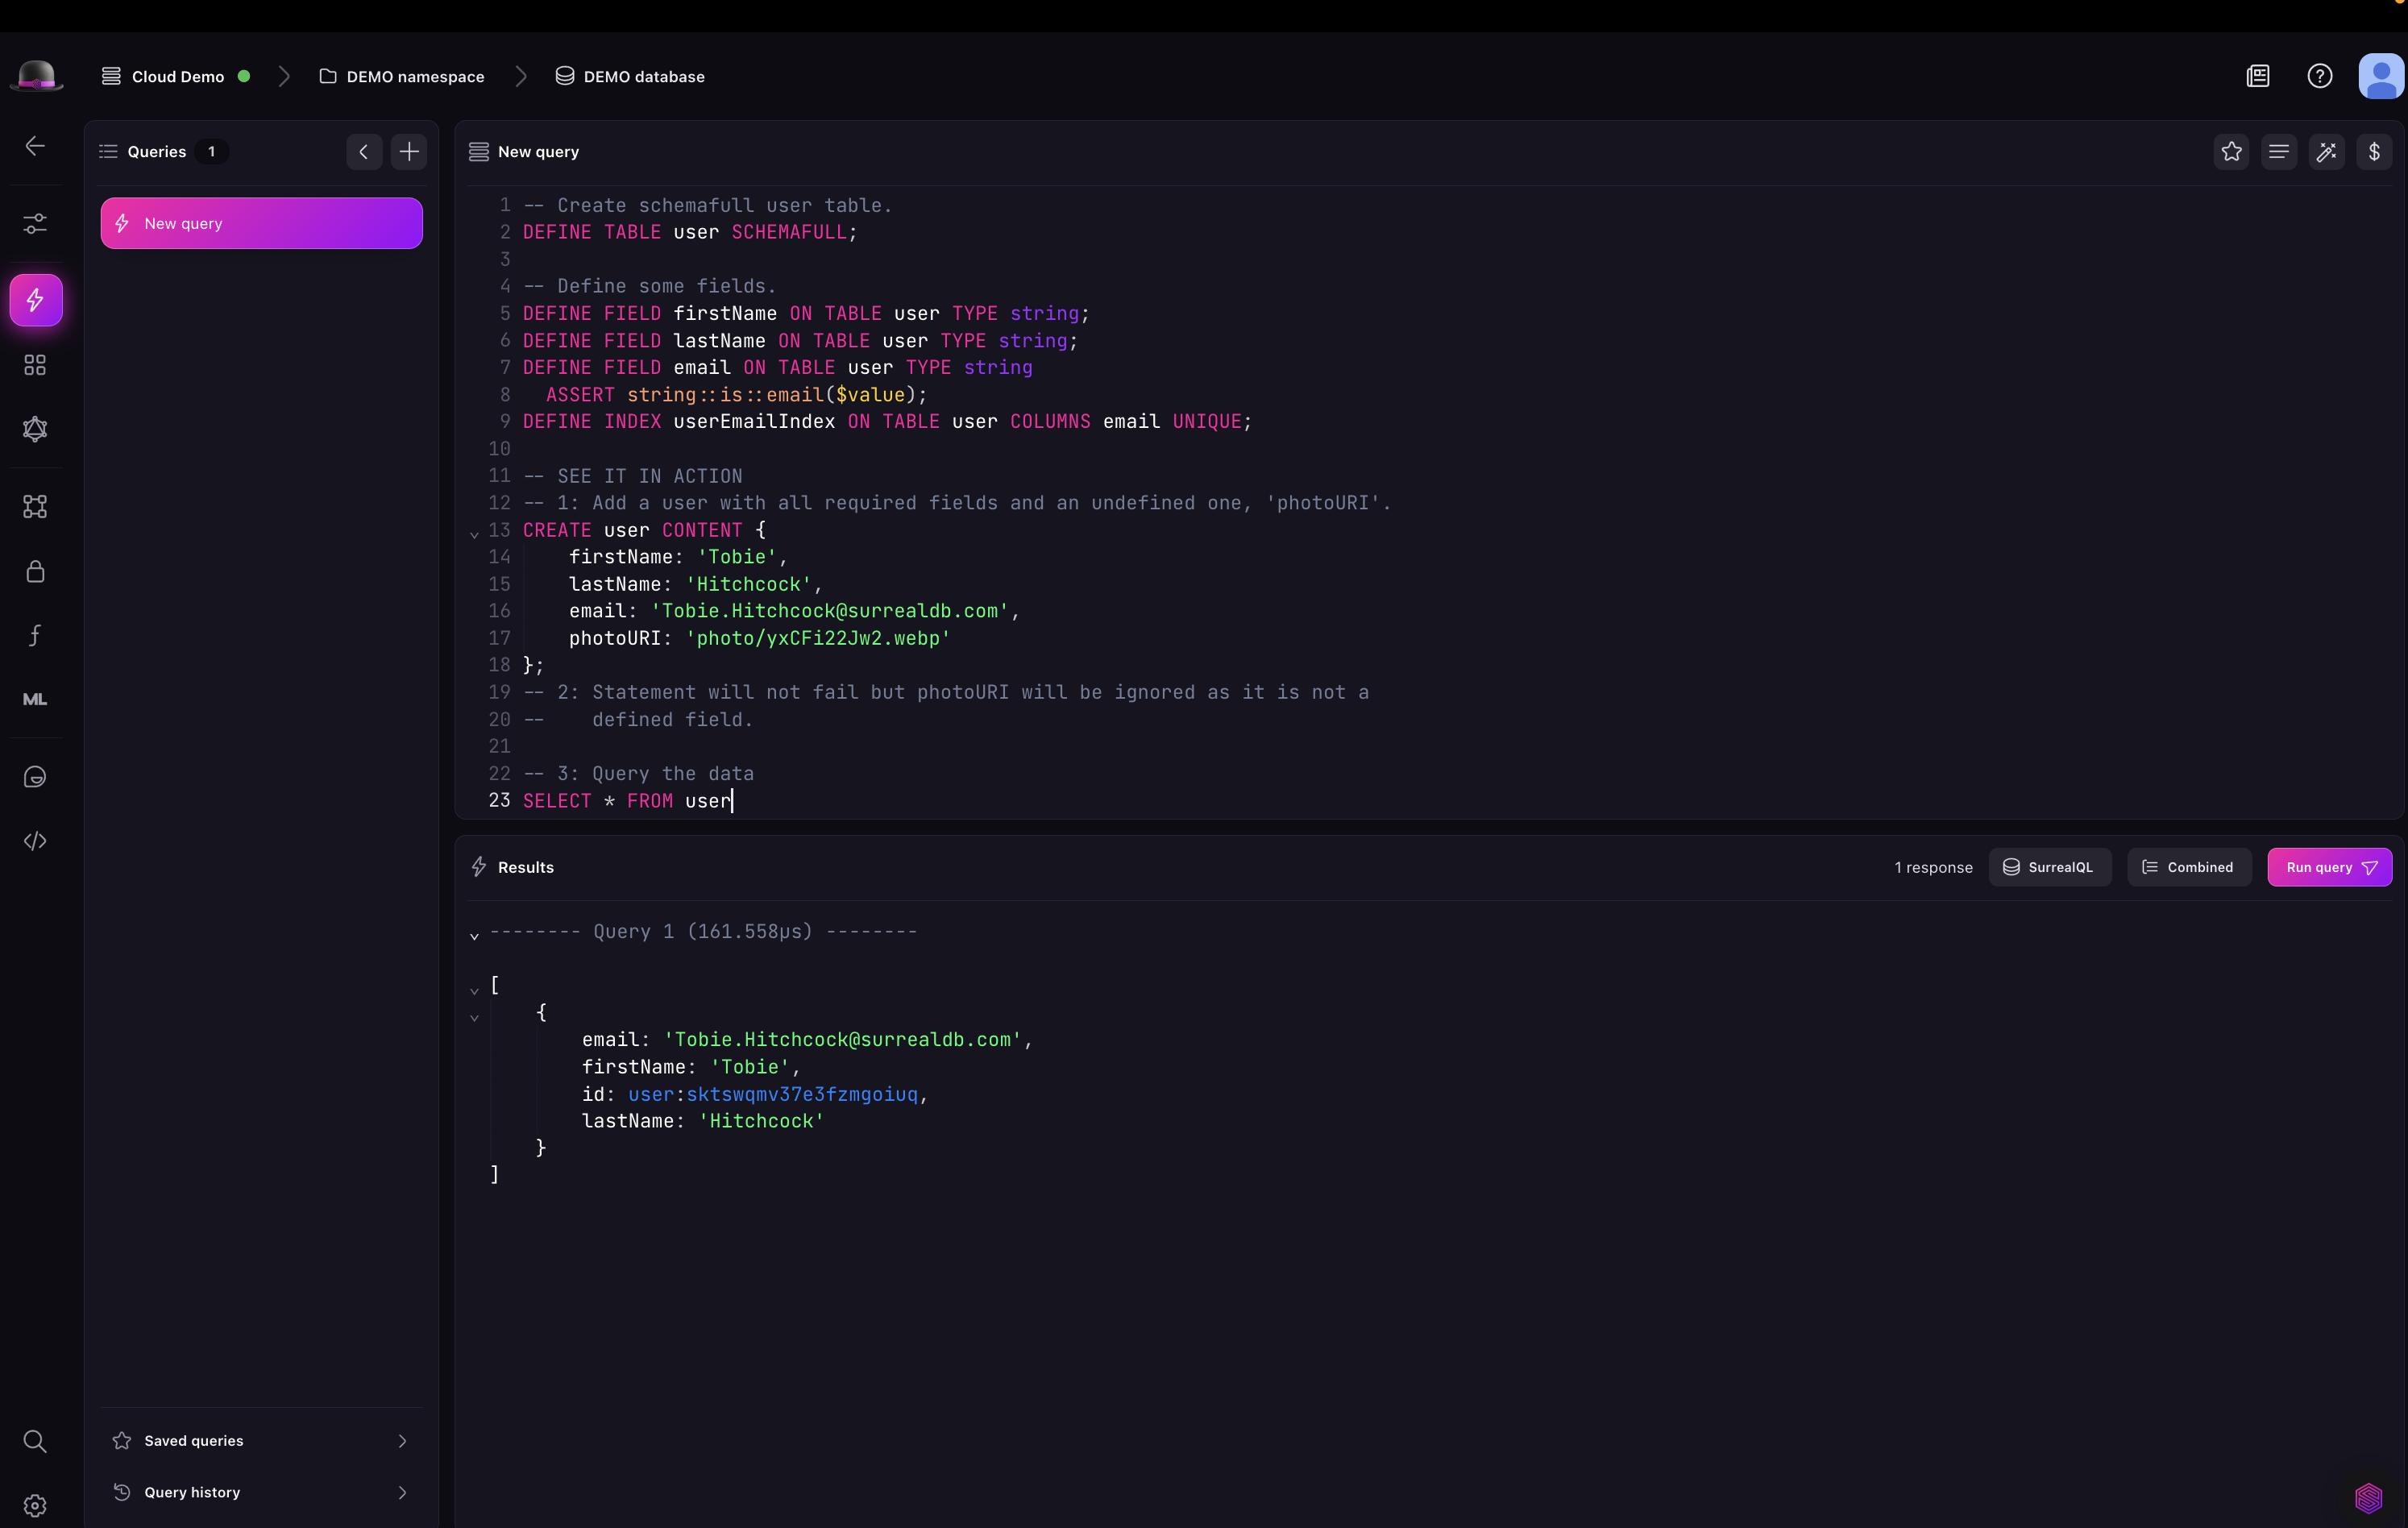
With both selected, the editor runs SurrealQL against that database. Results appear beneath the query, and records created by a statement show up immediately in the explorer.
Next steps
SurrealDB Studio: the rest of the interface, including the schema designer, the explorer, and keyboard shortcuts.
SurrealQL: the query language reference.
Connect via SDK: moving from exploration to application code.