Connect Google Workspace to SurrealDB to allow members of your organisation to sign in with their Google accounts. You create an OAuth client in the Google Cloud console, then enter its details in a new connection in SurrealDB Studio.
Before you start, verify the email domain your company uses. You also need access to the Google Cloud console for a project in your Google Workspace organisation.
Step 1: Prepare the Google Cloud project
In the Google Cloud console, enable the Admin SDK API for your project.
Open Google Auth Platform and configure the OAuth consent screen with the audience set to Internal.
Add
surrealdb.comas an authorised domain.
An internal consent screen limits sign-in to accounts in your Google Workspace organisation.
Step 2: Create an OAuth client
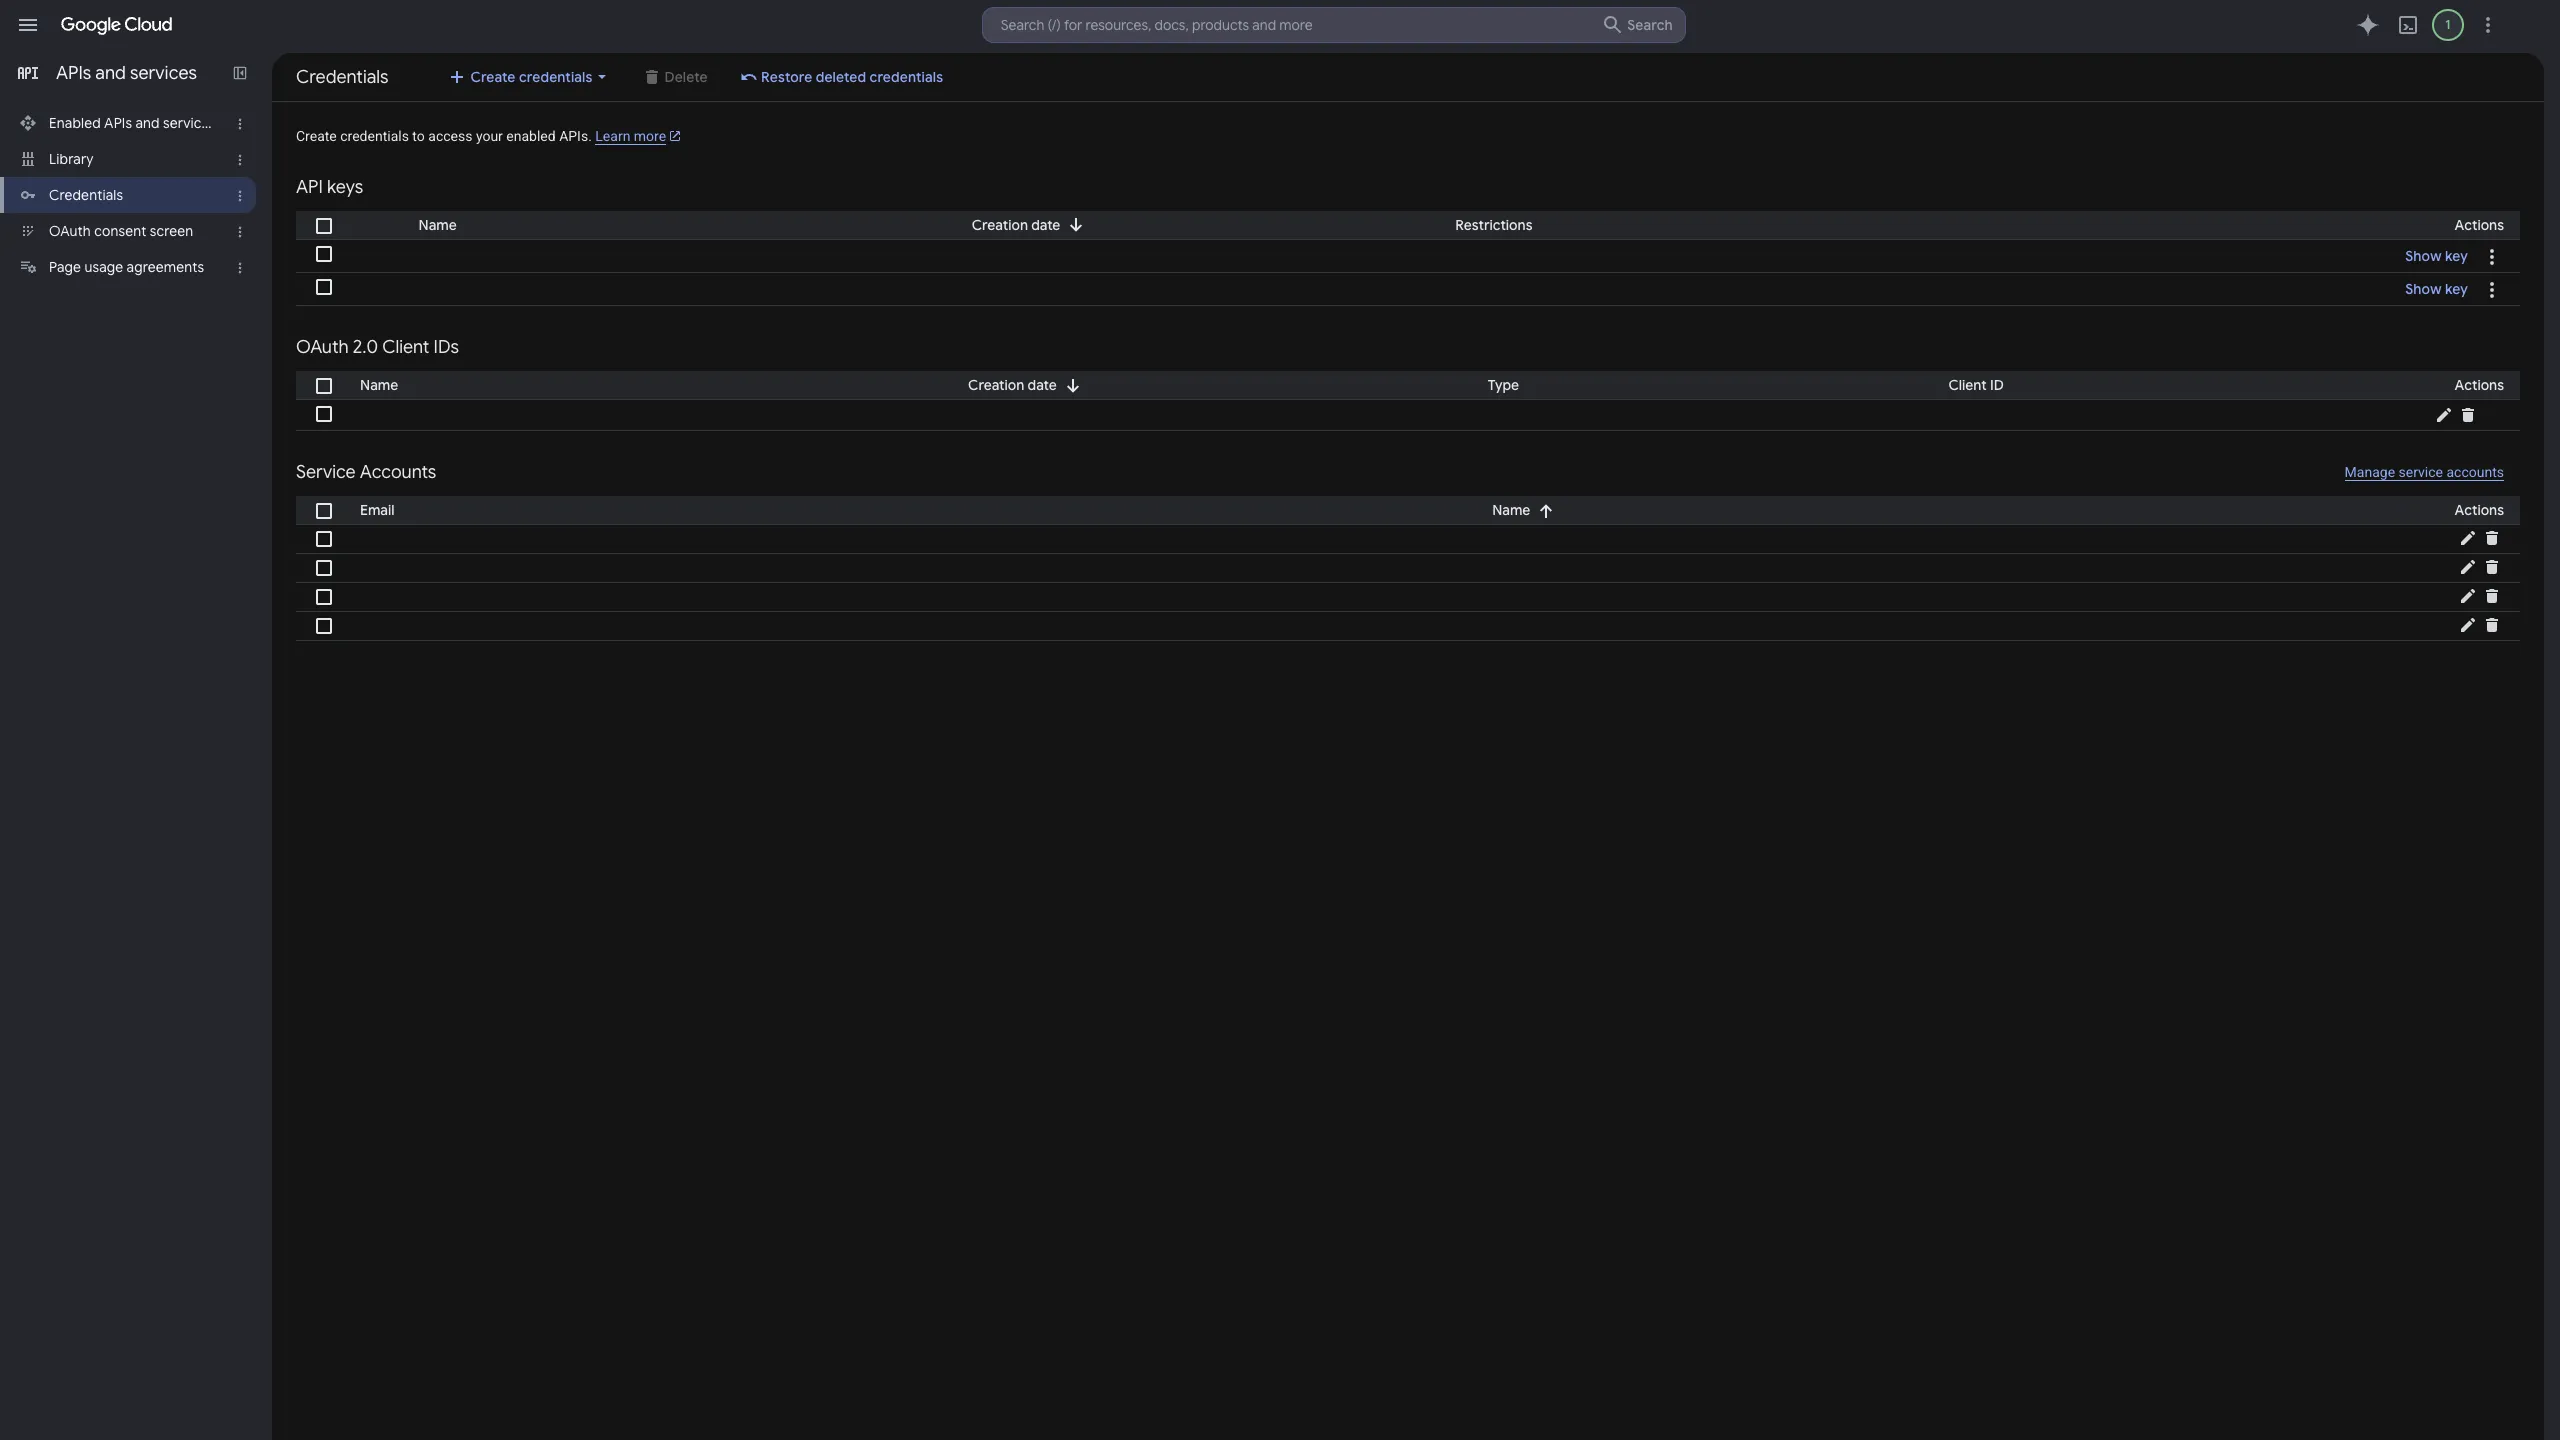
Open APIs and services, then Credentials.
Select Create credentials, then OAuth client ID.
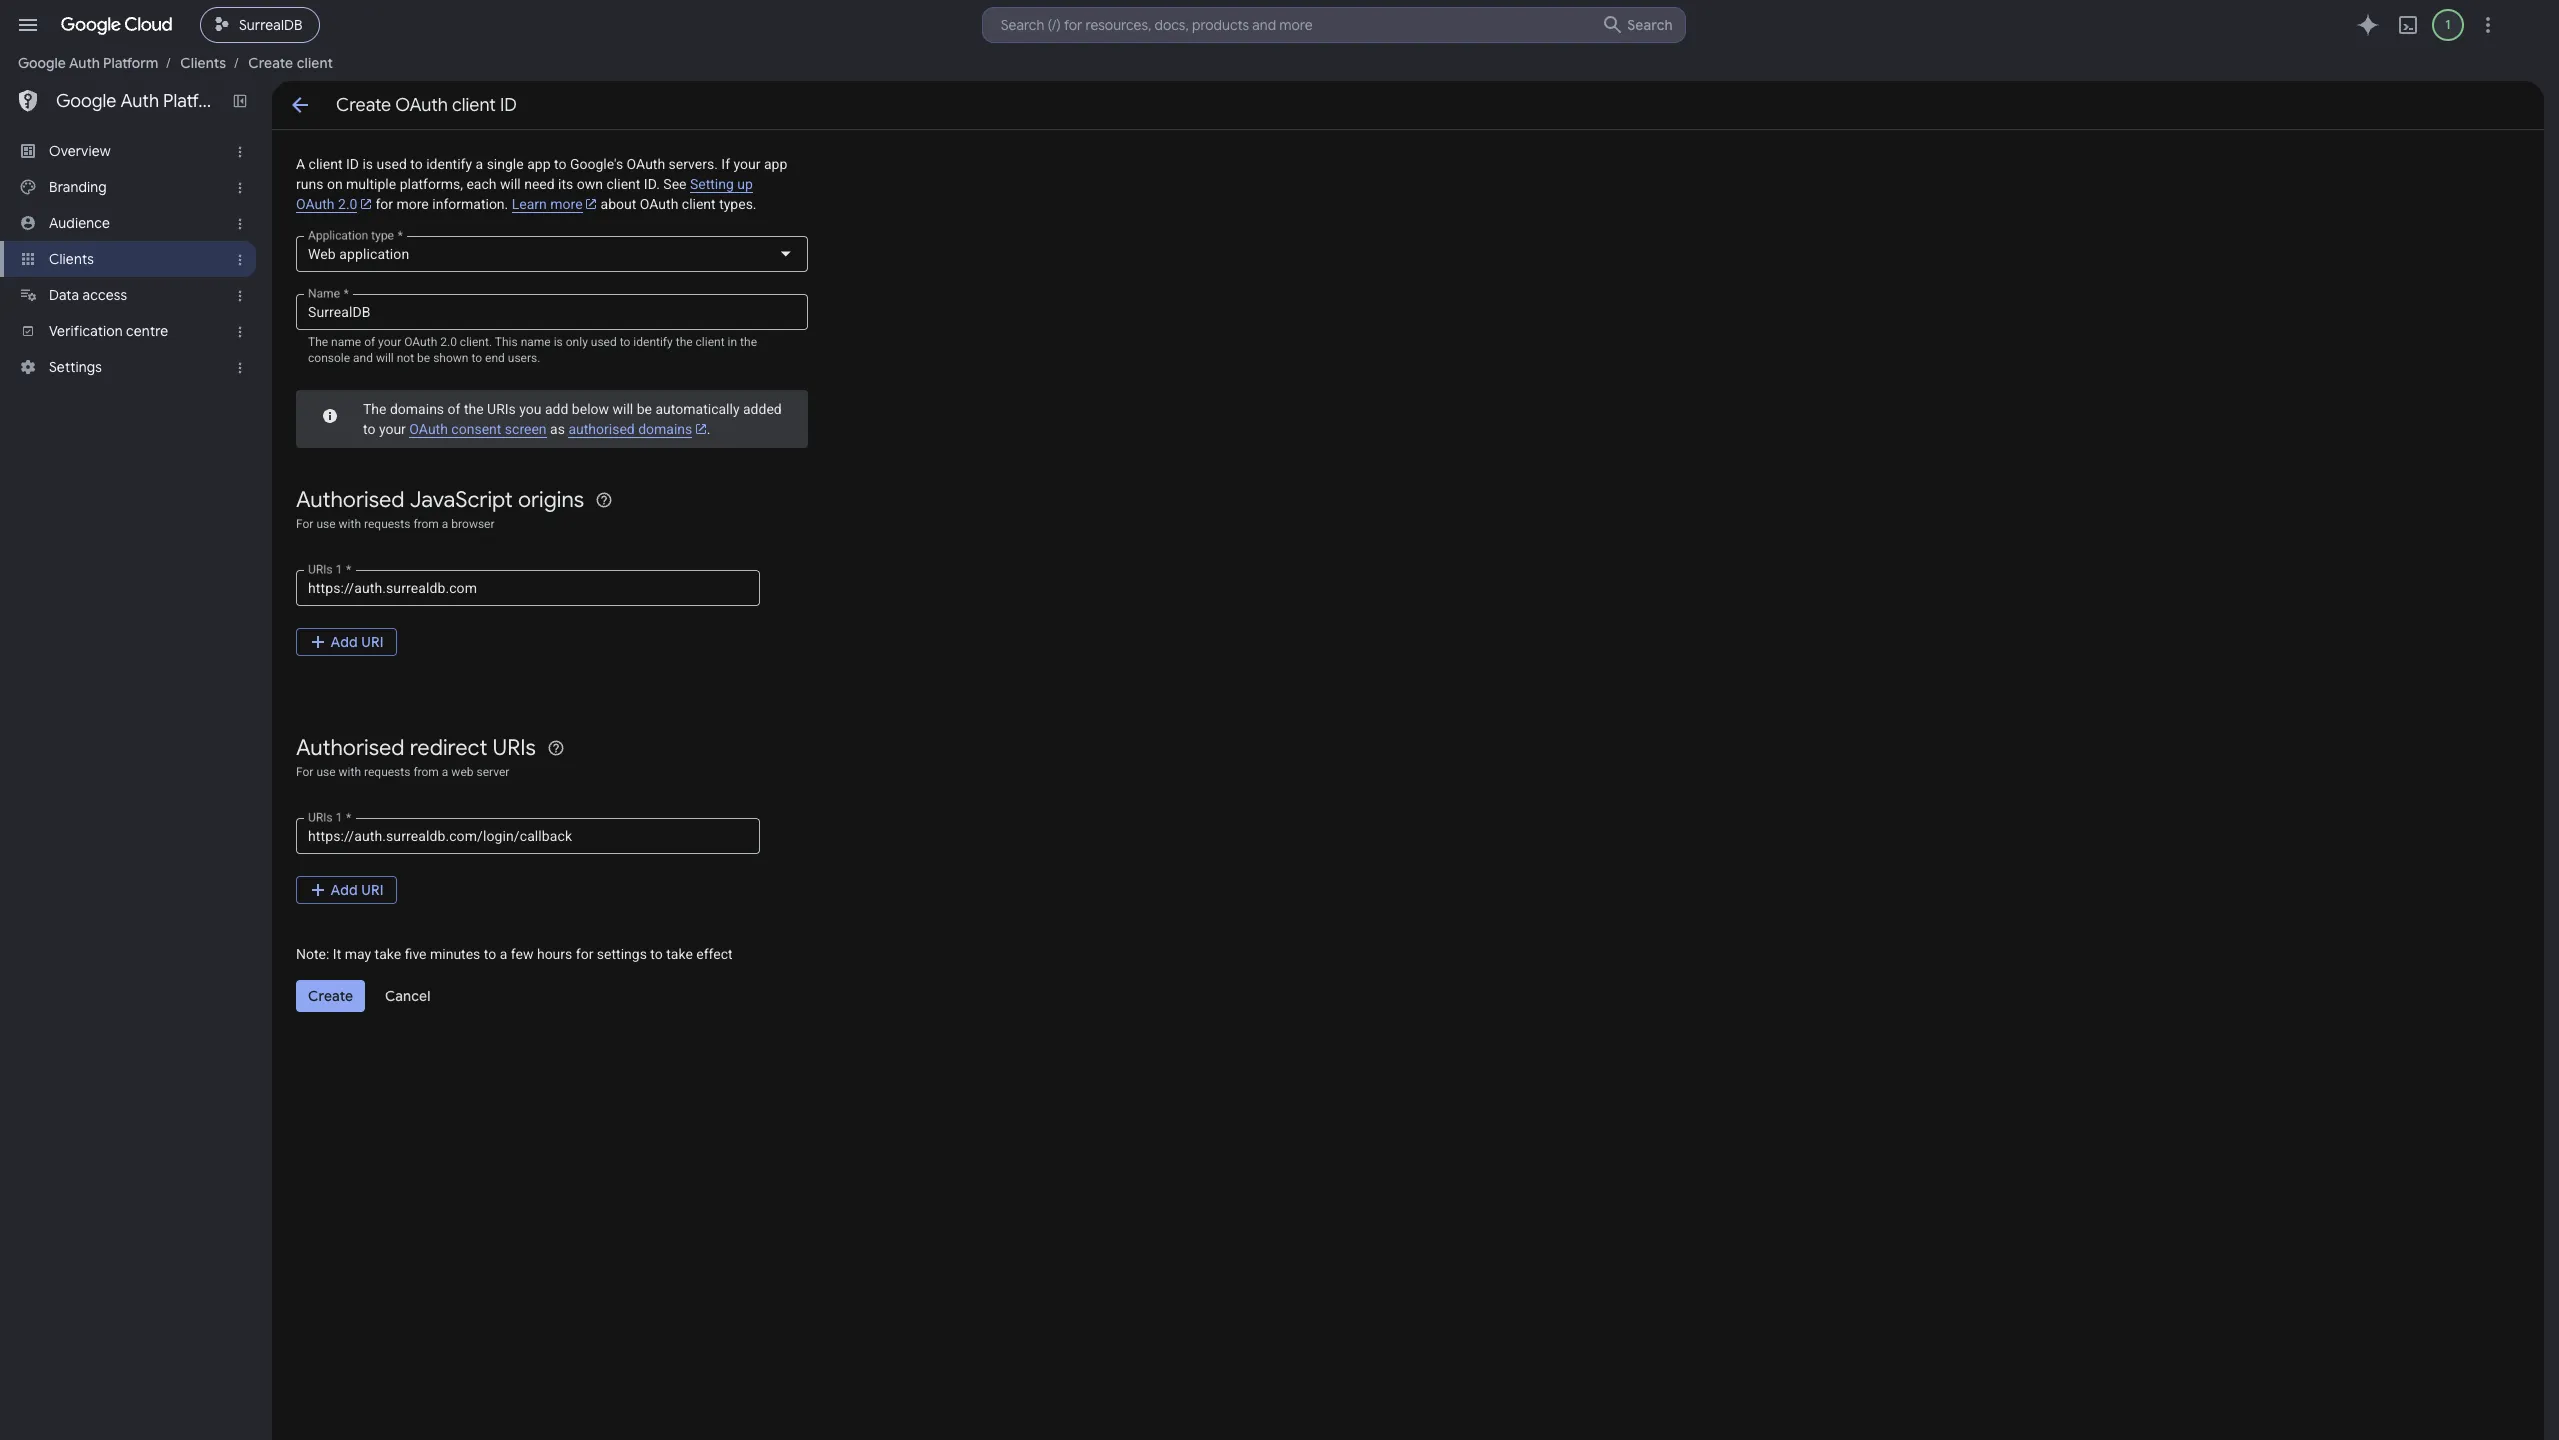
Set Application type to Web application.
Enter a name, for example
SurrealDB. Only you see this name in the console.Under Authorised JavaScript origins, add
https://auth.surrealdb.com.Under Authorised redirect URIs, add
https://auth.surrealdb.com/login/callback.Select Create.
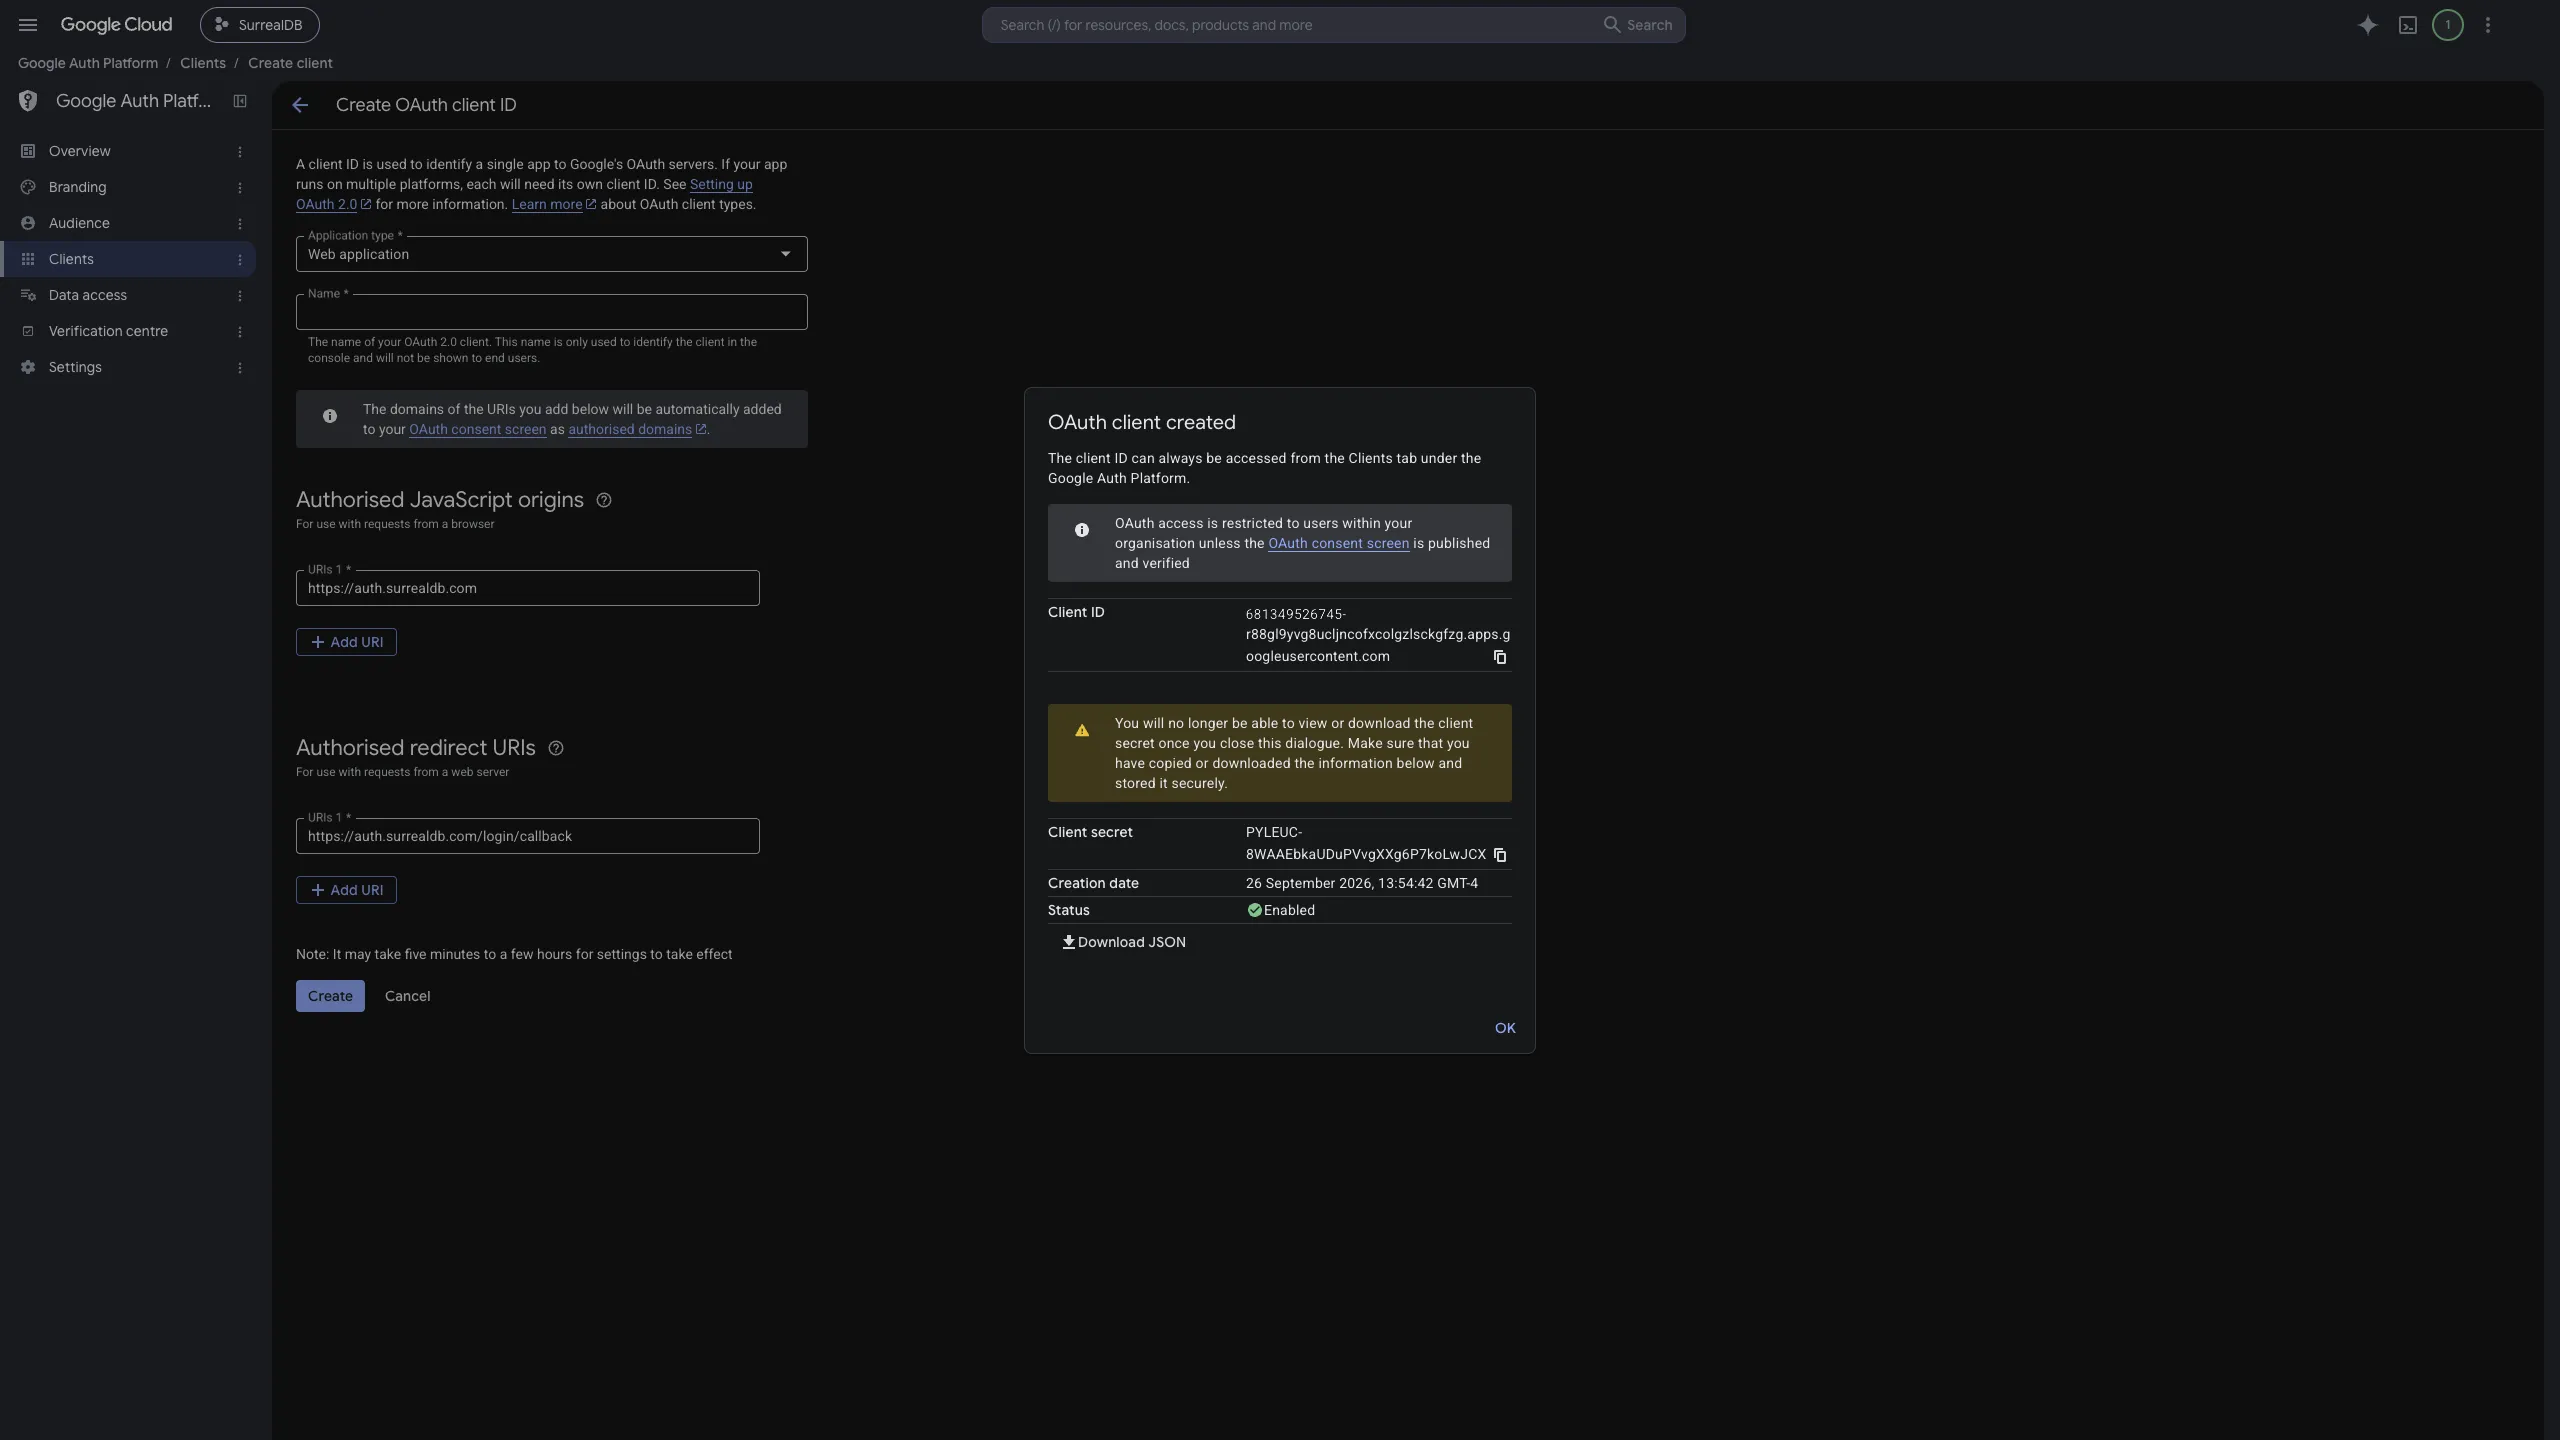
Google then shows the client ID and the client secret. Copy both, or select Download JSON to save them.
Google shows the client secret only once. After you close the dialogue, you cannot view or download it again, and you must create a new secret.
It can take from five minutes to a few hours for the new client to take effect.
Step 3: Add the connection in SurrealDB
Open Single sign-on in your enterprise and add a new connection.
Select Google Workspace.
Under Name the connection, enter a Display name. Members see this name on the sign-in screen.
Under Enter the Google Workspace details, enter:
Google Workspace domain: the primary domain of your Workspace, for example
example.com.Client ID: the client ID from step 2.
Client secret: the client secret from step 2.
Under Route sign-in domains, select the verified domains to send to this connection. This is optional, and you can change it later.
Select Create connection.
The Set up Google Workspace section of the form shows the JavaScript origin, the authorised domain and the redirect URI, with a copy button beside each, if you need them again.
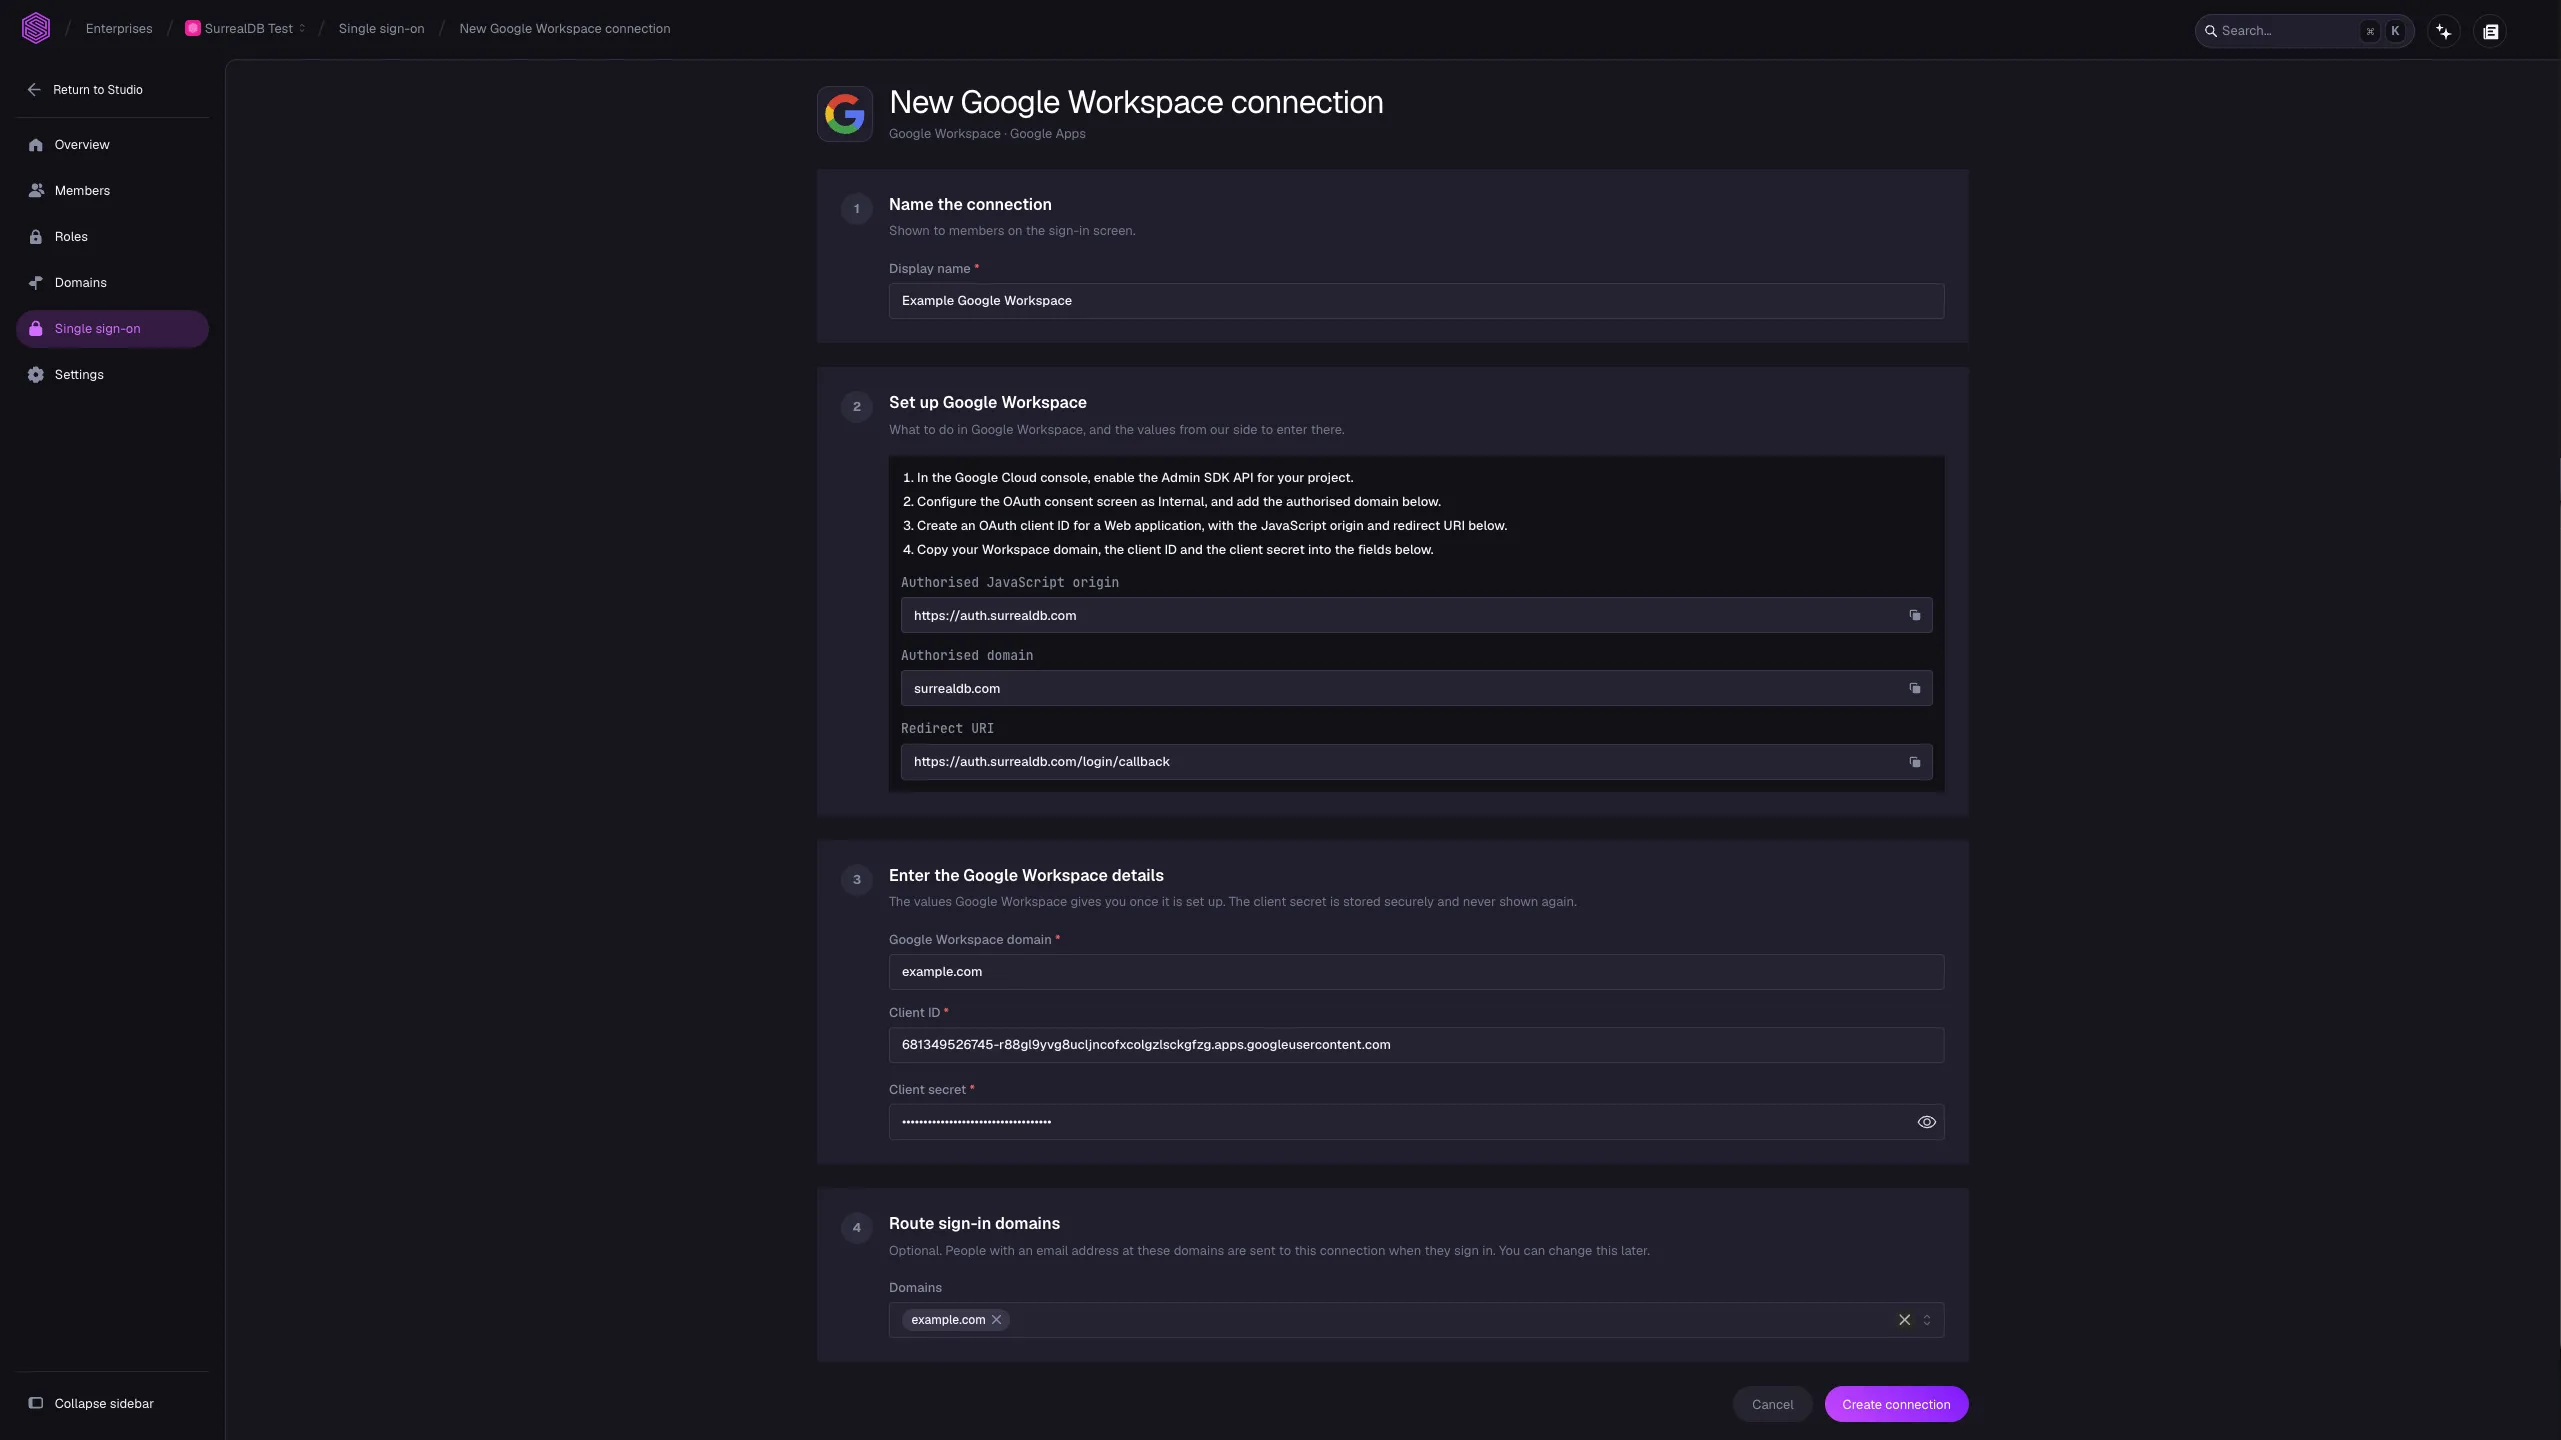
SurrealDB stores the client secret securely and does not show it again.
Next steps
If you did not route a domain when you created the connection, route one now. Then choose the applications that people can sign in to with this connection.