The Members page lists everyone who exists inside of an enterprise, along with the roles each of them holds and their sign-in method.
Enterprise memberships are not passed down to sub-organisations currently, but this is planned for a future release. For now, each member will need to be invited to each sub-organisation manually.
Two sections divide the list. Members holds the people who have already accepted an invitation and are in the enterprise. Pending invitations holds the invitations you have sent that nobody has accepted yet.
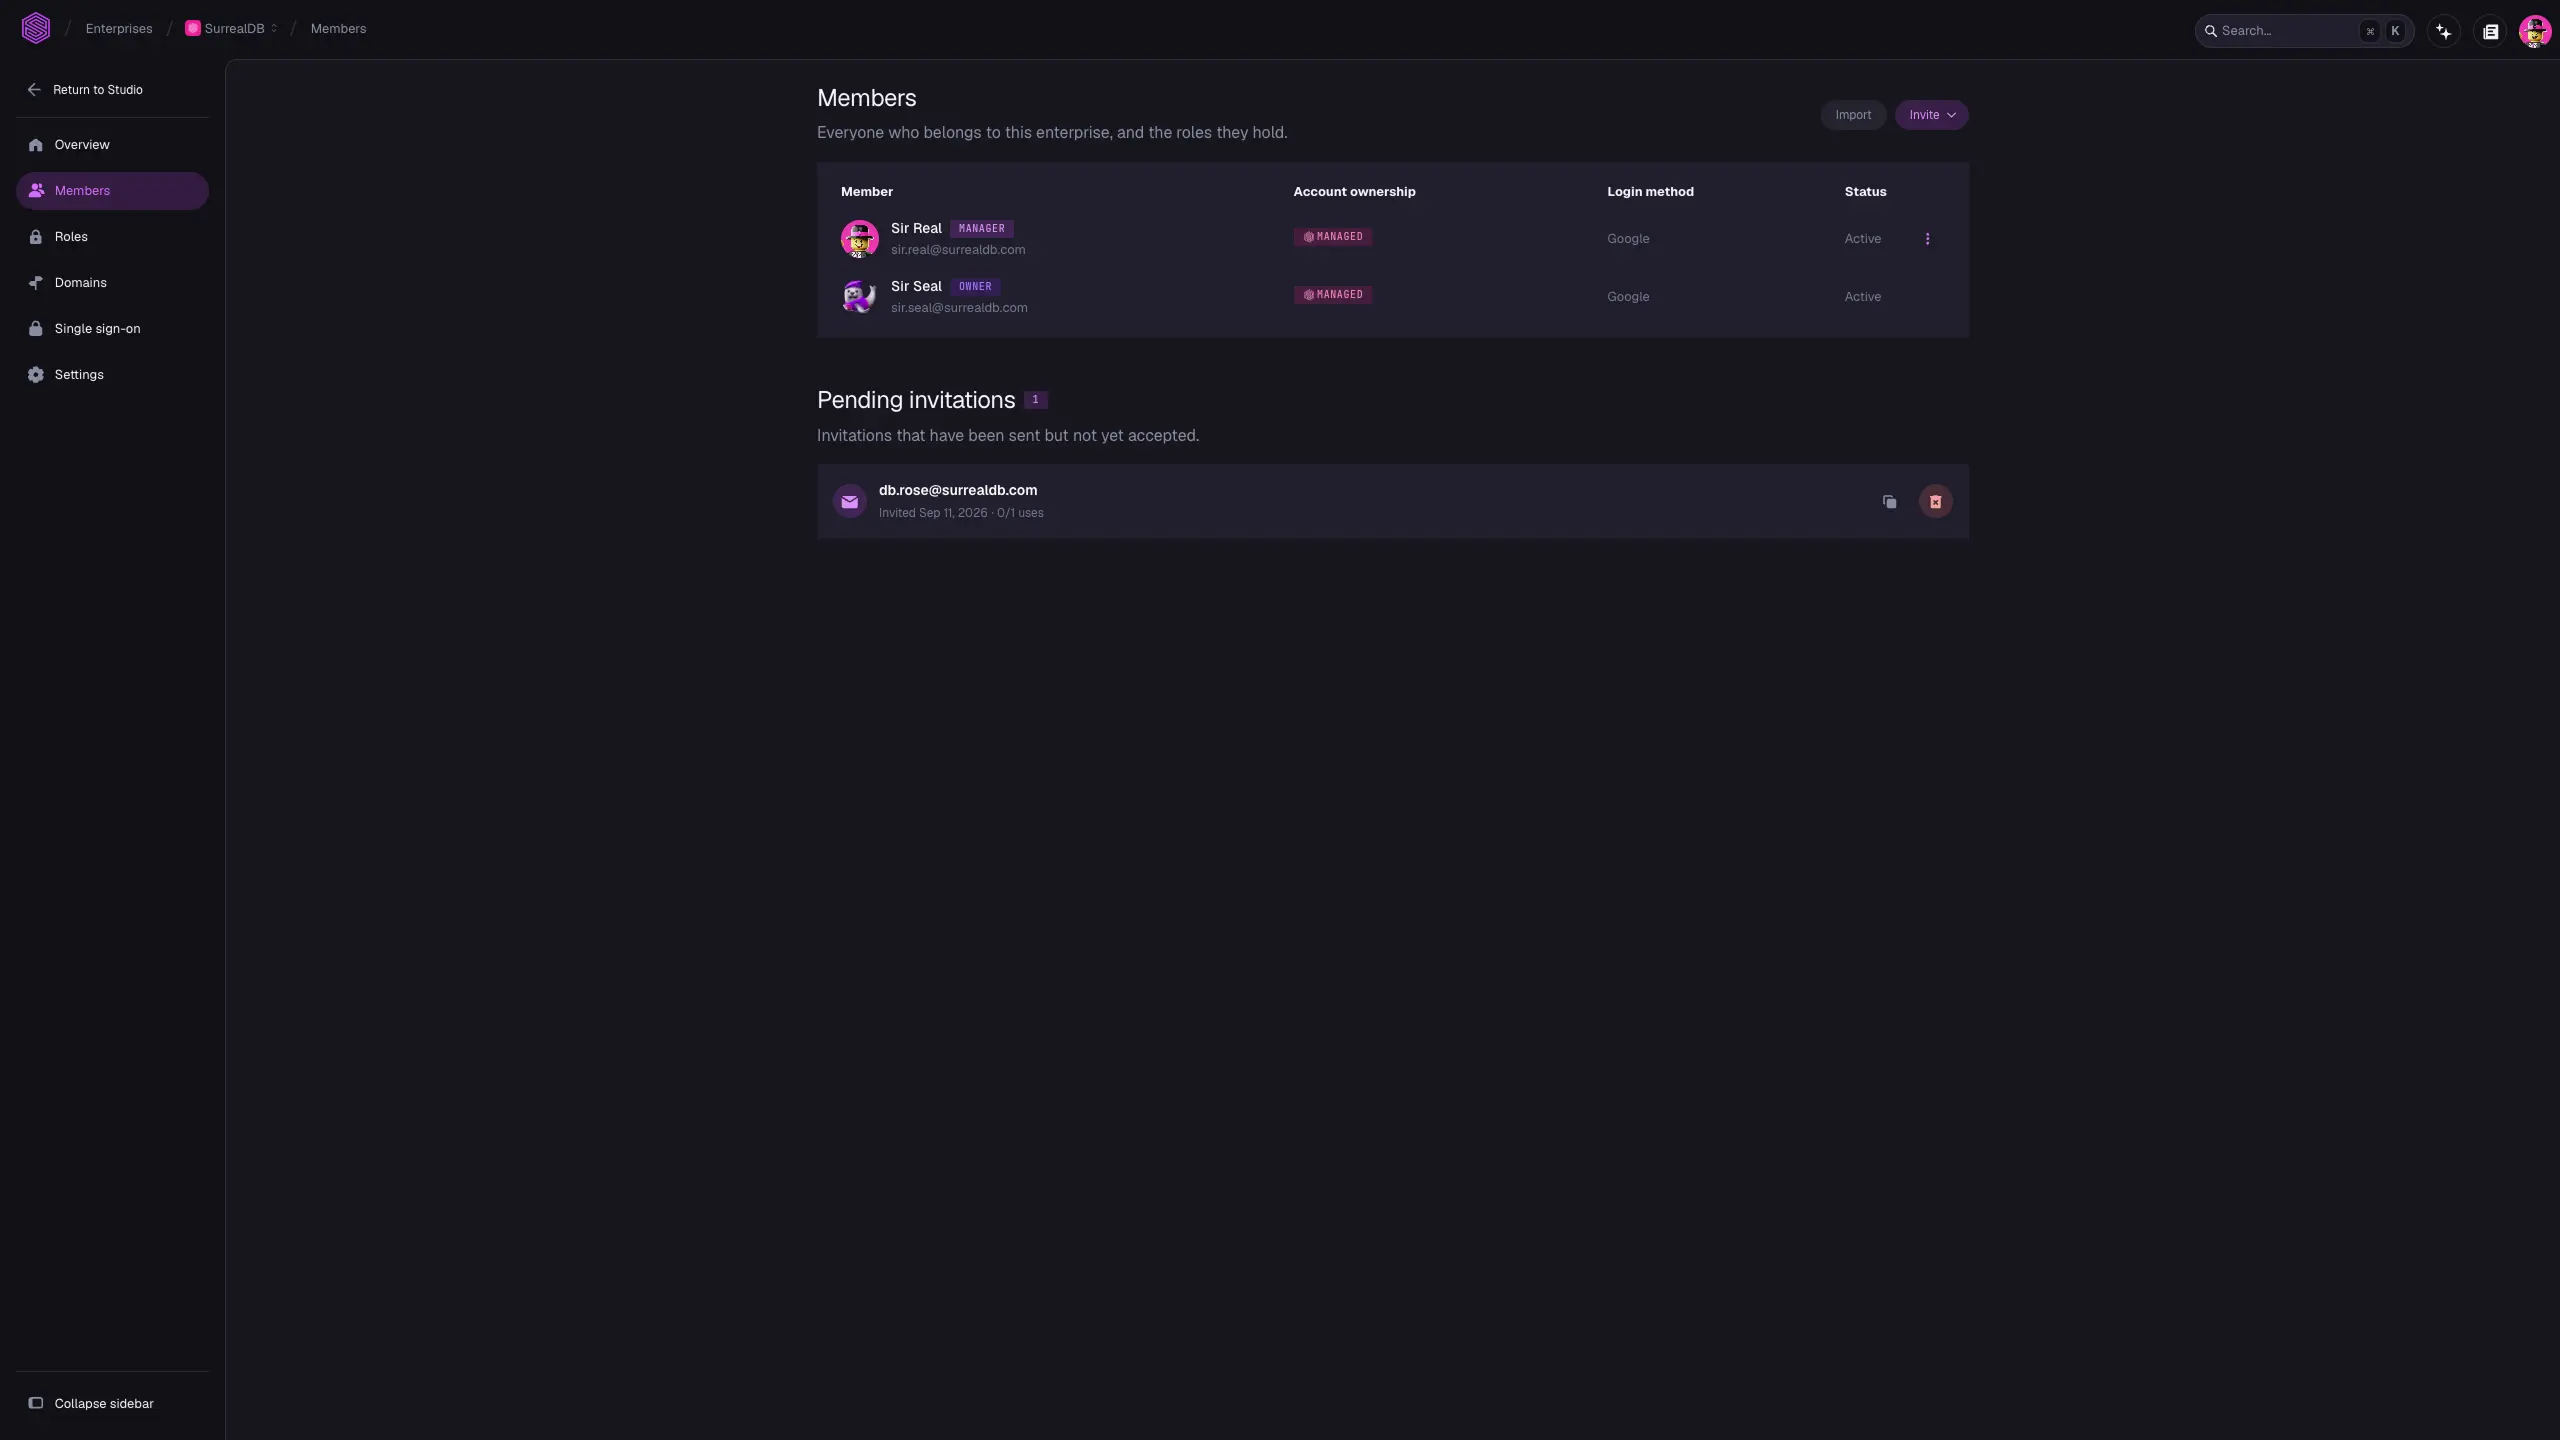
Where a member came from is shown beside their name. There are three types of members:
| Type | Description |
|---|---|
| Managed | A standard user account that is managed by SurrealDB's authentication system. |
| Internal | A user who was created by signing in through an identity provider in your enterprise. |
| External | A user who was created and managed by another enterprise but has access to your enterprise. |
Any user who signs in through an identity provider in your enterprise is automatically considered a member. To restrict access to your enterprise, manage access externally at the identity provider level.
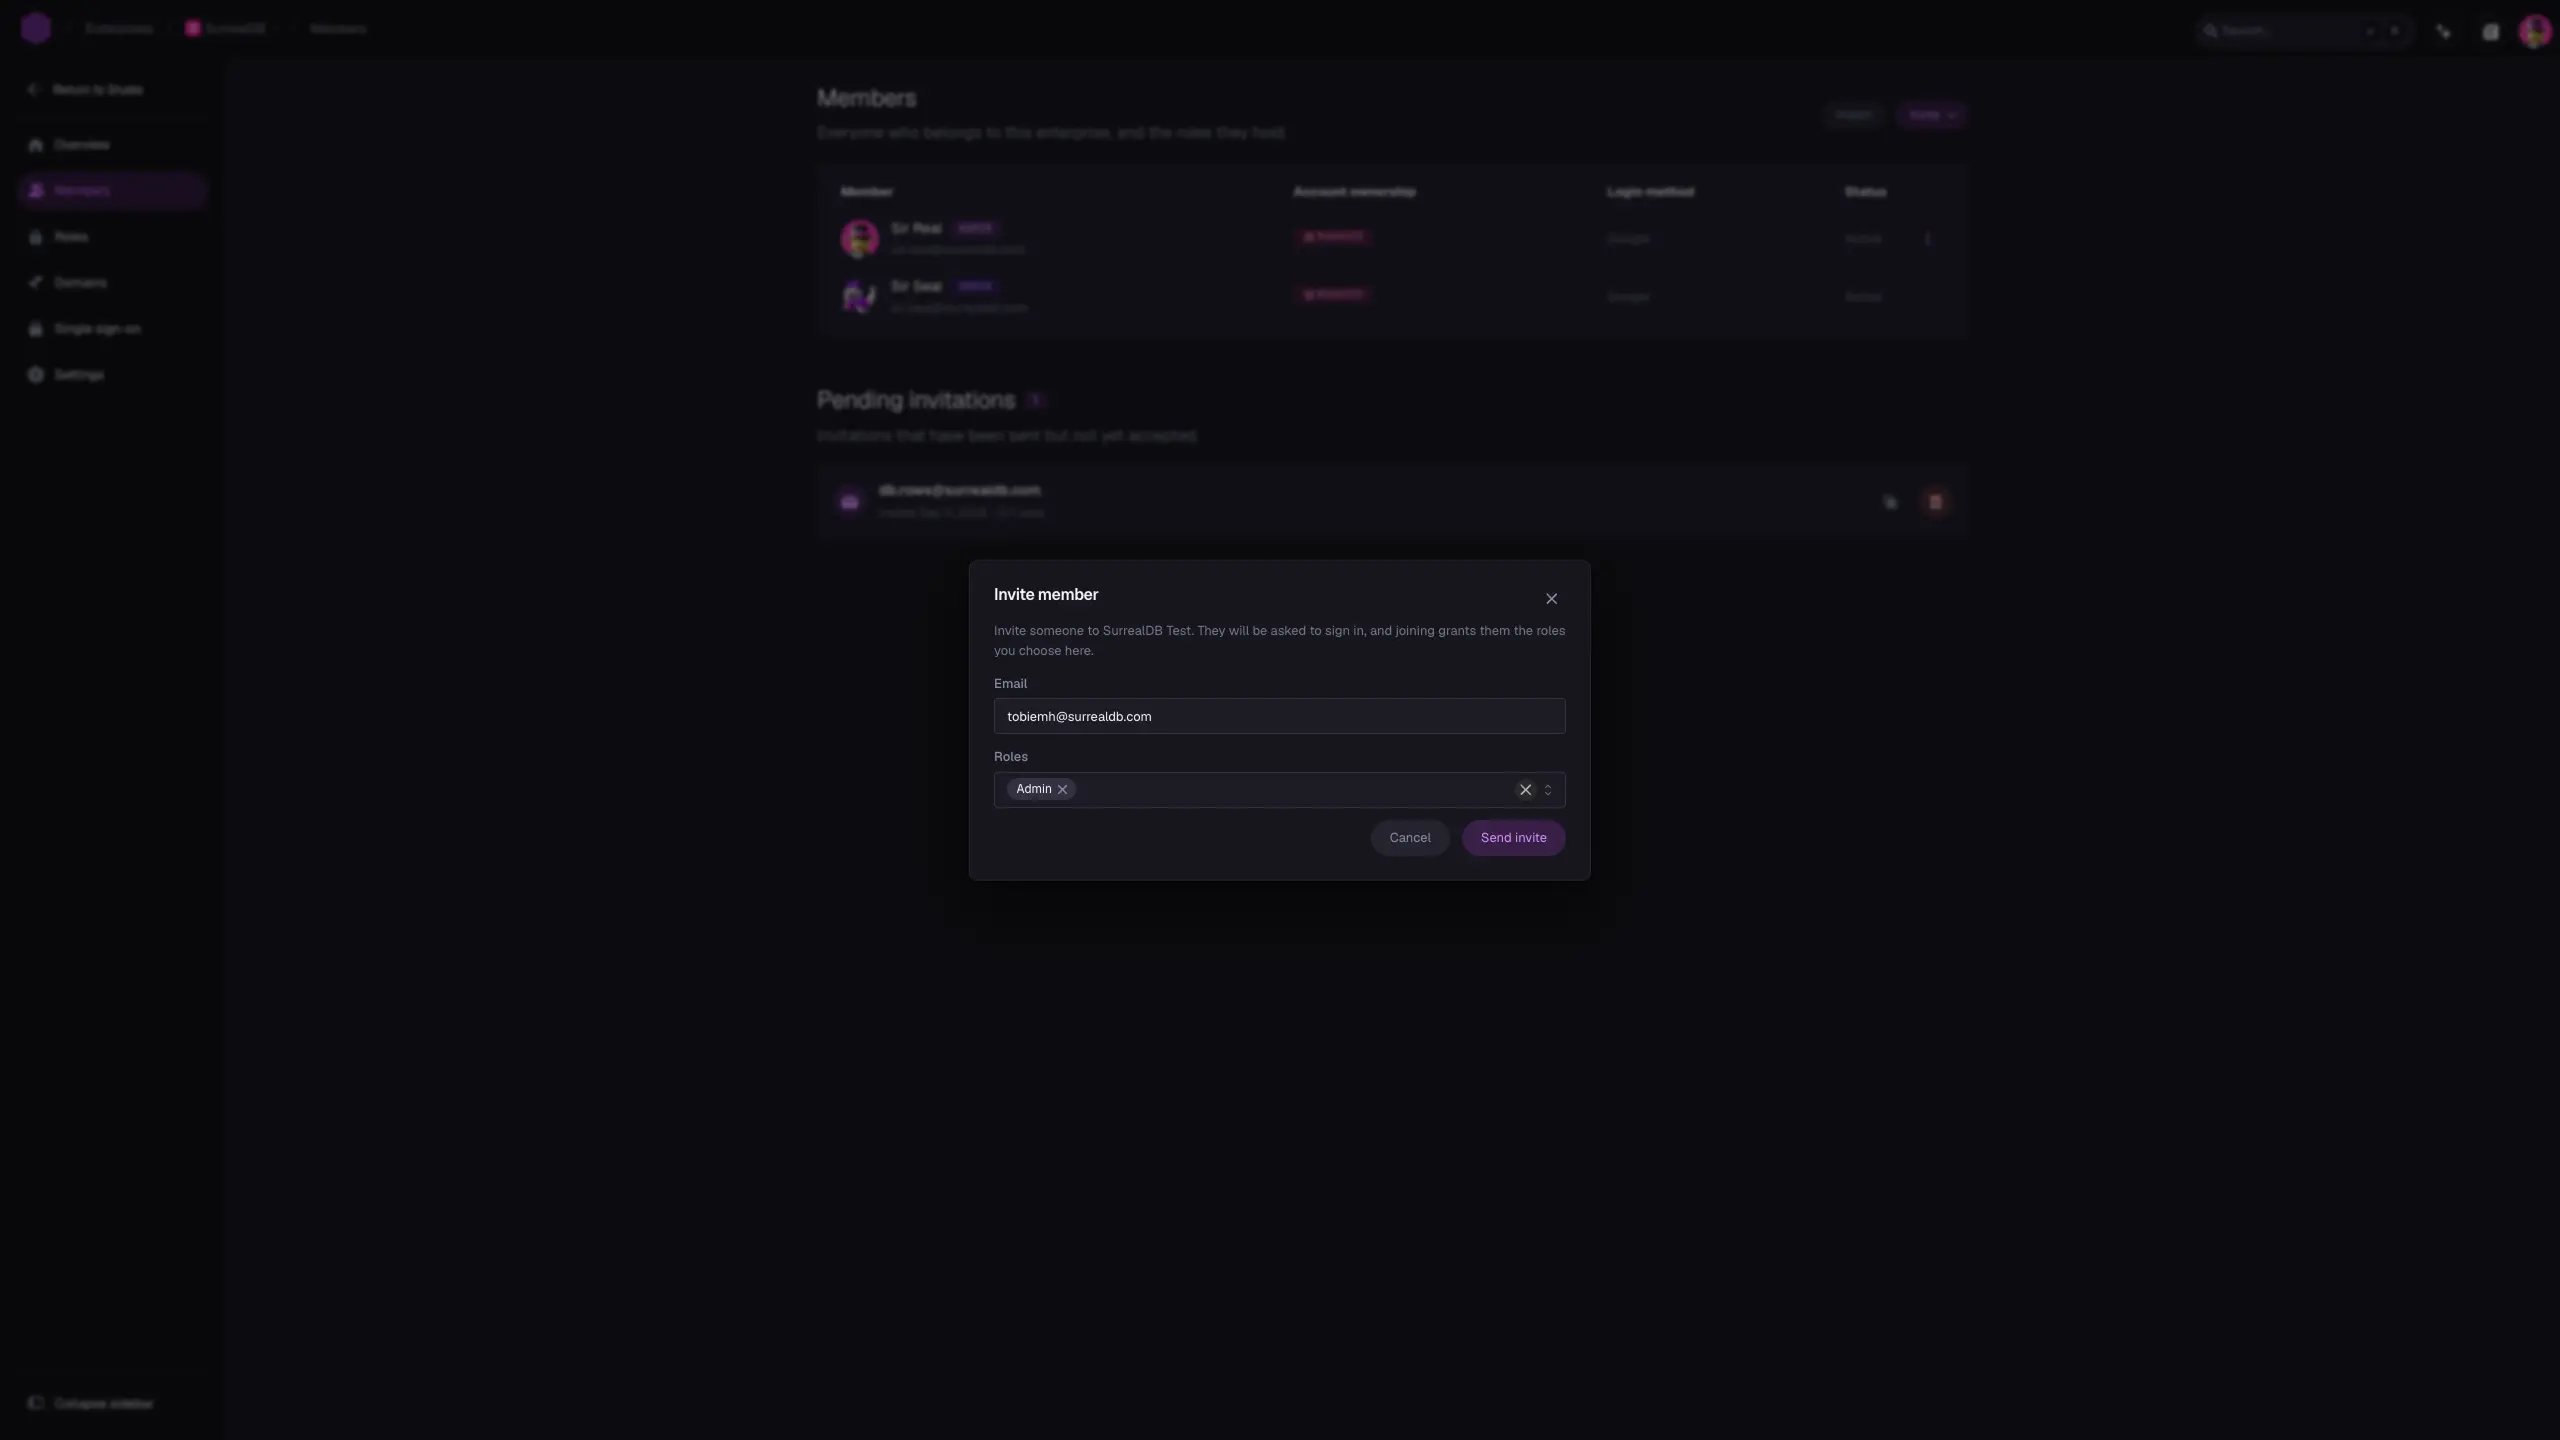
Invite one member
Open Members in your enterprise.
Select Invite member.
Enter the email address of the person you invite.
Choose the roles they hold.
Send the invitation.
The invitation appears under Pending until it is accepted. Select Revoke invitation to withdraw one you no longer want.
Invite the address of a named person rather than a shared mailbox. A shared mailbox hides which person acted, and you cannot withdraw it from one reader who leaves.
Invite a list of members
Use an import when you have many people to invite at once.
Open Members, then start an import.
Choose the file that holds the addresses.
Choose the Default roles, which apply to any row that names no roles of its own.
Check the rows Studio has read.
Send the invitations.
Studio reads the whole file and shows you every row before anything is sent, with the roles it resolved for each one. A row it cannot invite is listed with the reason, so you can correct the file and import it again.
The file format
The file holds one member per line, as an email address followed by the roles that member holds.
email,roles
alex@example.com,Engineering
sam@example.com,Engineering;Billing
jo@example.com,
Three rules govern how the file is read:
A header row is optional. With one, the columns are named. Without one, each line is read as the address first and the roles second.
Roles in one cell are separated by semicolons, because the comma already separates the columns.
A row that names no roles takes the default roles you chose.
A row is reported rather than sent when the address is not valid, when it names a role the enterprise does not hold, or when that person is already a member or already invited. Both role names and role ids are valid in the file.
Change what a member holds
Find the member in the list.
Open the member actions.
Select the roles they hold, then save.
Selecting roles replaces the whole set that member held, rather than adding to it. Include every role you want them to keep.
Remove a member
Open the member actions to remove the membership. The person keeps their account and their access to anything outside this enterprise.
Remove access when a person leaves the project, and review the member list at regular intervals. A member who has left keeps every role you granted them until you remove the membership.
Disable an internal member's login
You cannot remove an Internal member, because they would join again the next time they sign in through your identity provider. Disable their login instead.
Find the member in the list.
Open the member actions.
Select Disable login, then confirm.
The member stays on the list, marked Disabled, and can no longer sign in. A session they already hold can stay active for a short time. Select Enable login to let them sign in again.
With SCIM provisioning, your identity provider disables and enables logins for you when it deactivates or activates a person.
Related pages
Roles: What each role lets a member administer.
Single sign-on: Connecting the identity provider members authenticate against.
SCIM provisioning: Letting your identity provider create and deactivate member accounts.