Deploy on Amazon Elastic Kubernetes Service (EKS)
What is Amazon EKS?
Amazon Elastic Kubernetes Service (Amazon EKS) is a managed service that eliminates the need to install, operate, and maintain your own Kubernetes control plane on Amazon Web Services (AWS). This deployment guide covers setting up a highly available SurrealDB cluster backed by TiKV on Amazon EKS.
Requirements
Provisioning the environment in your AWS account will create resources and there will be cost associated with them. The cleanup section provides a guide to remove them, preventing further charges.
This guide was tested in eu-west-1 (Ireland region) and it follows TiKV best practices for scalability and high availability. It will provision up to 12 Amazon Elastic Compute Cloud (Amazon EC2) instances, several Amazon Elastic Block Storage (Amazon EBS) drives, and up to three Amazon Elastic Loadbalancers (Amazon ELB). The forecasted cost to run this guide is $5 USD per hour.
Building an EKS Cluster
This section outlines how to build a cluster by using the eksctl tool. The following is the configuration that will be used to build the cluster:
SURREALDB CLUSTER CONFIG
apiVersion: eksctl.io/v1alpha5
kind: ClusterConfig
metadata:
name: ${CLUSTER_NAME}
region: ${AWS_REGION}
version: '1.27'
tags:
karpenter.sh/discovery: ${CLUSTER_NAME}
env: ${CLUSTER_NAME}
iam:
withOIDC: true
vpc:
cidr: 10.0.0.0/16
clusterEndpoints:
privateAccess: true
publicAccess: true
addons:
- name: vpc-cni
resolveConflicts: overwrite
- name: aws-ebs-csi-driver
wellKnownPolicies:
ebsCSIController: true
managedNodeGroups:
- name: admin
desiredCapacity: 1
privateNetworking: true
labels:
dedicated: admin
- name: pd-1a
desiredCapacity: 1
privateNetworking: true
availabilityZones: ["${AWS_REGION}a"]
instanceType: c5.xlarge
labels:
dedicated: pd
taints:
- key: "dedicated"
value: "pd"
effect: NoSchedule
- name: pd-1b
desiredCapacity: 1
privateNetworking: true
availabilityZones: ["${AWS_REGION}b"]
instanceType: c5.xlarge
labels:
dedicated: pd
taints:
- key: "dedicated"
value: "pd"
effect: NoSchedule
- name: pd-1c
desiredCapacity: 1
privateNetworking: true
availabilityZones: ["${AWS_REGION}c"]
instanceType: c5.xlarge
labels:
dedicated: pd
taints:
- key: "dedicated"
value: "pd"
effect: NoSchedule
- name: tikv-1a
desiredCapacity: 1
privateNetworking: true
availabilityZones: ["${AWS_REGION}a"]
instanceType: r5b.2xlarge
labels:
dedicated: tikv
taints:
- key: "dedicated"
value: "tikv"
effect: NoSchedule
- name: tikv-1b
desiredCapacity: 1
privateNetworking: true
availabilityZones: ["${AWS_REGION}b"]
instanceType: r5b.2xlarge
labels:
dedicated: tikv
taints:
- key: "dedicated"
value: "tikv"
effect: NoSchedule
- name: tikv-1c
desiredCapacity: 1
privateNetworking: true
availabilityZones: ["${AWS_REGION}c"]
instanceType: r5b.2xlarge
labels:
dedicated: tikv
taints:
- key: "dedicated"
value: "tikv"
effect: NoSchedule
- name: default
desiredCapacity: 2
minSize: 2
maxSize: 4
instanceType: m5.large
privateNetworking: false
Based on this configuration eksctl will:
- Create a VPC across three availability zones
- Create an EKS cluster
- Create an IAM OIDC provider
- Create the necessary node groups for TiKV according to best practices
- Configure the VPC CNI addon to manage networking
- Configure the EBS addon to manage storage volumes
Save the above configuration in a file named surrealdb-cluster.yml and apply the configuration file like so:
DEPLOY EKS CLUSTER
export CLUSTER_NAME=surrealdb-cluster
export AWS_REGION=eu-west-1
envsubst < surrealdb-cluster.yml | eksctl create cluster -f -
aws eks update-kubeconfig --name $CLUSTER_NAME
The deployment of the cluster should take about 30 minutes.
Deploy TiKV
The following instructions will install TiKV operators in your EKS cluster.
CREATE TIKV CLUSTER
kubectl create namespace tidb-cluster
curl -O https://raw.githubusercontent.com/pingcap/tidb-operator/v1.6.1/examples/aws/tidb-cluster.yaml
kubectl apply -f tidb-cluster.yaml -n tidb-cluster
Install ALB Controller
The following instructions will install the AWS Load Balancer Controller.
The AWS Load Balancer Controller provisions and manages the necessary AWS resources when Kubernetes creates an Ingress or a LoadBalancer
Formerly known as AWS ALB Ingress Controller, it’s an open-source project on GitHub.
INSTALL ALB CONTROLLER
export ACCOUNT_NUMBER=$(aws sts get-caller-identity --query "Account" --output text)
curl -O https://raw.githubusercontent.com/kubernetes-sigs/aws-load-balancer-controller/v2.5.4/docs/install/iam_policy.json
aws iam create-policy \
--policy-name AWSLoadBalancerControllerIAMPolicy \
--policy-document file://iam_policy.json
eksctl create iamserviceaccount \
--cluster=$CLUSTER_NAME \
--namespace=kube-system \
--name=aws-load-balancer-controller \
--role-name AmazonEKSLoadBalancerControllerRole_${CLUSTER_NAME} \
--attach-policy-arn=arn:aws:iam::$ACCOUNT_NUMBER:policy/AWSLoadBalancerControllerIAMPolicy \
--approve
helm repo add eks https://aws.github.io/eks-charts
helm repo update eks
helm install aws-load-balancer-controller eks/aws-load-balancer-controller \
-n kube-system \
--set clusterName=$CLUSTER_NAME \
--set serviceAccount.create=false \
--set serviceAccount.name=aws-load-balancer-controller
Install SurrealDB
The following script will install SurrealDB on your EKS cluster backed by TiKV with a public endpoint exposed via an Application Load Balancer (ALB).
INSTALL SURREALDB
helm repo add surrealdb https://helm.surrealdb.com
helm repo update
TIKV_URL=tikv://basic-pd.tidb-cluster:2379
helm install \
--set surrealdb.path=$TIKV_URL \
--set surrealdb.auth=false \
--set service.type="NodePort" \
--set ingress.enabled=true \
--set ingress.className="alb" \
--set ingress.annotations."alb\.ingress\.kubernetes\.io/healthcheck-path"=/health \
--set ingress.annotations."alb\.ingress\.kubernetes\.io/load-balancer-name"="ingress-${CLUSTER_NAME}" \
--set ingress.annotations."alb\.ingress\.kubernetes\.io/scheme"="internet-facing" \
--set ingress.annotations."alb\.ingress\.kubernetes\.io/target-type"="ip" \
--set ingress.annotations."meta\.helm\.sh/release-name"="surrealdb-tikv" \
--set ingress.annotations."meta\.helm\.sh/release-namespace"="default" \
surrealdb-tikv surrealdb/surrealdb
Test your SurrealDB Installation
You can get the endpoint to use with your SurrealDB client as follows:
Test installation
export SURREALDB_ENDPOINT=$(kubectl get ingress surrealdb-tikv -o json | jq '.status.loadBalancer.ingress[0].hostname' | xargs)
echo $SURREALDB_ENDPOINT
> ingress-27v2-902764750.eu-west-1.elb.amazonaws.com
Test your connection with the following command:
Connection test
surreal sql -e https://$SURREALDB_ENDPOINT
>
Cleanup
Cleanup can be performed with the following commands.
Cleanup
kubectl delete -f tidb-cluster.yaml -n tidb-cluster
helm uninstall surrealdb-tikv
helm -n kube-system uninstall aws-load-balancer-controller
helm -n tidb-admin uninstall tidb-operator
eksctl delete cluster \
--force \
--disable-nodegroup-eviction \
--parallel 10 \
--name $CLUSTER_NAME
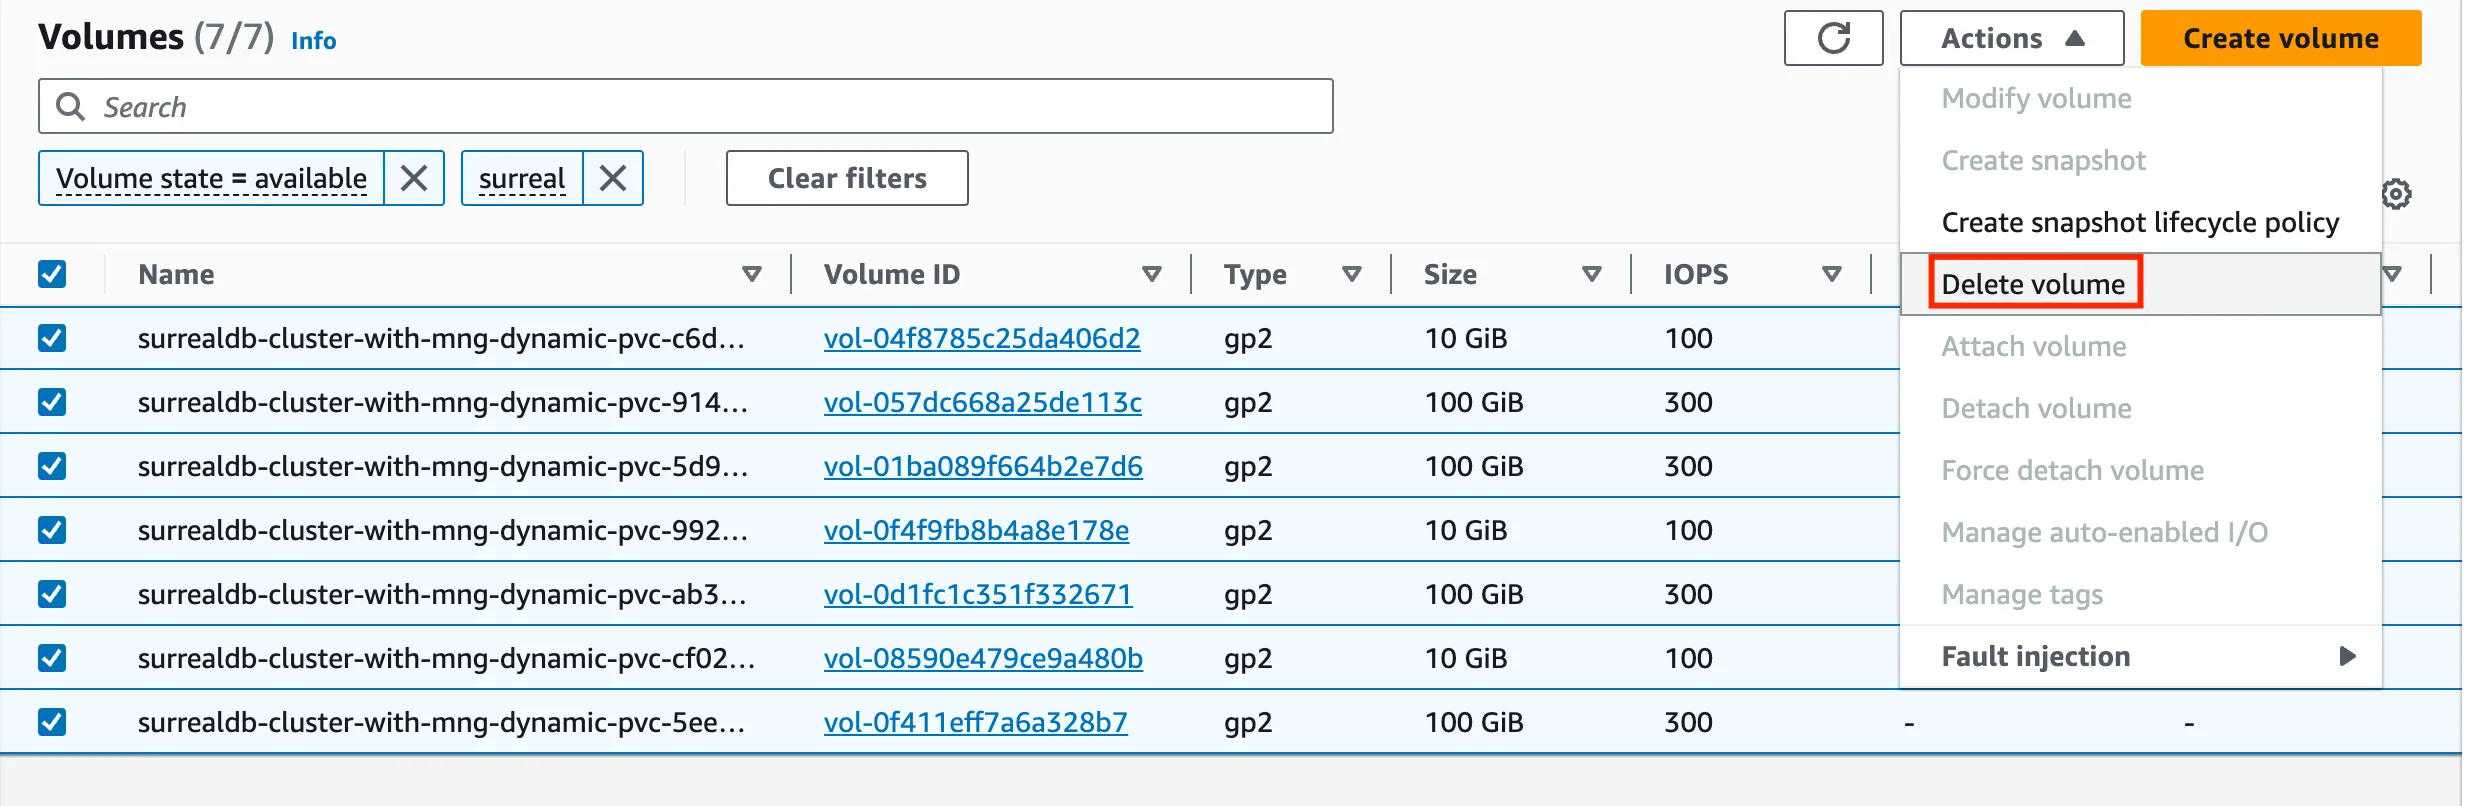
The default cleanup behaviour is to preserve resources such as EBS volumes that were previously attached to your cluster. If this is not what you want, and in order to prevent you from incurring in additional charges related to the usage of these block storage devices, navigate to the AWS console and manually delete all volumes that were attached to your cluster, as shown in figure.