SurrealDB Cloud is a fully managed database service that provides a seamless deployment experience for SurrealDB. It’s designed to be lightweight, leveraging the open-source SurrealDB product as much as possible. Its features are intended to complement those of the open-source version and offer you a seamless deployment experience.
In this guide, we’ll walk through the process and options to deploy SurrealDB using SurrealDB Cloud .
To get started with SurrealDB Cloud , you’ll need to have an account. If you don’t have one, you can sign up for a free account by downloading Surrealist or using the Surrealist web app.
To create an Instance in Surrealist, click on the **SurrealDB Cloud ** tab and select Continue. This will prompt you to the authentication page. If you don’t have an account, you’ll be asked to sign up with an email address, Google, or GitHub.
After you’ve signed up, you’ll be redirected to the SurrealDB Cloud dashboard. Here, you can create an Instance by clicking on the Create Instance button.
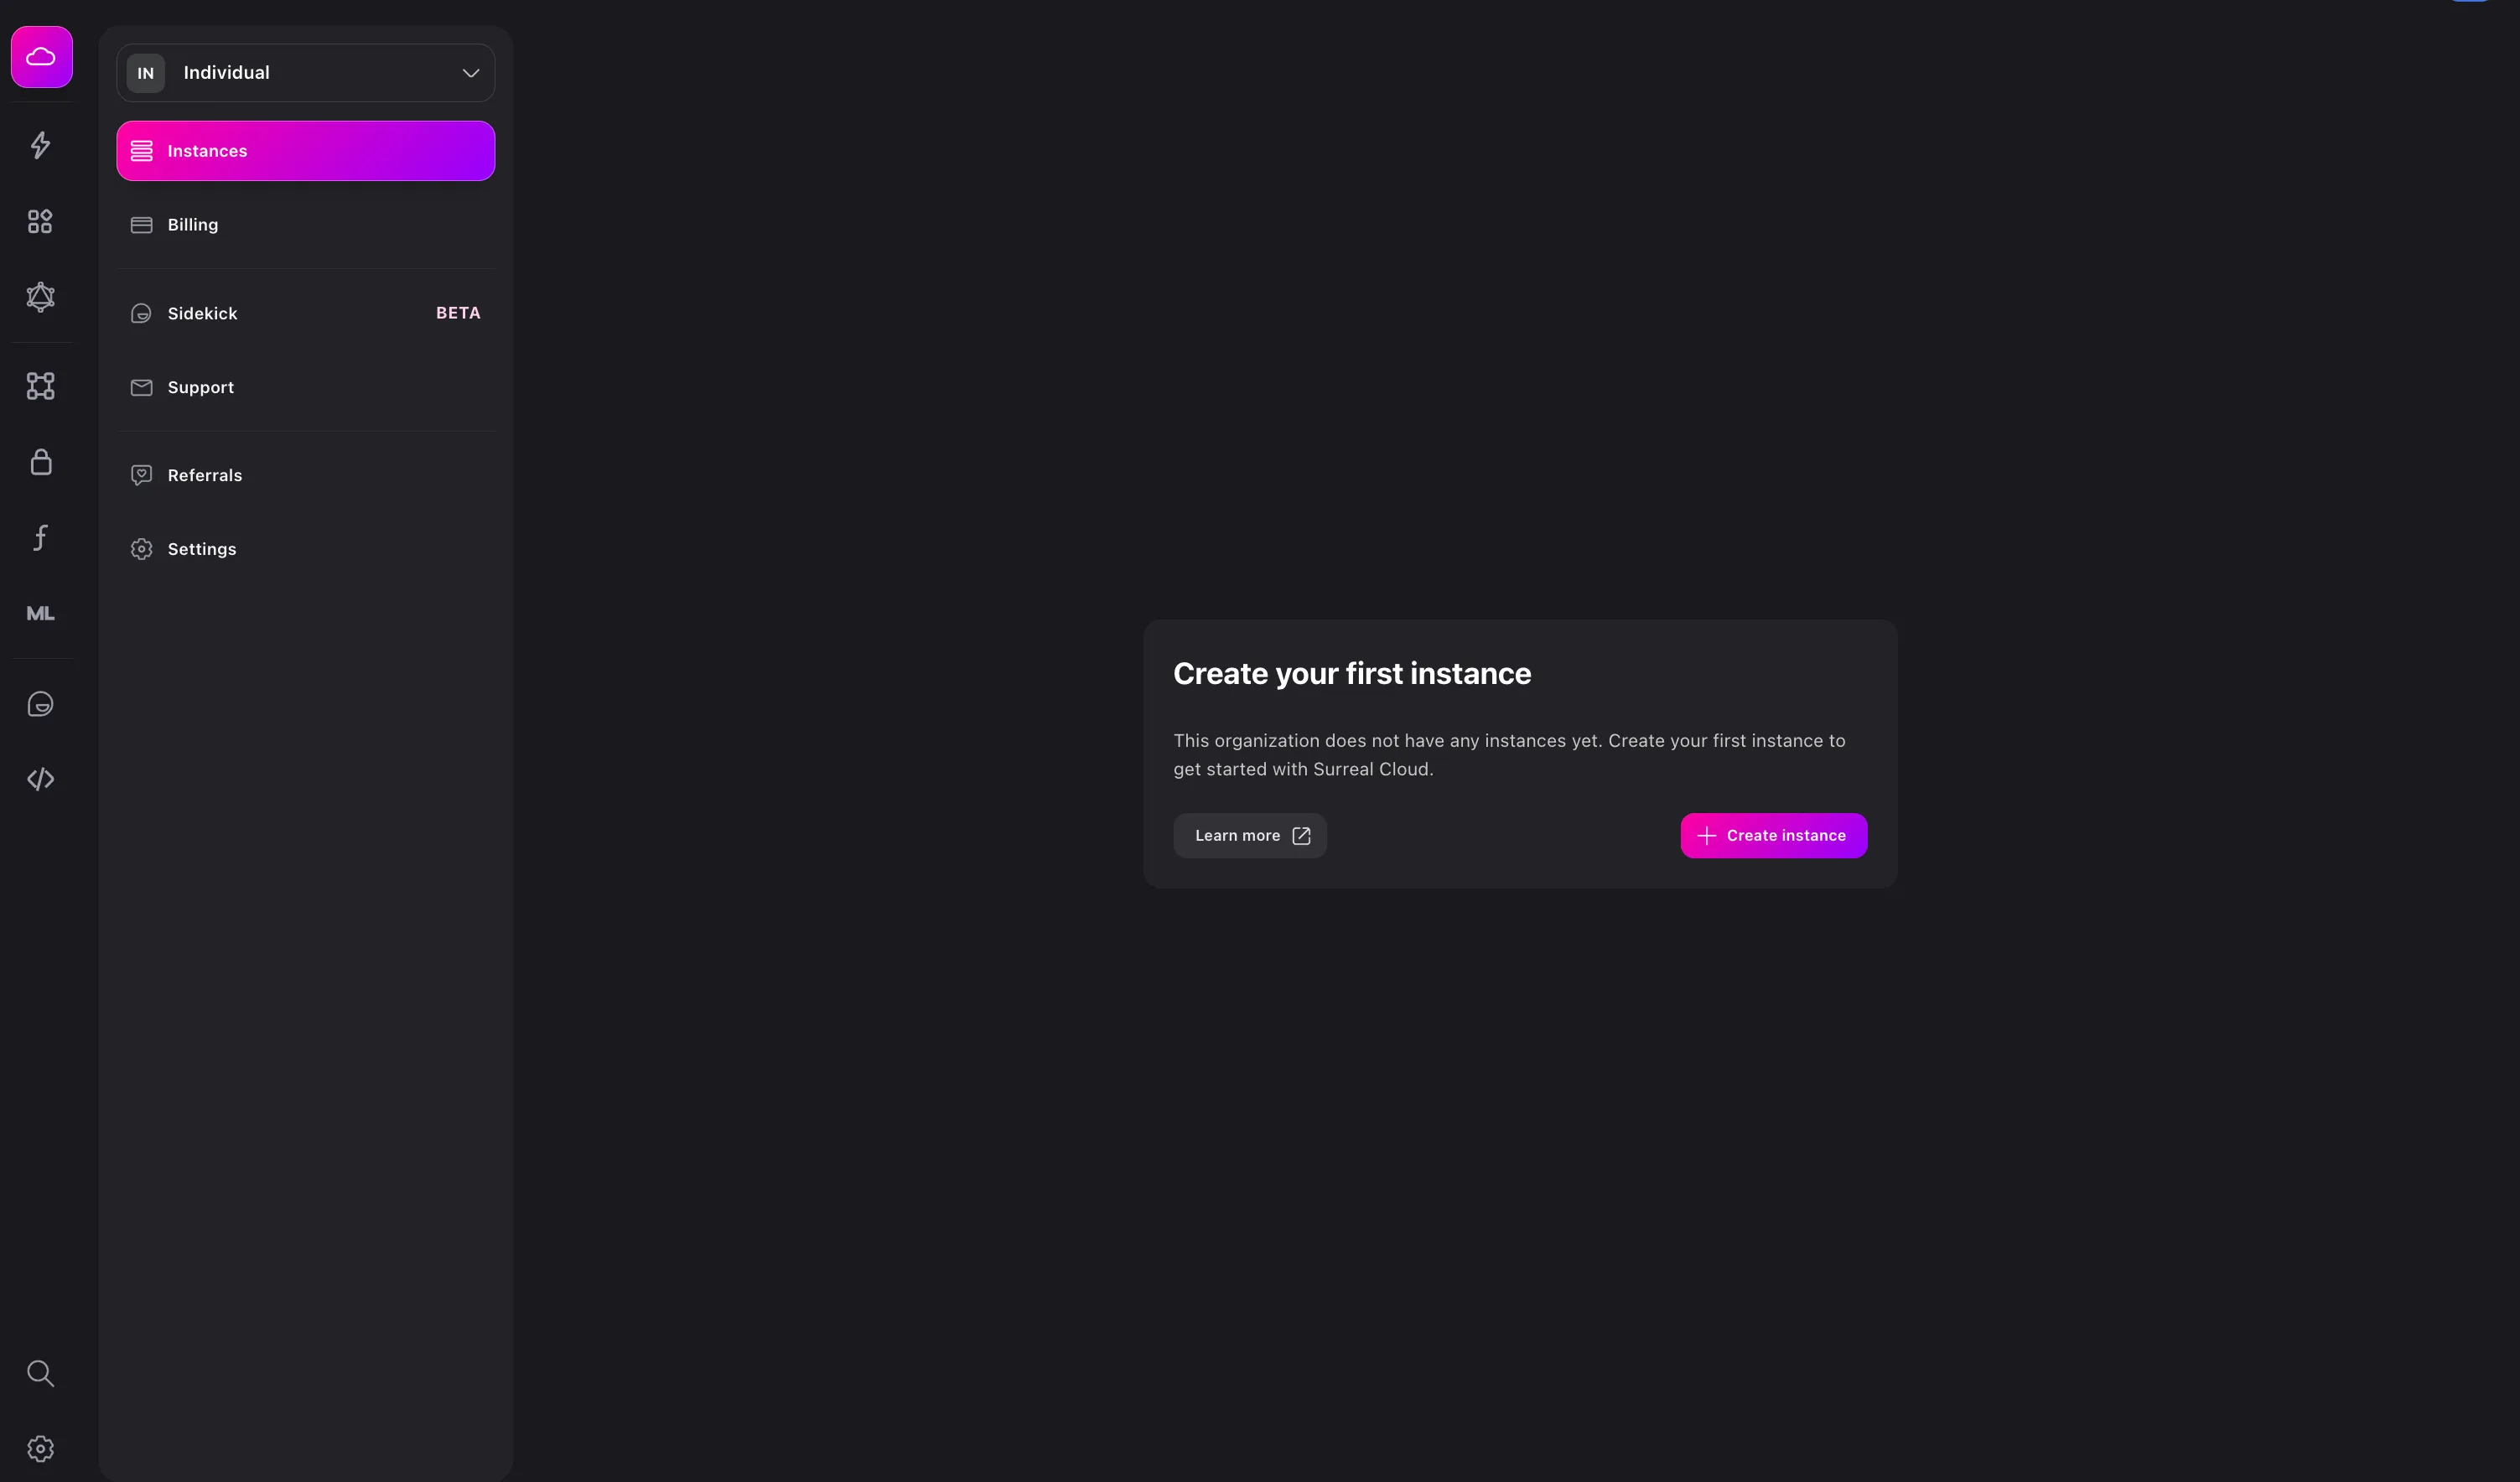
While creating an Instance, you’ll be asked to provide a few details about your Instance. These include:
NoteBoth Production and Development categories are paid plans and allows you to further customize your Instance vCPU and memory. To use them, you’ll need to upgrade to a paid plan by adding billing information. In this guide, we’ll be using the free category which has a 0.25 vCPU and 512.00MB of memory on a single node. You can also upgrade your instance as it grows by updating your instance size.
After you’ve provided the required information, click on the Create button. This will start the Instance provisioning process.
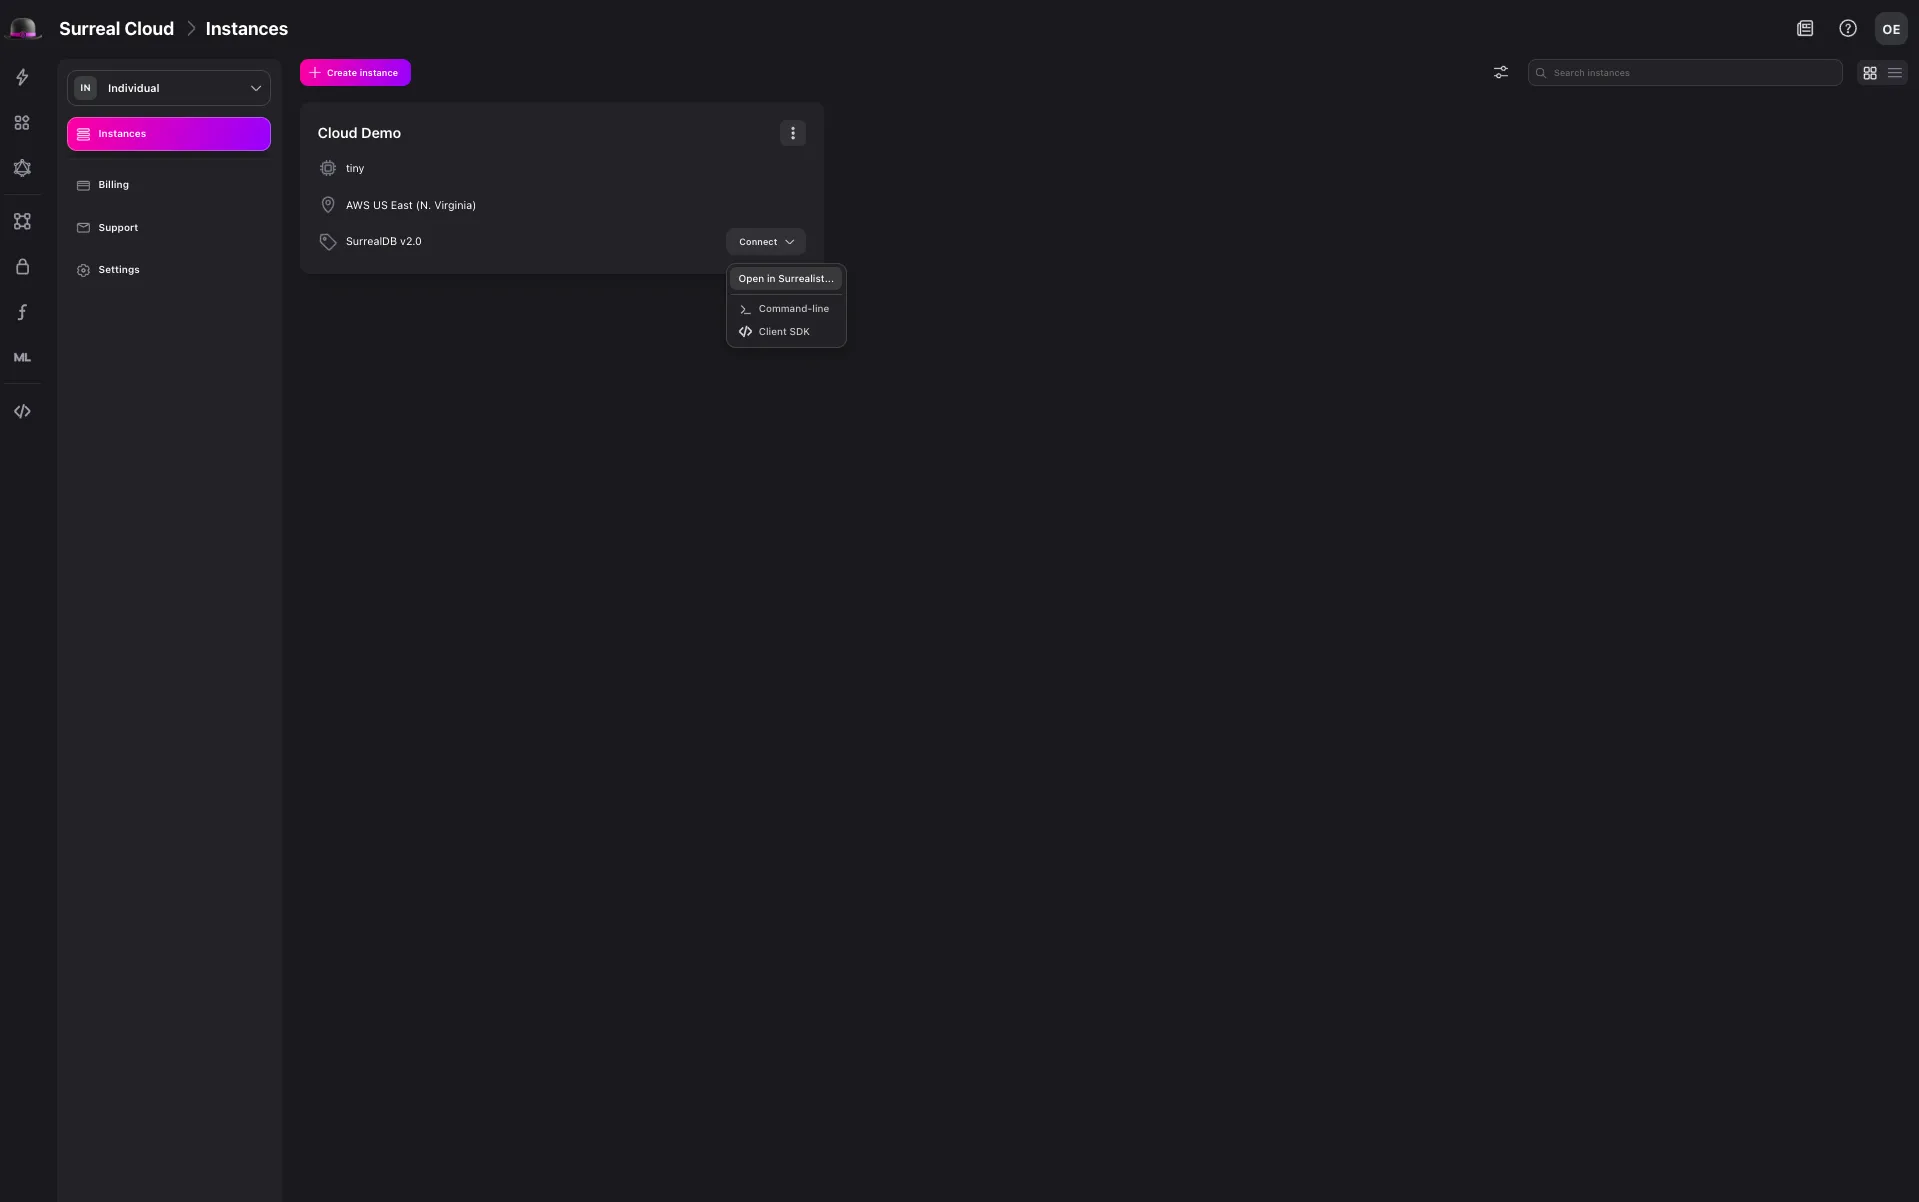
You can connect to your Instance using Surrealist, the SurrealDB CLI, or the SurrealDB SDKs. In this guide, we’ll be using Surrealist as our client.
In the connect dropdown, select the Open in Surrealist option. This will open the query view in Surrealist. Before you can start querying your Instance, you’ll need to create a namespace and a database.
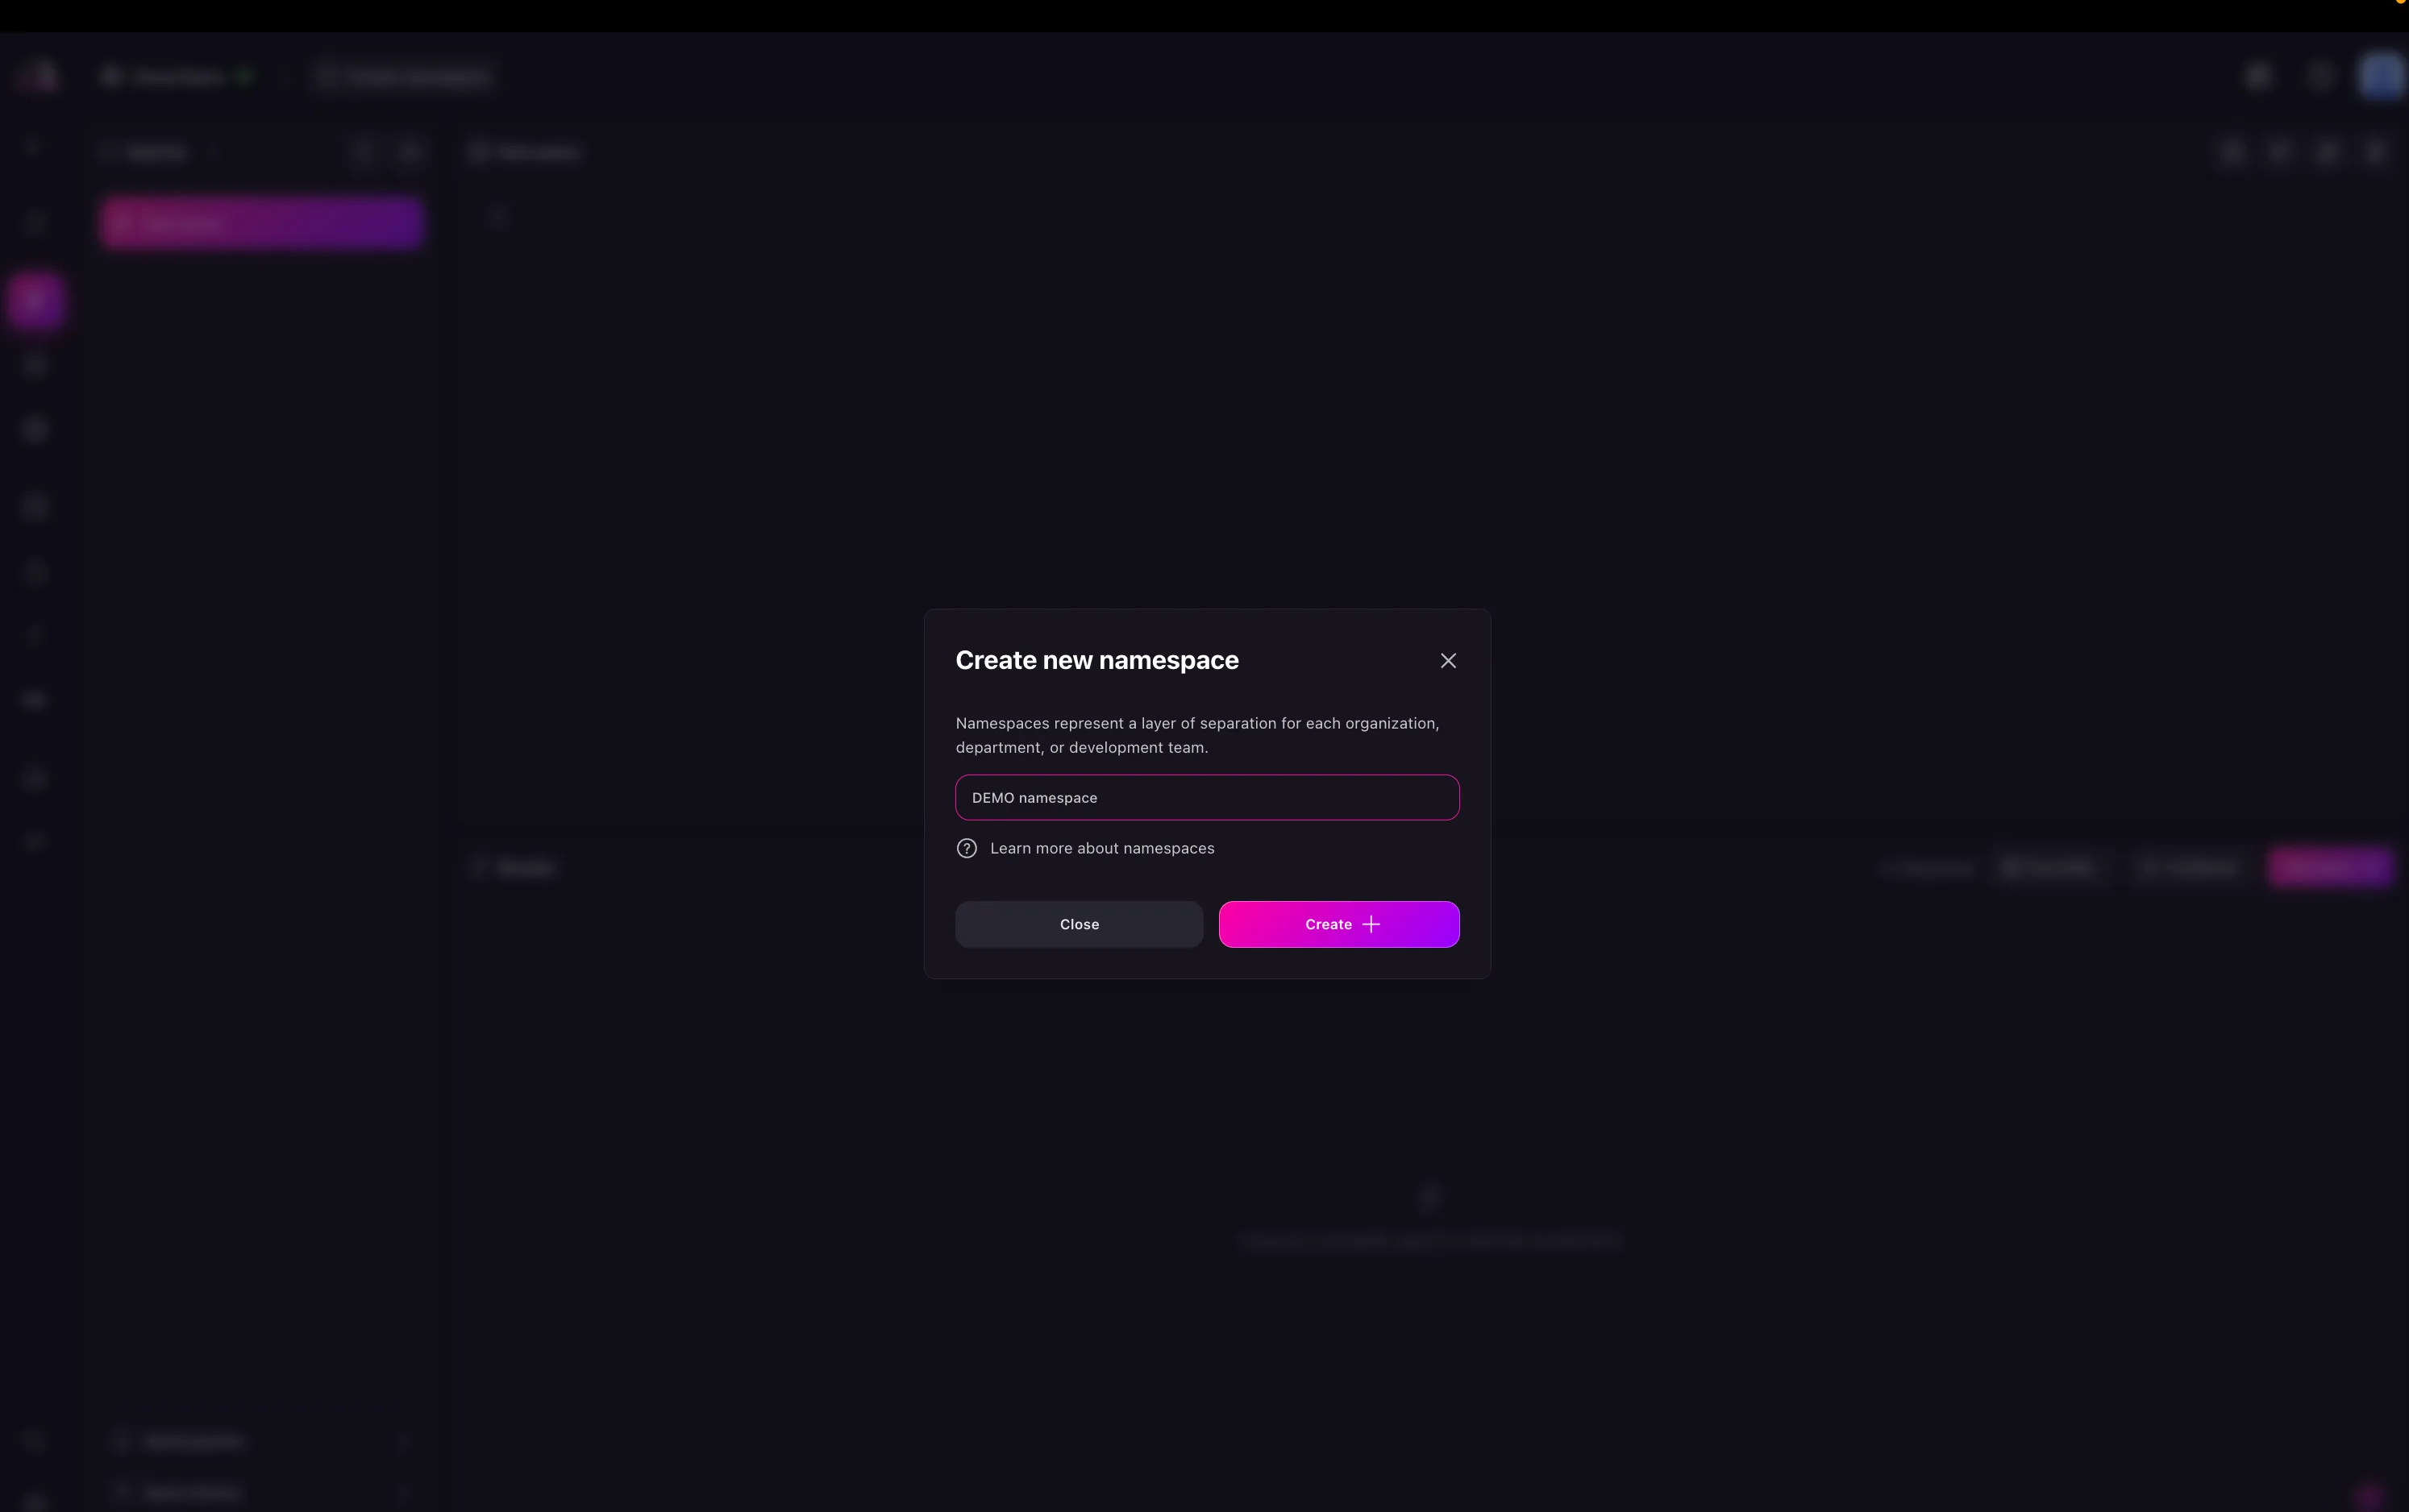
To create a namespace, click on the Create Namespace button. This will open a modal to input the name of the namespace. Once you’ve input the name, click on the Create button.
NoteYou can create multiple namespaces in your Instance. If you previously created a namespace, you’ll see it in the dropdown and then the option will be to select the namespace.
To create a database, click on the Create Database button. This will open a modal to input the name of the database. Once you’ve input the name, click on the Create button. This will create the database.
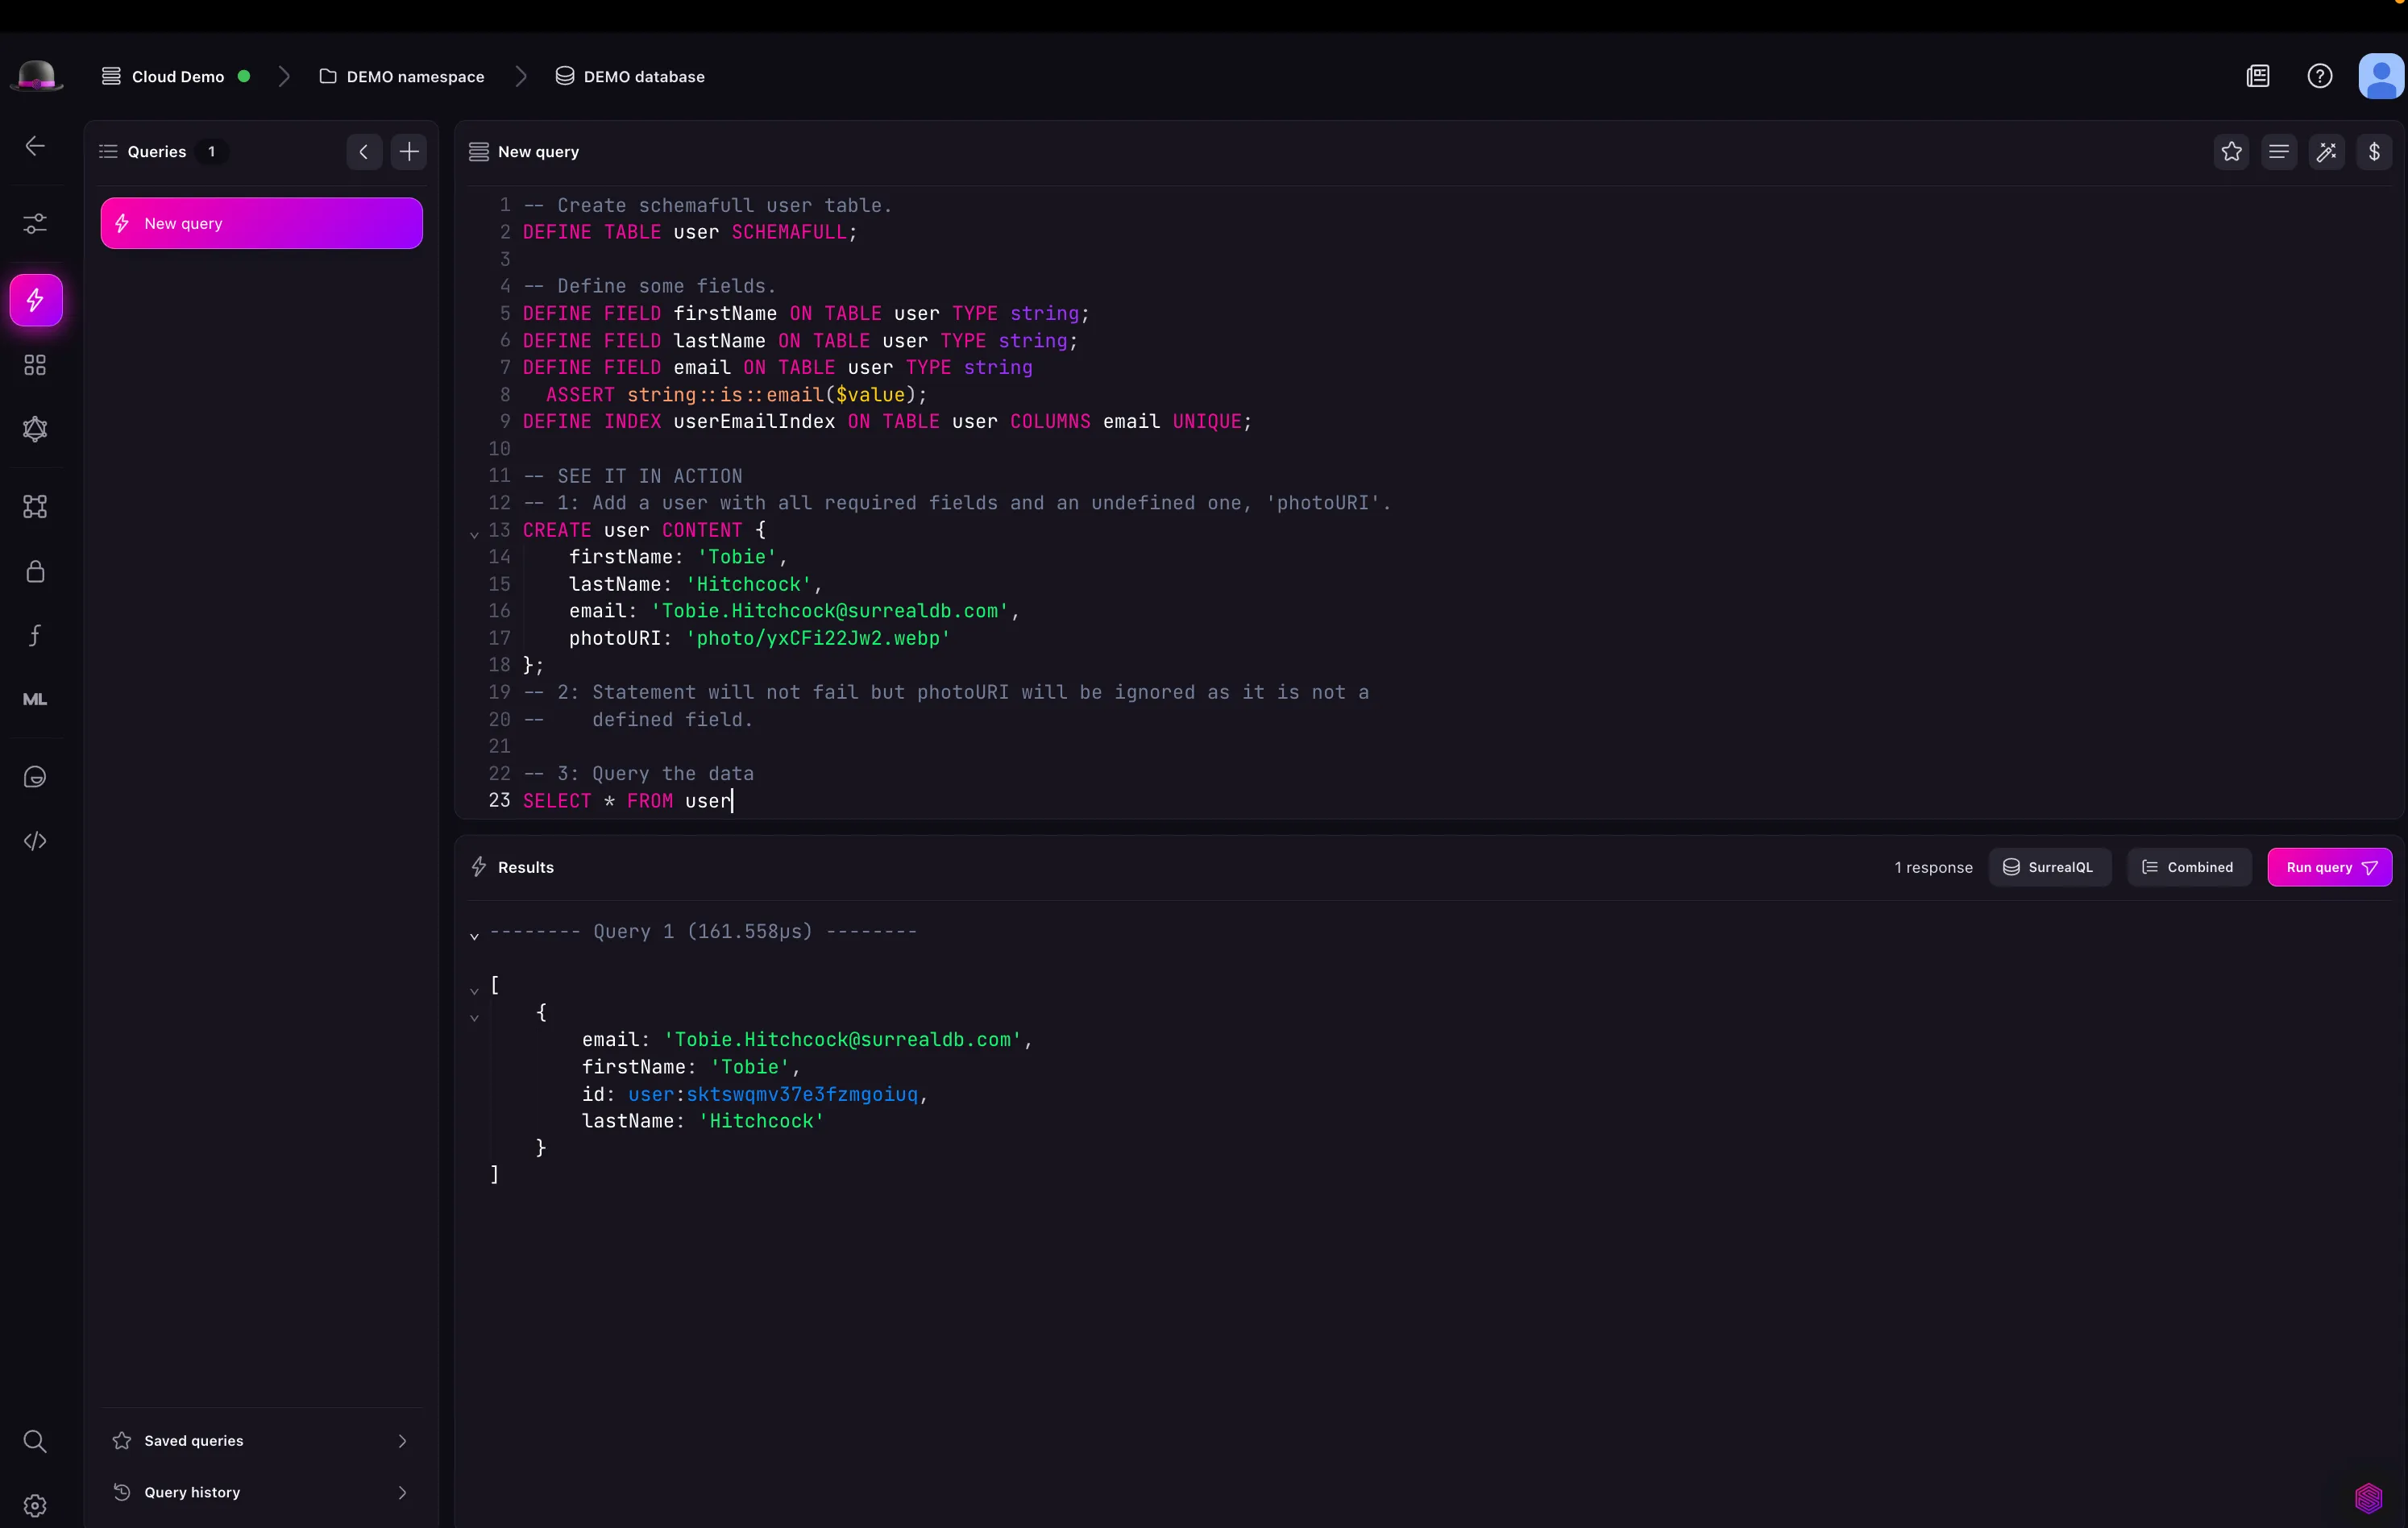
After you’ve created a namespace and a database, you can start querying your Instance. For example, make a table called users and insert a record into it.
You can also query your Instance using the SurrealDB CLI and the SurrealDB SDKs. They work similarly by providing a connection string to your Instance. The only difference is that with the CLI, you’ll be provided an authentication token to use with your Instance.
With the SDKs, you’ll use the connect method to connect to your Instance and then provide the namespace and database you want to work in. Lets take a look at some examples of how these work.
In your Instances dashboard, you’ll see a Connect button, select the Connect via CLI option. This will provide you with a connection string to your Instance. You can then copy the connection string and use it to connect to your Instance using the SurrealDB CLI.
ImportantTo connect via CLI, you’ll need to have the SurrealDB CLI installed. You can install the CLI by following the instructions in the installation guide.
Open your terminal and run the copied command, it should follow the following format:
This will connect you to your Instance and you can start writing queries to your Instance.
In addition to the first two methods, you can also connect to your Instance using the SurrealDB SDKs. The SurrealDB SDKs are available for a variety of languages, including JavaScript / TypeScript, Python, Rust, Go, and Java.
To use this method, you’ll need to have the SurrealDB SDK for your language installed. Once you’ve installed the SDK, you can use the connect method to connect to your Instance.
From the SurrealDB Cloud dashboard, you’ll see a Connect button, select the Connect via SDK option. This will provide you modal to carry out the following steps:
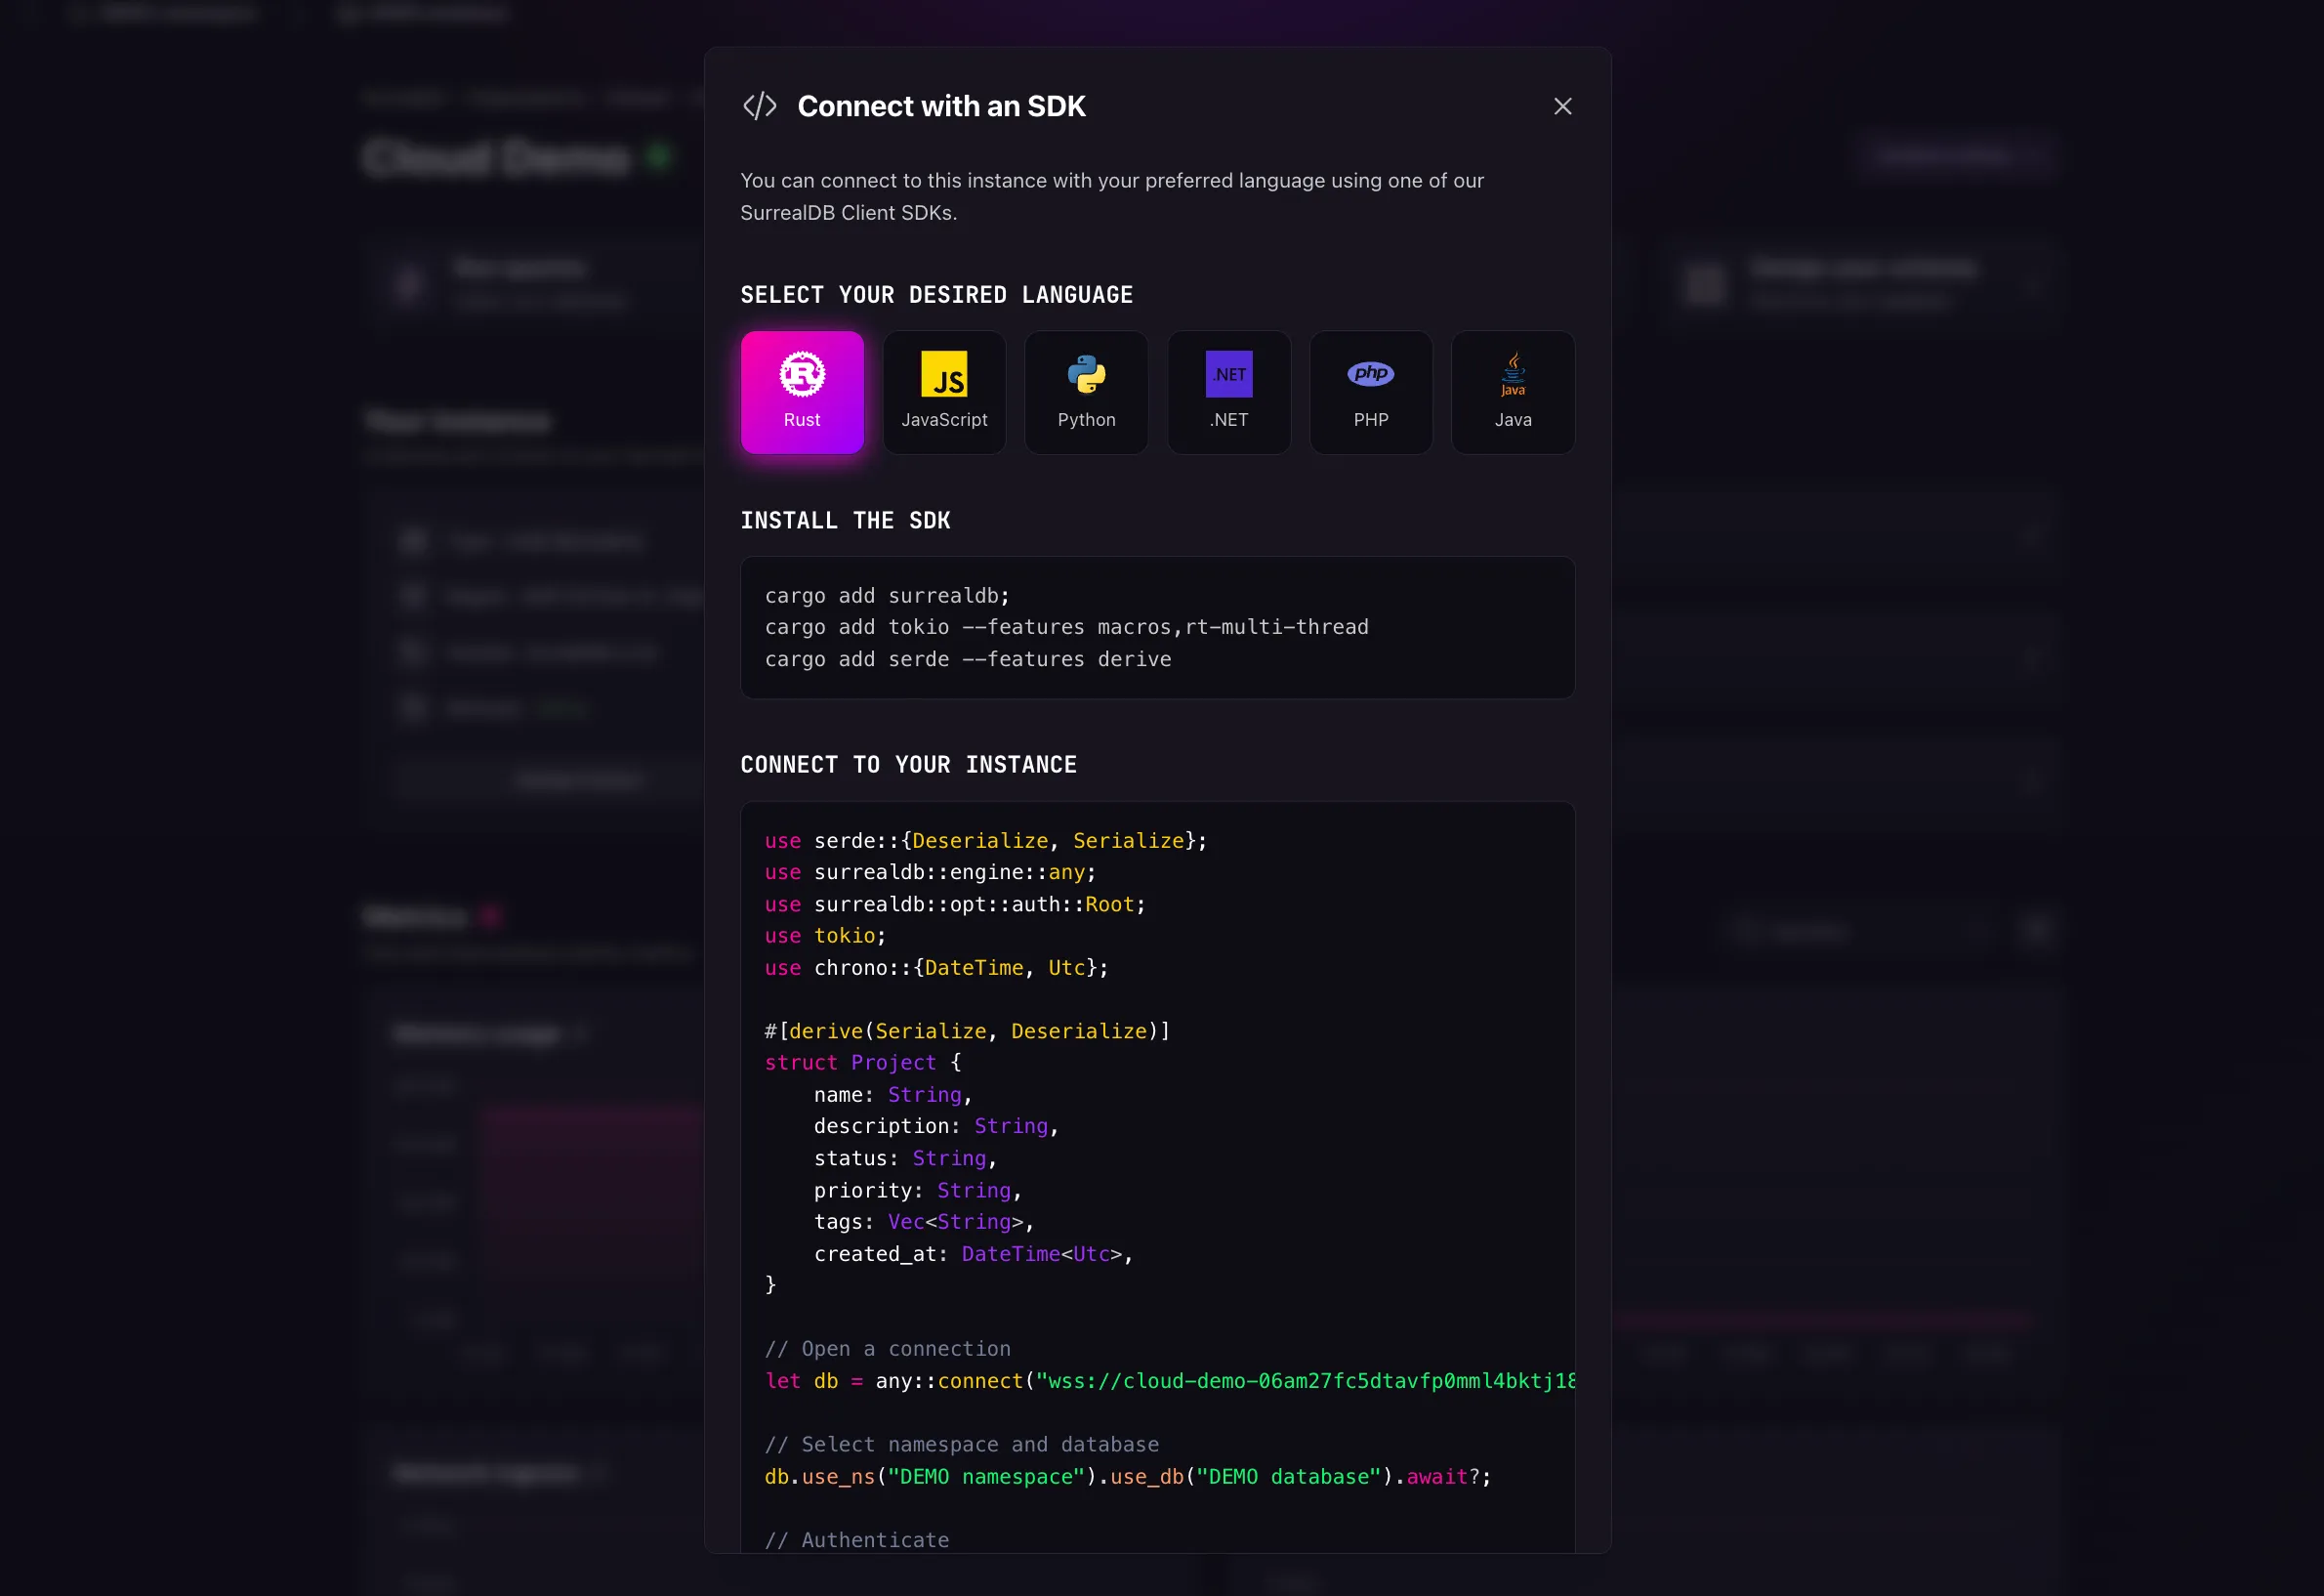
Once you’ve completed these steps, you can use the SDK to connect to your Instance and start querying your Instance.
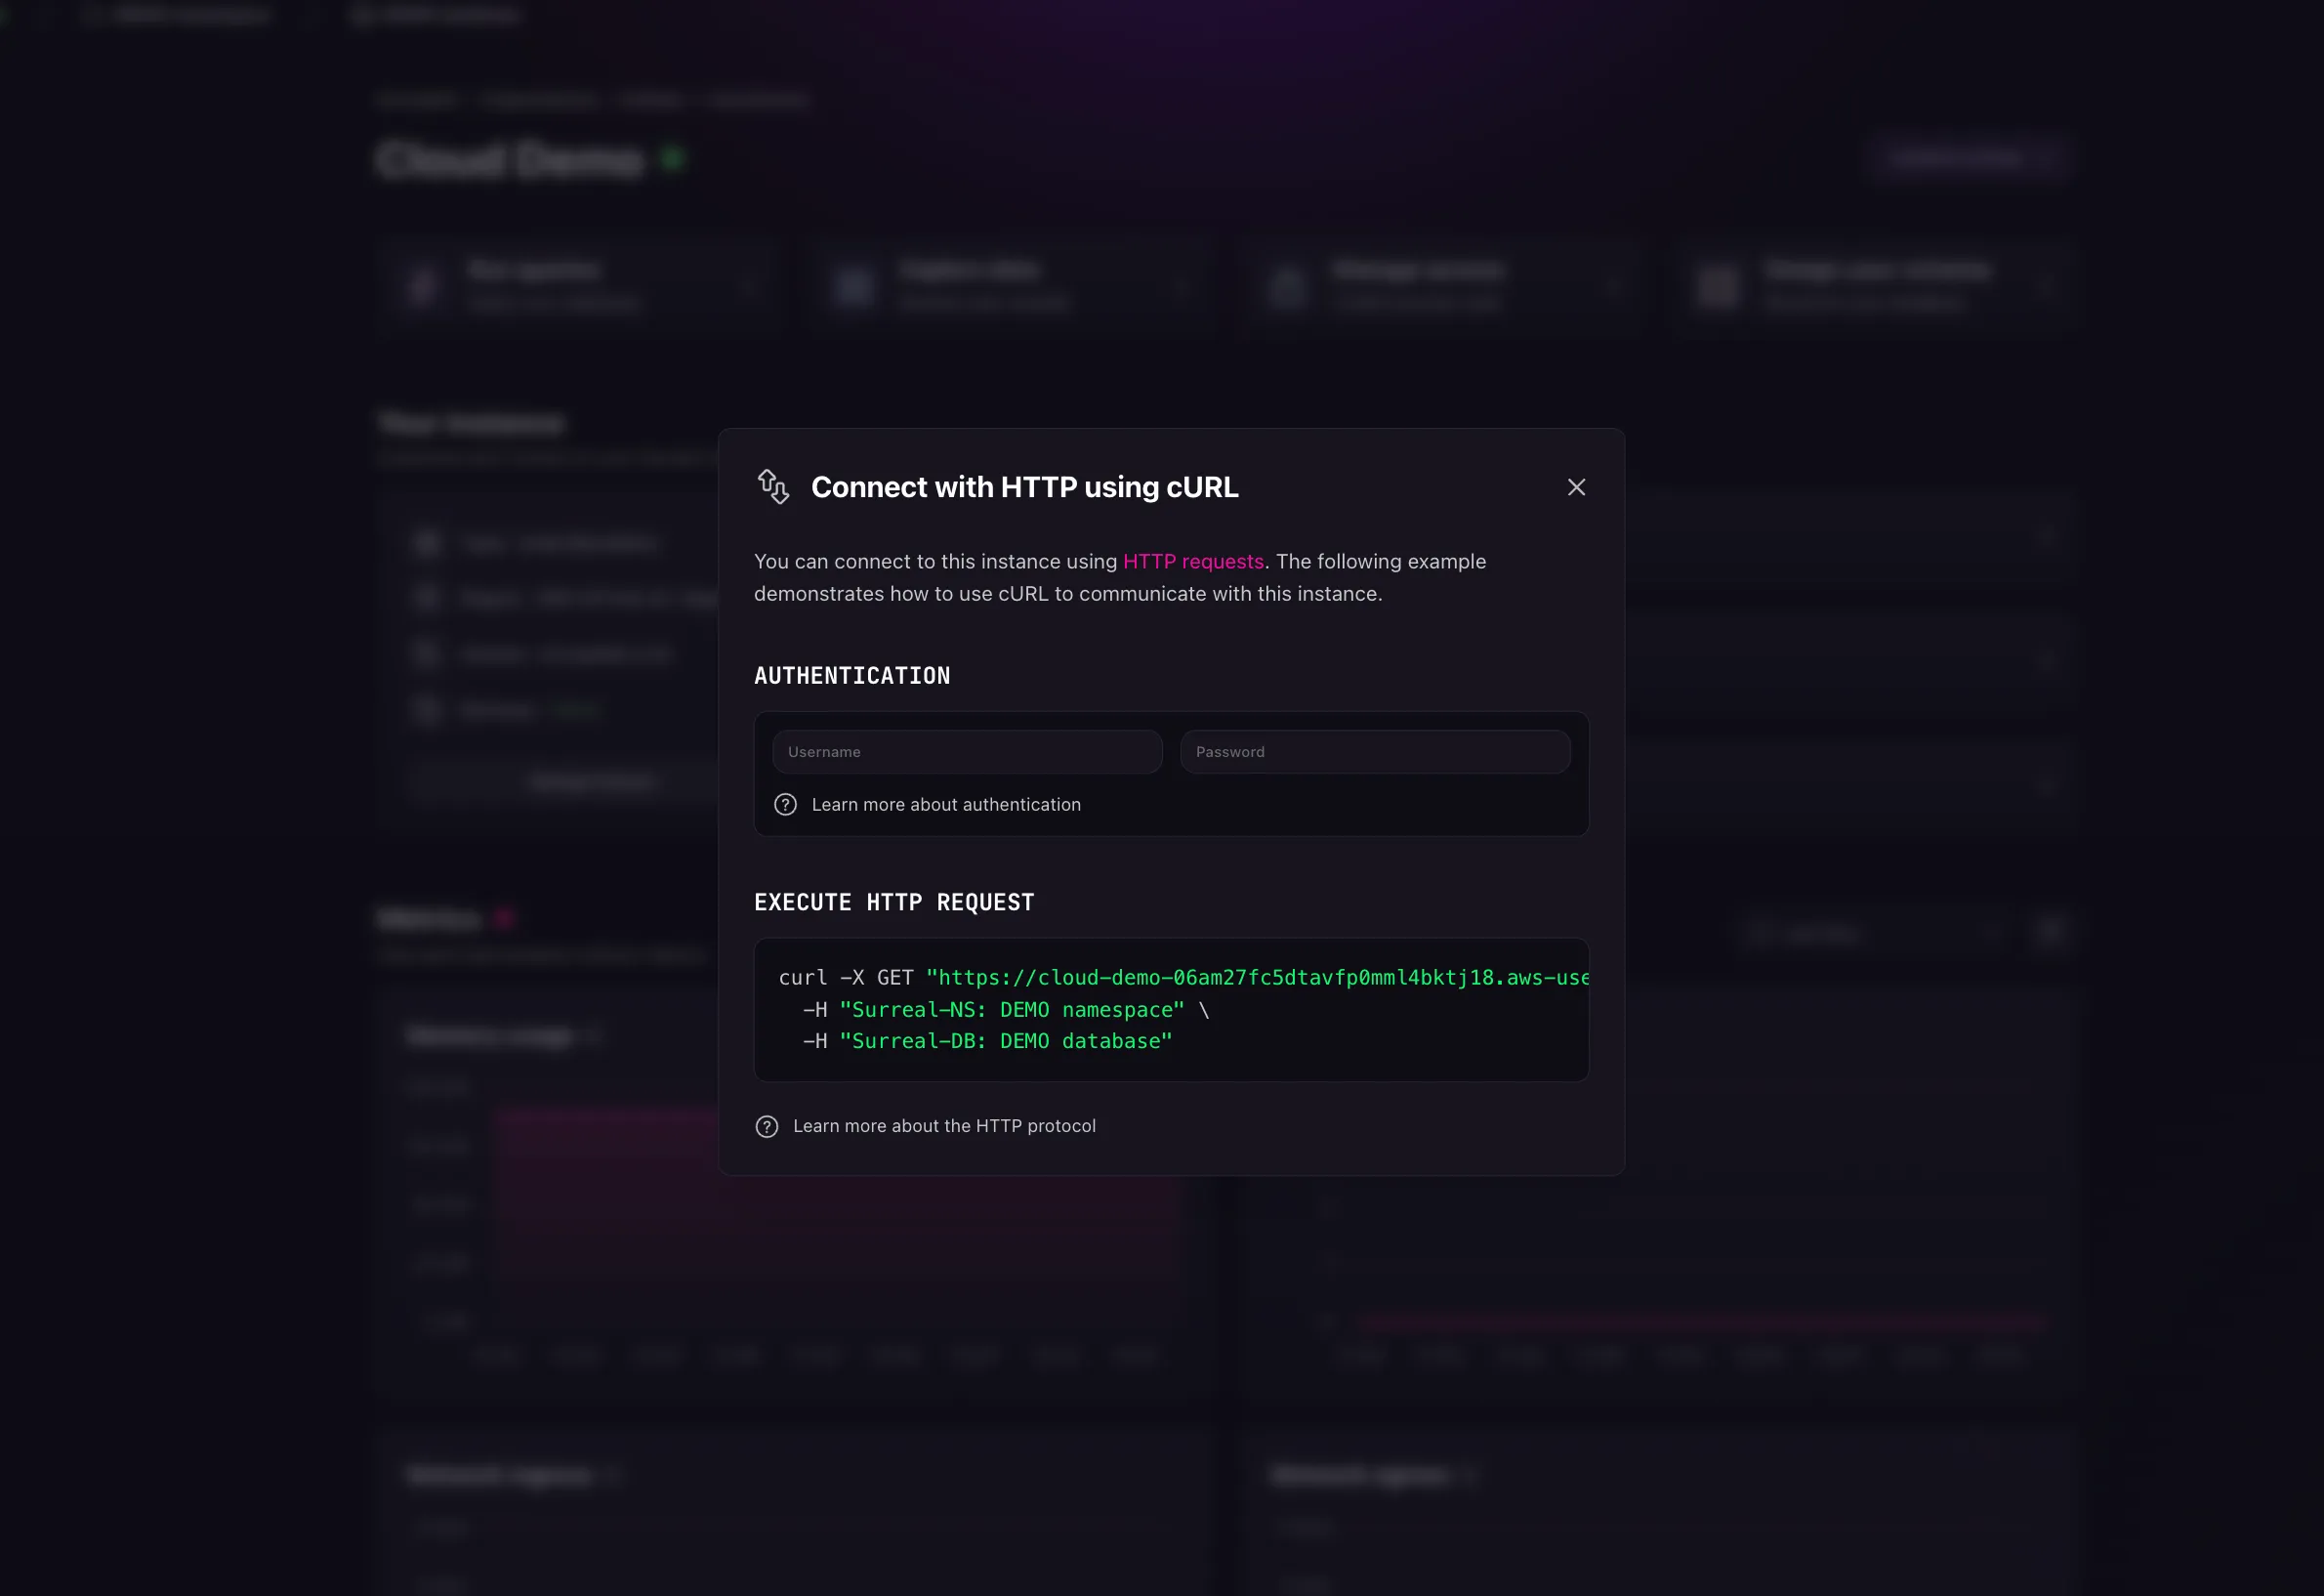
You can also connect to your Instance using the HTTP API. This allows you to connect to your Instance using any HTTP client. To get started, select the Connect button on your Instance. Then select HTTP cURL.
This will open a modal to fill in your credentials for Namespace and Database and authentication before you can copy the URL.
In this guide, we’ve shown you how to deploy SurrealDB using SurrealDB Cloud . We’ve also shown you how to query your Instance using Surrealist, the SurrealDB CLI, and the SurrealDB SDKs. For more information on SurrealDB Cloud , you can visit the SurrealDB Cloud documentation or the SurrealDB Cloud Landing Page.