SurrealDB Docs Logo

Enter a search query

Quick start

In this guide, we will walk you through setting up and querying your first project with the SDK. You will learn how to install, import, and initialize the SDK, as well as perform some queries. This guide is written in TypeScript, but the SDK is also compatible with JavaScript.

Important

If you want to see the final project for this guide, you can find it in the surrealdb-examples repository and follow the instructions in the README.md file to get the project running.

Here is the final folder structure:

my-surrealdb-project/ ├── src/ │ ├── start-db.ts │ ├── create-user.ts │ ├── query-user.ts │ ├── update-user.ts │ ├── delete-user.ts │ ├── index.ts └── utils/ └── surreal.ts

Prerequisites

This guide assumes the following:

  • You have a basic understanding of TypeScript or JavaScript.
  • You have an install version of SurrealDB >1.4.2 installed on your machine.

Setup your project

In your terminal, create a new directory for your project and navigate into it:

# Make a new directory mkdir my-surrealdb-project # Navigate into the directory cd my-surrealdb-project

Next, initialize a new project. This creates a package.json file within your project directory without prompting for input.

You can initialize a new project with any package manager. For this guide, we will use Bun.

bun init -y

Next, open your project in your IDE. For this guide, we will use Visual Studio Code.

Install the SDK

Now that you have initialized your project, you can install and import the SDK into your created project.

From your terminal, in your project directory, install the SDK using any of the following package managers (we recommend using bun for this guide):

bun add surrealdb
Important

The SurrealDB SDK for JavaScript is also available in the JSR registry as @surrealdb/surrealdb.


Initialize the SDK

After installing, you can then import the SDK into your project. Depending on your setup and environment, we support multiple options. For the sake of this guide, we will use ES6 syntax.

import Surreal from 'surrealdb';
Note

It is recommended to import this in a utility file or a file that is shared across your application.

In the root of your project, create a utils folder and create a surreal.ts file. This file will contain the SDK initialization logic which manages the connection to the database using the connect, use, and close methods.

In the created surreal.ts utility file, you can initialize the SDK as follows:

utils/surreal.ts
import Surreal from "surrealdb"; // Define the database configuration interface interface DbConfig { url: string; namespace: string; database: string; } // Define the default database configuration const DEFAULT_CONFIG: DbConfig = { url: "http://127.0.0.1:8000/rpc", namespace: "test", database: "test", }; // Define the function to get the database instance export async function getDb(config: DbConfig = DEFAULT_CONFIG): Promise<Surreal> { const db = new Surreal(); try { await db.connect(config.url); await db.use({ namespace: config.namespace, database: config.database }); return db; } catch (err) { console.error("Failed to connect to SurrealDB:", err instanceof Error ? err.message : String(err)); await db.close(); throw err; } }

Start the Database

Next, create a src folder in the root of your project and add a start-db.ts file. This file will contain the logic to start the database.

Usually, you can start a new instance of SurrealDB using the surreal start command. However, for the sake of this guide, we will use a function to start the database so that we can interact with the database in the browser.

This function uses the spawn method to start the database. Learn more about the spawn method in the Node.js documentation.

In the created start-db.ts file, add the following code:

src/start-db.ts
import { spawn } from "child_process"; console.log("Starting SurrealDB..."); const surrealProcess = spawn("surreal", ["start", "--unauthenticated"], { stdio: "inherit", }); surrealProcess.on("error", (error) => { console.error("Failed to start SurrealDB:", error.message); }); surrealProcess.on("exit", (code) => { if (code === 0) { console.log("SurrealDB process exited successfully"); } else { console.error(`SurrealDB process exited with code ${code}`); } }); // Keep the script running process.stdin.resume();
Important

We are starting the database in unauthenticated mode for the sake of this guide. In a production environment, you should start the database in authenticated mode.

You can still choose to start the database in your terminal and skip this step. See the Surreal start command documentation for more information.

Using SDK methods

Now that you have initialized the SDK, you can use it to connect to the database, using the specified namespace and database, to perform queries anywhere in your application by calling the getDb function.

Create a new user

Create a new src folder and add create-user.ts file. This file will contain the logic to create a new user in the database. We will use the create method to make a new user in the database.

First, import the getDb function from the surreal.ts utility file. You can also import the jsonify class from the SDK to format the output. Next, create a new user record in the database. See the code below:

src/create-user.ts
import { getDb } from "../utils/surreal"; import { jsonify } from "surrealdb"; interface User { username: string; email: string; password: string; } async function createUser(): Promise<void> { const db = await getDb(); // Check if the database is initialized if (!db) { console.error("Database not initialized"); return; } // Create a new user try { const user = await db.create<User>("User", { // User details username: "newUser", email: "user@example.com", password: "securePassword", // Note: Store hashed passwords, not plain text }); // Log the created user console.log("User created:", jsonify(user)); } catch (err: unknown) { console.error("Failed to create user:", err instanceof Error ? err.message : String(err)); } finally { // Close the database connection await db.close(); } } createUser();

Select user

In the src folder, add query-user.ts file. This file will contain the logic to query a user in the database. We will use the select method to get all users in the database.

src/query-user.ts
import { getDb } from "../utils/surreal"; import { jsonify } from "surrealdb"; interface User { id: string; // Add other user properties here } export async function getAllUsers(): Promise<User[] | undefined> { const db = await getDb(); if (!db) { console.error("Database not initialized"); return undefined; } try { const users = await db.select<User>("User"); console.log("All users:", jsonify(users)); return users; } catch (err) { console.error("Failed to get users:", err); return undefined; } finally { await db.close(); } } getAllUsers();
Note

You can also specify a specific user to query by using the RecordId datatype. Learn more about the select method in the Data Types section.

Update a user

In the src folder, add update-user.ts file. This file will contain the logic to update a user in the database. We will use the update method to update a user in the database.

In the example below, we will update the username and email of a user with the RecordId nsg3k2he7mhxa8hk5qdu. You may notice that we use a RecordId to specify the user information.

Learn more about the RecordId datatype in the Data Types section.

src/update-user.ts
import { getDb } from "../utils/surreal"; import { jsonify, RecordId } from "surrealdb"; // Type definition (you may want to move this to a separate types file) interface User { id: RecordId; username: string; password: string; email: string; } export async function updateUser() { const db = await getDb(); if (!db) { console.error("Database not initialized"); return; } try { // Assuming the record id is nsg3k2he7mhxa8hk5qdu const updatedUser = await db.update(new RecordId("User", "nsg3k2he7mhxa8hk5qdu"), { username: "John Doe", email: "john@example.com", }); console.log("Updated user:", jsonify(updatedUser)); return updatedUser; } catch (err) { console.error("Failed to update user:", err); } finally { await db.close(); } } // Example usage for specific user updateUser();

Delete a user

In the src folder, add delete-user.ts file. This file will contain the logic to delete a user in the database. We will use the delete method to delete the user.

Since we are working with a single user, we will pass the User type as the parameter. For a more specific use case, you can use the RecordId datatype to delete a specific user.

Learn more about the RecordId datatype in the Data Types section.

src/delete-user.ts
import { jsonify } from "surrealdb"; import { getDb } from "../utils/surreal"; export async function deleteUser() { const db = await getDb(); if (!db) { console.error("Database not initialized"); return; } try { const deletedUser = await db.delete('User'); console.log("Deleted user:", jsonify(deletedUser)); return deletedUser; } catch (err) { console.error("Failed to delete user:", err); } finally { await db.close(); } } deleteUser();

Interact with the Scripts

Finally, we will simulate a simple UI to interact with the scripts we created above. Usually this can be replaced with any framework of your choice. In the created src folder, add index.ts file and add the following code:

src/index.ts
import { serve, spawnSync } from "bun"; // biome-ignore lint/style/useNodejsImportProtocol: <explanation> import { join } from "path"; import { cwd } from "process"; import { existsSync } from "fs"; // Helper function to run the script function executeScript(scriptName: string) { // Get the current working directory and resolve the script path const scriptPath = join(cwd(), "src", `${scriptName}-user.ts`); // Check if the script file exists if (!existsSync(scriptPath)) { return `Error: Script file "${scriptName}-user.ts" not found in the src directory.`; } const result = spawnSync(["bun", scriptPath], { stdout: "pipe", stderr: "pipe", }); if (result.success) { return result.stdout.toString(); } return `Error executing script: ${result.stderr.toString()}`; } // Start the server serve({ port: 3000, fetch(req) { const url = new URL(req.url); const script = url.searchParams.get("script"); if (script) { const output = executeScript(script); return new Response(output, { headers: { "Content-Type": "text/plain" }, }); } // Serve HTML UI with buttons return new Response( ` <!DOCTYPE html> <html lang="en"> <head> <meta charset="UTF-8"> <meta name="viewport" content="width=device-width, initial-scale=1.0"> <title>Script Runner</title> <style> body { font-family: Arial, sans-serif; background-color: #f0f0f0; display: flex; justify-content: center; align-items: center; height: 100vh; margin: 0; } .container { background-color: #ffffff; padding: 20px; border-radius: 10px; box-shadow: 0 4px 8px rgba(0, 0, 0, 0.1); text-align: center; } h1 { color: #333; } .button { background-color: #ff00a0; color: #ffffff; border: none; padding: 10px 20px; margin: 10px; border-radius: 5px; cursor: pointer; font-size: 16px; transition: background-color 0.3s; } .button:hover { background-color: #007bff; } #output { background-color: #f8f9fa; padding: 10px; border-radius: 5px; margin-top: 20px; text-align: left; white-space: pre-wrap; } </style> </head> <body> <div class="container"> <h1>Interact with Scripts</h1> <button class="button" onclick="runScript('surreal')">Start Database</button> <button class="button" onclick="runScript('create')">Run Create Script</button> <button class="button" onclick="runScript('delete')">Run Delete Script</button> <button class="button" onclick="runScript('select')">Run Select Script</button> <button class="button" onclick="runScript('update')">Run Update Script</button> <pre id="output"></pre> </div> <script> function runScript(script) { fetch(\`/?script=\${script}\`) .then(response => response.text()) .then(text => { document.getElementById('output').textContent = text; }) .catch(error => { document.getElementById('output').textContent = 'Error: ' + error; }); } </script> </body> </html> `, { headers: { "Content-Type": "text/html" } } ); }, });

To initialize the server, run the following command:

bun run src/index.ts

You can now interact with the scripts by navigating to http://localhost:3000 in your browser.
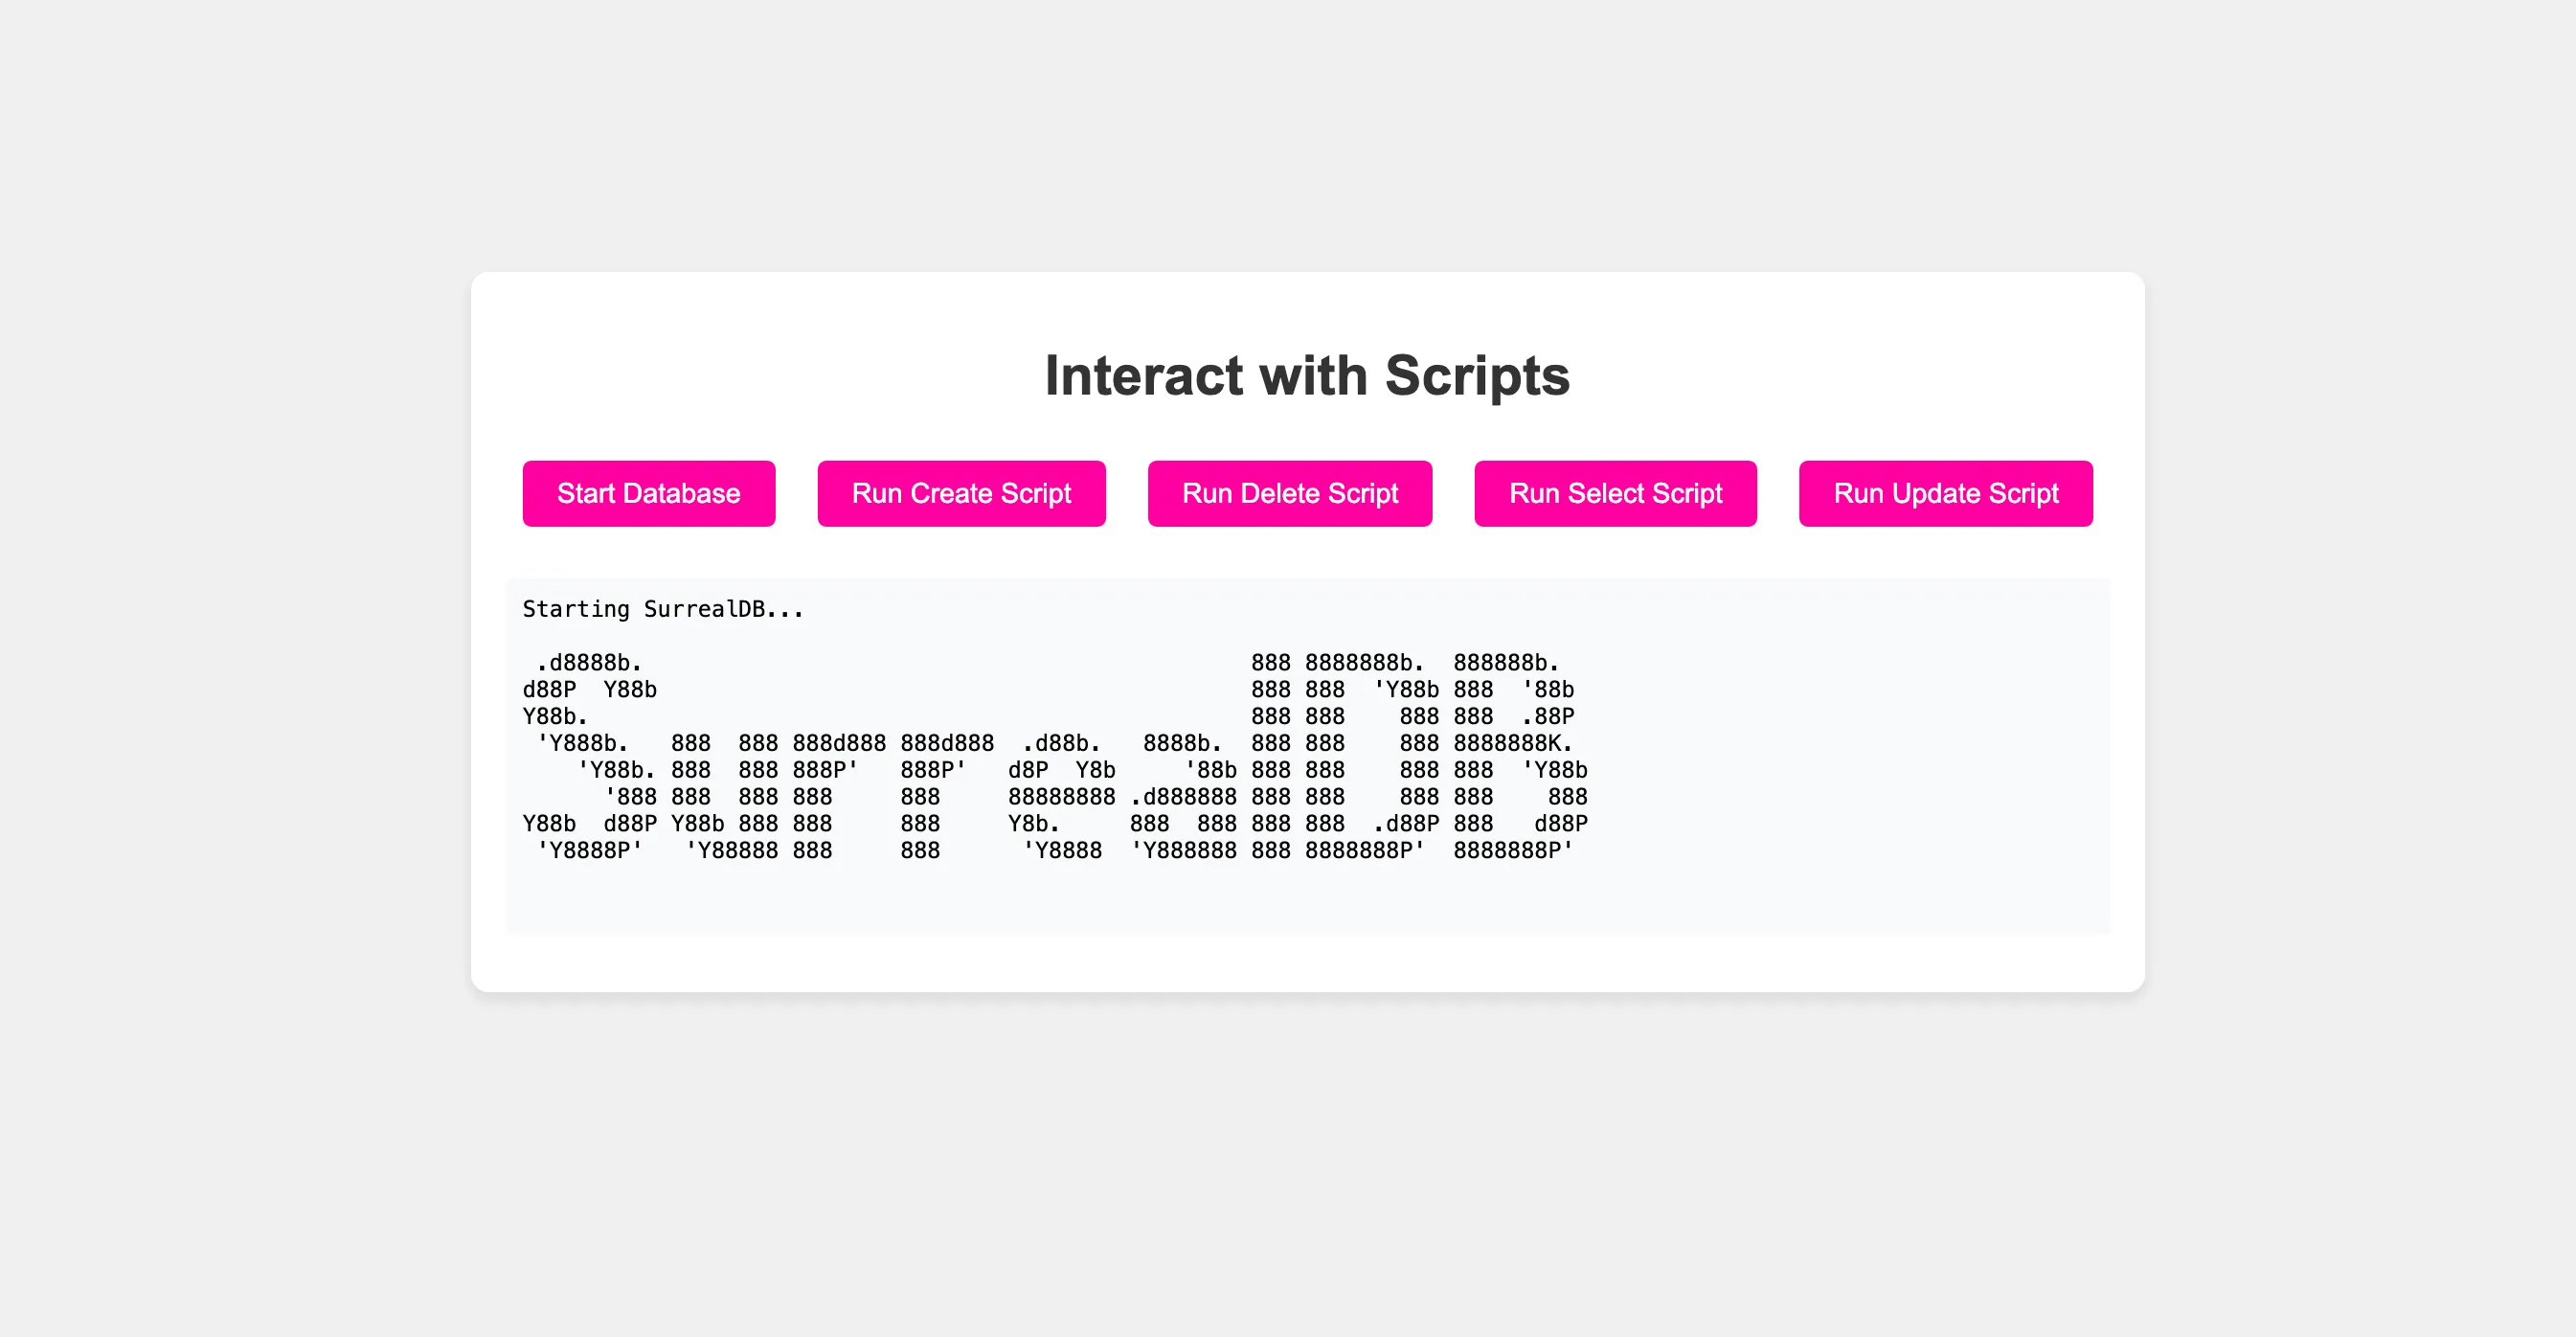
SurrealDB SDK for JavaScript

Next steps

Now that you have learned the basics of the SurrealDB SDK for JavaScript, you can learn more about the SDK and its methods in the methods section and data types section.

© SurrealDB GitHub Discord Community Cloud Features Releases Install