

SurrealDB Cloud allows you to create a new Organisation with a few clicks to seperately manage your different projects.
You can create an Organisation in these steps from the overview:
On the overview page, click on the Create organisation button. This will take you to the create Organisation form.
Enter the name of the Organisation and click on the Create organisation button.
You will be redirected to the Organisation overview page where you can manage your Organisation instances, team, usage and billing information.
Organisation overview
After you create a new Organisation, you will be automatically added as the owner of the Organisation. As an Organisation owner, you can manage your Organisation instances, team, usage and billing information from the overview page.
To create a new Instance, click on the Deploy Instance button and follow the steps in the create an instance documentation.
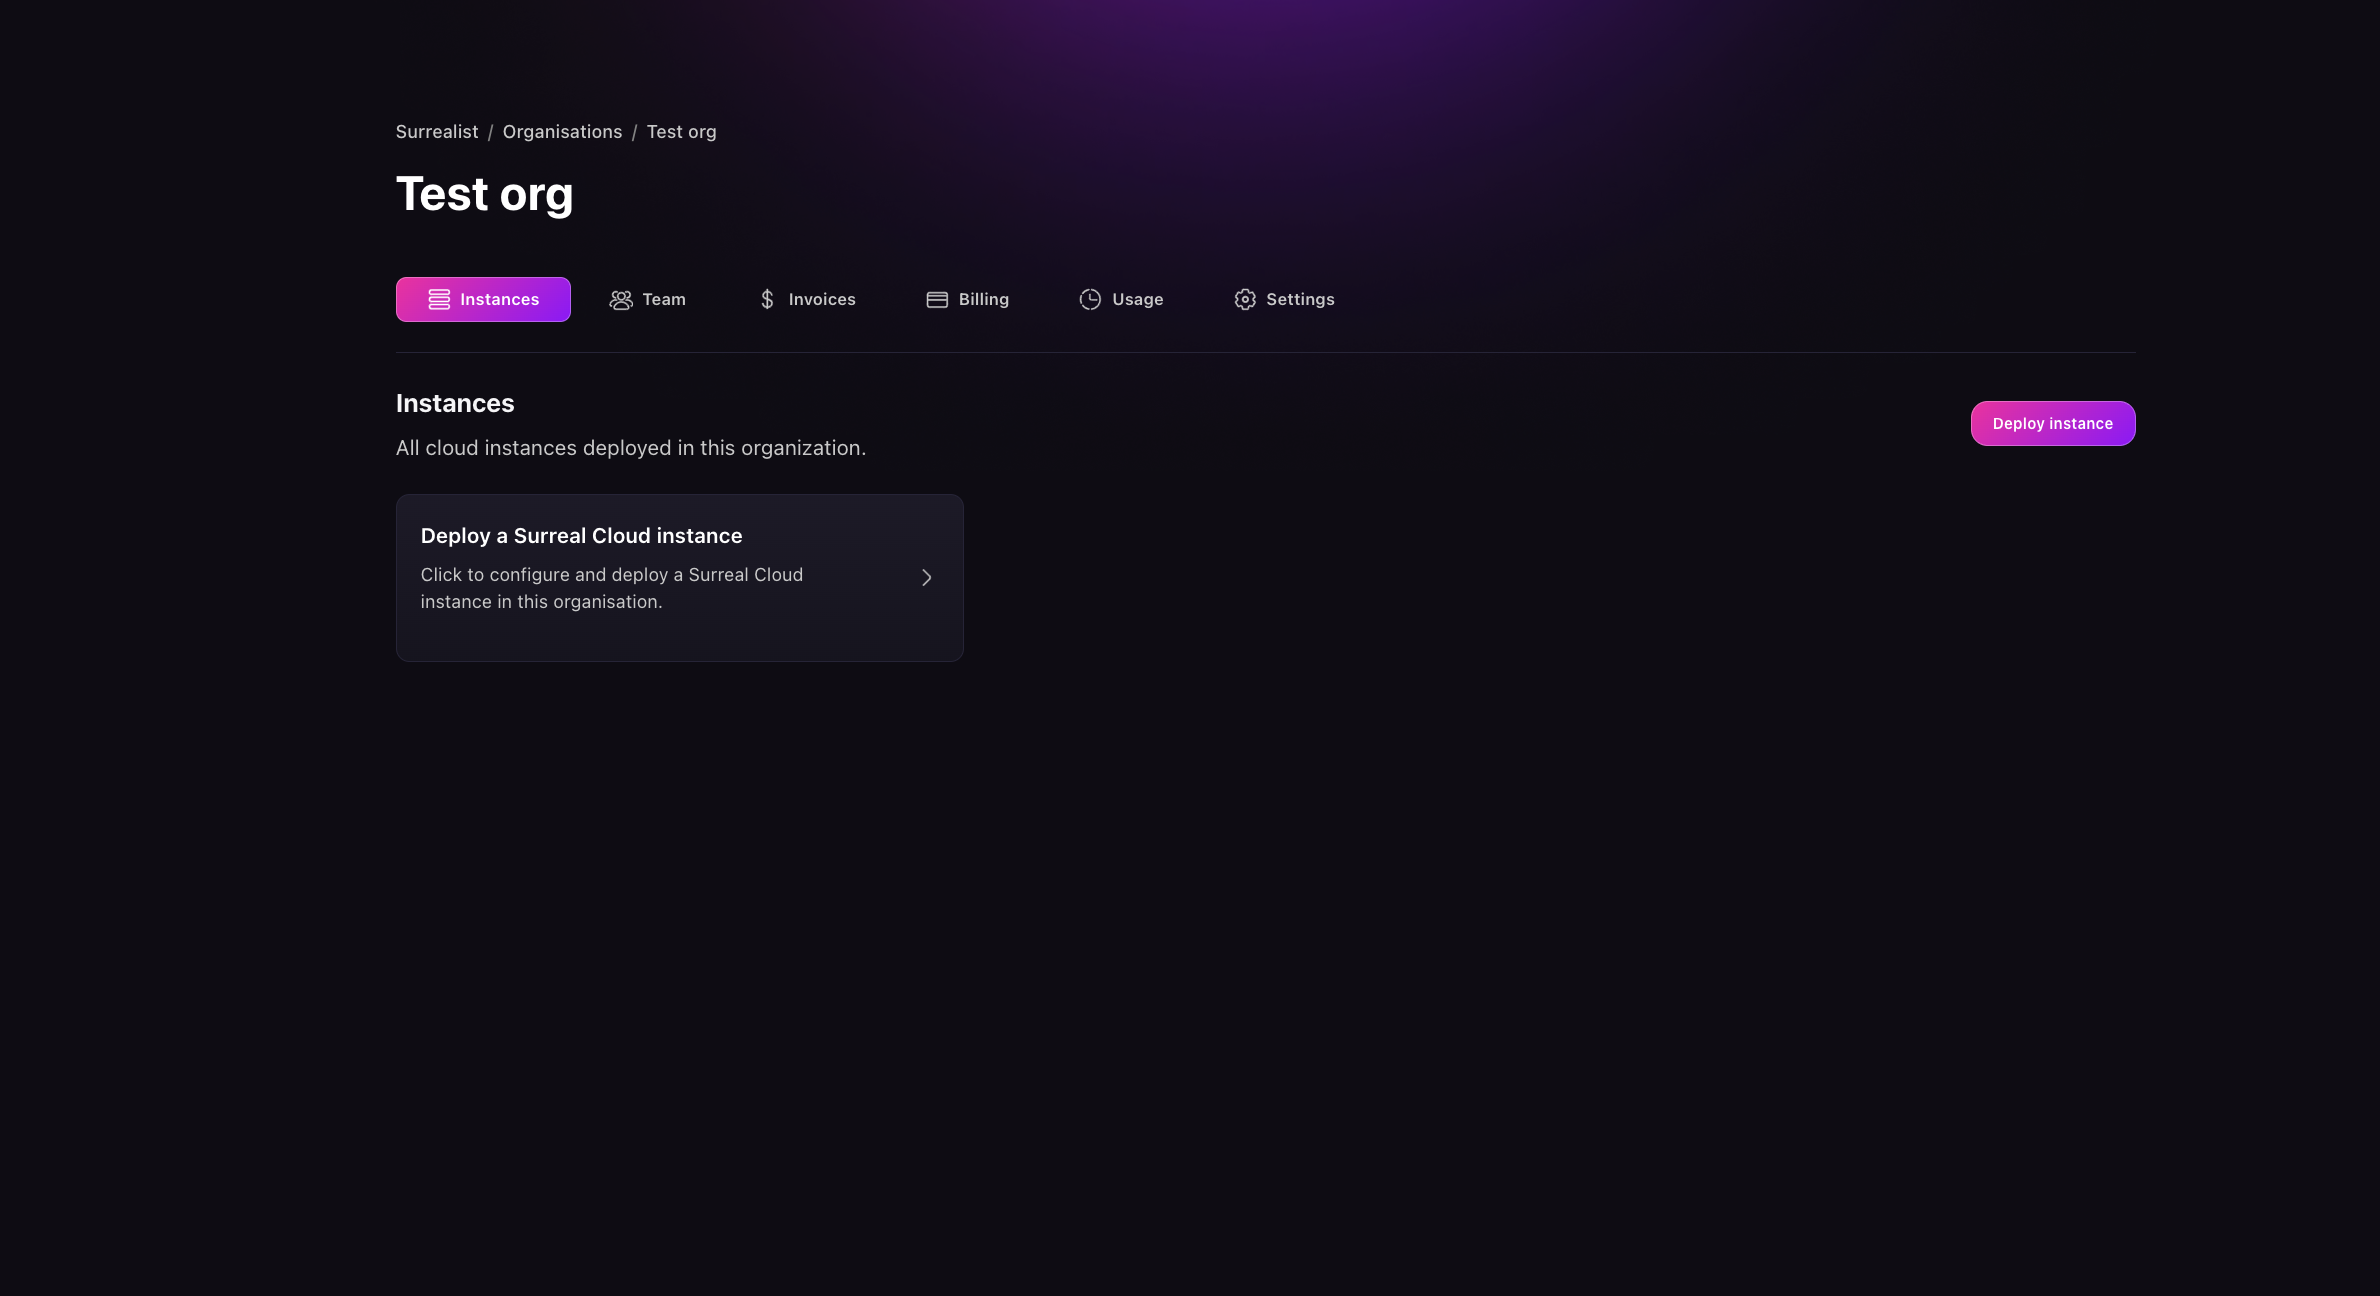
When you visit the Organisation overview page, you'll find everything you need to manage your Organisation in one place:
The Instances tab shows all your database instances. Here you can create new instances, monitor how they're running, and make any needed changes.
Under Team, you can handle everything related to your Organisation's members - invite new people, remove members who have left, and set what each person is allowed to do.
The Usage tab helps you keep an eye on how much of your resources you're using, with easy-to-read metrics and trends.
In Billing, you can manage all your payment details - update payment methods, view past invoices, and handle any billing-related tasks.
Depending on your permissions, the overview page will show different sections. More information about the different roles and permissions can be found in the Manage Organisation permissions section.
Invite members to your organisation
To invite members to your Organisation, click on the Team tab and then the Invite member button. This will open a modal where you can invite a new member to your Organisation and the role of the member. Learn more about what each role does in the Manage Organisation permissions section.

Manage organisation permissions
SurrealDB Cloud allows you to manage the permissions of your Organisation. This includes adding members to your Organisation, removing members, and changing their permissions (as an owner). In this section, we will go through the different roles and permissions that are available in SurrealDB Cloud .
Role permissions
In an Organisation, by default the creator of the Organisation is the owner. The owner can invite new members to the Organisation and change their permissions. In inviting a new member they can be assigned a role of admin or member. The following chart shows the different permissions assigned to each role.
Role | Description | Permissions |
|---|---|---|
Owner | The owner of the Organisation | |
Admin | An admin of the Organisation | |
Member | A member of the Organisation |
In the future we will allow users to control permissions granularly for each user, create new roles and manage permissions for each role.